Last updated November 17, 2026







Free written scope consultation - allowances, timeline, and change-order rules on paper before a single trade is scheduled
Windows & Doors Maintenance Schedule: What to Do and When
The warranty on your $800-per-window impact units almost certainly requires annual maintenance, and almost nobody tells you that at the time of installation. Read the fine print from Andersen or Marvin and you’ll find language about cleaning, lubrication, and inspection schedules. Miss those steps and the first question a claims adjuster asks is whether the units were maintained. In Homestead, where salt air and relentless UV work on frames year-round, that maintenance calendar matters more than it does almost anywhere else in Florida.
This guide gives you a plain-spoken seasonal schedule for impact windows and doors in Homestead. You’ll learn how often to clean frames in salt air, what to check before hurricane season, how to keep sliding door tracks from grinding themselves apart, and what to inspect after a named storm. It’s the routine that keeps hardware working, frames clean, and warranties intact.
Quick Answer
Impact windows and doors in South Florida need maintenance on four seasonal touchpoints: a deep clean and hardware inspection each spring (April), a pre-hurricane-season checklist by mid-May, track and roller service every three months during the humid season, and a post-storm inspection after any named system. Manufacturers’ impact warranties commonly require annual cleaning and hardware checks, so skipping these steps can void a claim. Around Homestead, salt air means frames need cleaning every two to three months rather than the twice-a-year schedule inland homeowners can get away with.
Styles & brands we work with
- Kitchen remodeling
- Bathroom remodeling
- Home additions & ADU
- Roofing
- Windows & doors
- Driveway & pavers
- Fence
Table of Contents
- Salt Air and Frame Corrosion: The Cleaning Routine That Protects Aluminum and Vinyl
- The Pre-Hurricane Season Checklist (April – May)
- Sliding Door Track and Roller Maintenance
- Weatherstripping: How to Test It, Not Just Look at It
- Post-Storm Inspection Protocol
- The Full Seasonal Calendar at a Glance
- Common Mistakes to Avoid
- When to Call a Professional
Salt Air and Frame Corrosion: The Cleaning Routine That Protects Aluminum and Vinyl
Homestead sits close enough to the coast that salt carried on the wind settles on window frames, door thresholds, and hardware. Combined with our UV index, which runs high most of the year, that salt film oxidizes aluminum finishes and dulls vinyl faster than it does a few miles inland. The fix isn’t complicated. It just has to happen on a schedule.
Clean frames and hardware every two to three months. In neighborhoods east of US-1 where the coastal breeze carries more salt, lean toward every two months. West of Krome Avenue, three months usually holds. Here’s the routine:
- Rinse first with plain water. A hose or a bucket of fresh water removes loose salt and grit before you touch anything with a cloth. Wiping dry salt into a finish scratches it.
- Wash with mild dish soap and water. A couple of drops in a bucket is plenty. Use a soft cloth or sponge.
- Rinse again and dry with a clean microfiber cloth. Standing water spots aluminum finishes and leaves mineral deposits on glass.
- Inspect the finish while it’s clean. Look for white chalky patches (early oxidation), rust freckles around screws, and stains near the sill.
Products to avoid: abrasive cleansers, scouring pads, bleach-heavy mildew sprays on aluminum, and any solvent or acetone on vinyl. Those strip finishes and can be cited against you in a warranty review. Stick to soap and water, and if you need to remove a stubborn stain, use a manufacturer-approved cleaner from the brand installed on your home.
We’ve seen corroded hardware on windows that were only a few years old, in Homestead homes where nobody had ever washed the frames. It’s a maintenance gap, not a product failure, and the fix is a bucket and twenty minutes.
The Pre-Hurricane Season Checklist (April – May)
The Atlantic hurricane season opens June 1. Miami-Dade County recommends having your home storm-ready by mid-May, and impact windows and doors are part of that. What follows is the checklist we walk through on every impact window and door service call in Homestead before the season turns.
- Operate every sash, hinge, and slider. Open and close each unit fully. Anything that sticks now will stick worse under storm pressure.
- Check all hardware screws and fasteners. Lock handles, hinge plates, and latch plates. Loose screws back out over a year of opening and closing, and a loose latch on a sliding door is a security gap as well as a storm gap.
- Inspect sealant joints. Look at the perimeter caulk line between the frame and the wall. Hairline cracks or gaps let water in behind the frame. If the caulk has pulled away or feels brittle, it needs replacing before June.
- Clear every weep hole. Weep holes are the small openings at the bottom of the frame that drain water out. They clog with debris, pollen, and grit. Run a pipe cleaner or a piece of wire through each one gently, and make sure water can drain when you spray the sill.
- Test the locks and latch engagement. A sliding glass door that closes but doesn’t fully latch won’t hold under wind load, and it’s a security concern even when the weather is calm.
- Inspect glazing beads. The strips that hold the glass in the frame. Look for gaps, cracks, or separation from the frame.
- Check roller function on sliding doors. If the door drags or jumps, the rollers need service before storm season, not after.
If anything on this list doesn’t check out, that’s a real problem, not a nuisance. Get it looked at by someone who does this for a living. Call (866) 344-6796 and we’ll take a look at any unit on your home, storm-rated or not.
Sliding Door Track and Roller Maintenance
Sliding glass doors take more punishment in South Florida than any other window or door product. The tracks collect grit, sand, and pollen, the rollers ride in humid air, and the doors get opened dozens of times a week. A gritty track grinds the roller, and a grinding roller eventually stops rolling. We’ve seen sliding doors in Homestead that needed a full roller replacement when a quarterly track cleaning would have prevented it.
Clean the track every three months during the humid season, and more often if you live near open sand or a construction site. Here’s how:
- Vacuum out the track with a crevice attachment to pull loose grit.
- Wipe the track with a damp cloth and mild soap.
- Dry the track completely.
- Lubricate the track and rollers with a silicone-based dry lubricant or a PTFE spray. Do not use grease, WD-40, or oil. Those attract dirt and grit, which is the exact problem you’re trying to solve.
- Open and close the door a few times to work the lubricant into the rollers.
- Test the roller function: a properly serviced door should slide with light pressure, one hand, without jumping or grinding.
If the door drags after cleaning and lubrication, the rollers themselves may be worn or flat-spotted. That’s a replacement job. On premium units from Andersen and Marvin, replacement rollers are stocked and the swap is quick. On off-brand doors, we sometimes have to source parts, which is one of the reasons brand matters. If you’re replacing a sliding door and want to see the difference, our Barrett & Sons Construction Homestead home page covers the products we install across every trade.
While you’re servicing the slider, take five minutes to check the exterior threshold. Water sits on flat thresholds more than pitched ones. If yours pools after a rain, sealant or a threshold adjustment is in order.
Weatherstripping: How to Test It, Not Just Look at It
Most homeowners check weatherstripping by looking at it. That tells you it’s present. It doesn’t tell you whether it’s performing. South Florida humidity and sun destroy foam and rubber seals quietly. By the time the seal looks bad, you’ve already lost cooling to the outside for a full summer.
Test the seal twice a year, once in spring before the season and once in fall. Here’s the test:
- The paper test. Close the door or window on a dollar bill (or a strip of paper) at several points along the seal. If you can pull the paper out with no resistance, the seal isn’t pressing against the door.
- The draft test. On a windy day, run your hand along the seal from inside. You’ll feel air moving through any failure points.
- The light test. At night, with the interior lights on, look at the perimeter from outside. A line of light is a line of leakage.
- The feel test. Run a finger along the seal. If it’s brittle, crumbling, flattened, or torn, it’s done.
What we see most in Homestead: foam seals compressed flat after a couple of seasons, and rubber seals that crack from UV exposure. Both are easy to replace. The common seal profiles for impact windows and doors are stocked locally by the manufacturers, so replacement is typically same-week work. Tell us what brand your unit is and we’ll match the profile.
For door seal profiles specifically, double-check the bottom sweep and the side seals. The bottom sweep on an exterior door takes the most wear and often fails first. A $15 sweep that’s replaced on schedule beats a $400 door repair caused by water intrusion.
Post-Storm Inspection Protocol
After any hurricane or named tropical storm passes, walk every impact unit on the home. Impact glass is designed to flex and hold under wind load, but the frames, hardware, and seals don’t come through a storm unexamined. Storm damage is often not visible from the ground.
Here’s the protocol:
- Check for frame racking. A frame that’s out of square will show as a gap at one corner where it used to sit flush, or a sash that no longer closes smoothly. Racking is a sign the unit took structural load and needs professional assessment.
- Inspect seal integrity. Look at every perimeter caulk line. Any separation, cracking, or gap after a storm means water can get behind the frame.
- Examine glazing beads. The strips holding the glass in the frame take the direct brunt of the wind. Any bead that’s cracked, loose, or displaced needs replacement.
- Test every lock and latch. Storm pressure can deform hardware. A latch that stops engaging means the door won’t hold and needs service.
- Look for water intrusion on the inside. Stains below the sill, wet drywall, or soft trim all point to water that got past the seal.
- Check the weep holes again. Debris from a storm clogs them, and clogged weep holes mean water can’t drain in the next rain.
- Photograph everything. If you’ll file an insurance claim, photos taken before any cleaning help.
The single biggest mistake after a storm: checking for broken glass and stopping there. Impact glass that holds is doing exactly what it’s rated for. The frame and hardware underneath take real stress and deserve the same attention. If anything on this list looks wrong, don’t wait for the next storm to find out how wrong.
The Full Seasonal Calendar at a Glance
Here’s the whole schedule on one page. Print it and stick it on the garage wall.
- January: Deep-clean frames inside and out. Inspect hardware and finish.
- February: Weatherstripping test on every exterior door. Note any failures to plan replacements before May.
- March: Track and roller cleaning on all sliding doors. Lubricate with silicone or PTFE.
- April: Pre-hurricane season checklist begins. Hardware, sealant, weep holes, glazing beads, locks.
- May: Finish the pre-season checklist. Any repair identified here needs to be done before June 1.
- June – August: Re-clean tracks and rollers every three months. Wash frames in coastal neighborhoods every other month.
- September: Peak of the season. Post-storm inspection after every named system.
- October – November: Fall weatherstripping test. Re-check seals and hardware. Prep for the drier months.
- December: Clean frames again. Inspect anything the year’s storms touched. Plan any window or door replacements for the spring.
Wave, tilt, and casement windows need some of this schedule adjusted because they don’t share the sliding door’s track system. If you’re replacing worn units, our fence installation in Homestead page shows how we approach outdoor products with a similar long-term maintenance mindset. If you’re planning a bigger project that spans windows, doors, and outdoor structures, our driveway & pavers in Homestead guide is a good place to see how the trades connect on a full exterior refresh.
Pre-fab and modular building materials, from companies like Boxabl and Plant Prefab, sometimes call for slightly different maintenance routines on their windows and doors. If you have a pre-fab structure on your property, call us and we’ll look at the specific units on the home.
Common Mistakes to Avoid
- Wiping salt off with a dry rag. Dry wiping scratches finishes and pushes salt into the grain of vinyl and aluminum. Always rinse first.
- Using WD-40 or grease on sliding door tracks. Both collect grit and turn a working door into a grinding one within a season. Stick to silicone or PTFE dry lubricant.
- Skipping the paper test on weatherstripping. “It looks fine” isn’t a test. Use the dollar bill, and you’ll find seals you didn’t know had failed.
- Clearing weep holes with a screwdriver. You’ll crack the frame or damage the drainage path. A pipe cleaner or a piece of wire is plenty.
- Not cleaning frames before the coastal salt builds up. Homestead homeowners who wash frames twice a year usually start seeing oxidation by year five. Every two to three months and you won’t.
- Skipping the post-storm inspection because the glass didn’t break. The glass held. The frame, sealant, and hardware took the load. They need checking.
- Assuming the warranty covers everything. Impact warranties usually require documented annual maintenance. Keep a simple log. If you file a claim, that log matters.
When to Call a Professional
Most of this maintenance you can do yourself. A few things you can’t. A frame that’s out of square after a storm, a slider that drags even after cleaning and lubrication, a unit with water intrusion behind the frame, or glazing beads that won’t seat properly all need a professional on site. Don’t try to unseat or reinstall impact glass. Those units are heavy, the sealant systems are specific to the manufacturer, and getting it wrong is a safety issue as well as a warranty one.
If you’re not sure whether your maintenance is current or whether a worn unit can be serviced or needs replacement, get a second opinion. Barrett & Sons Construction Homestead offers free estimates and a free second opinion on any written estimate you’ve already been given. Call (866) 344-6796 and we’ll take a look at the units on your home. If you’re planning a bigger remodel that touches windows and doors, our home additions & ADU in Homestead page shows how we handle the full scope. And if you’ve been burned by a national company before, know that every price change arrives as a written change order before any work happens. No surprise invoices. That’s been the way we’ve worked for over 29 years.
See the difference
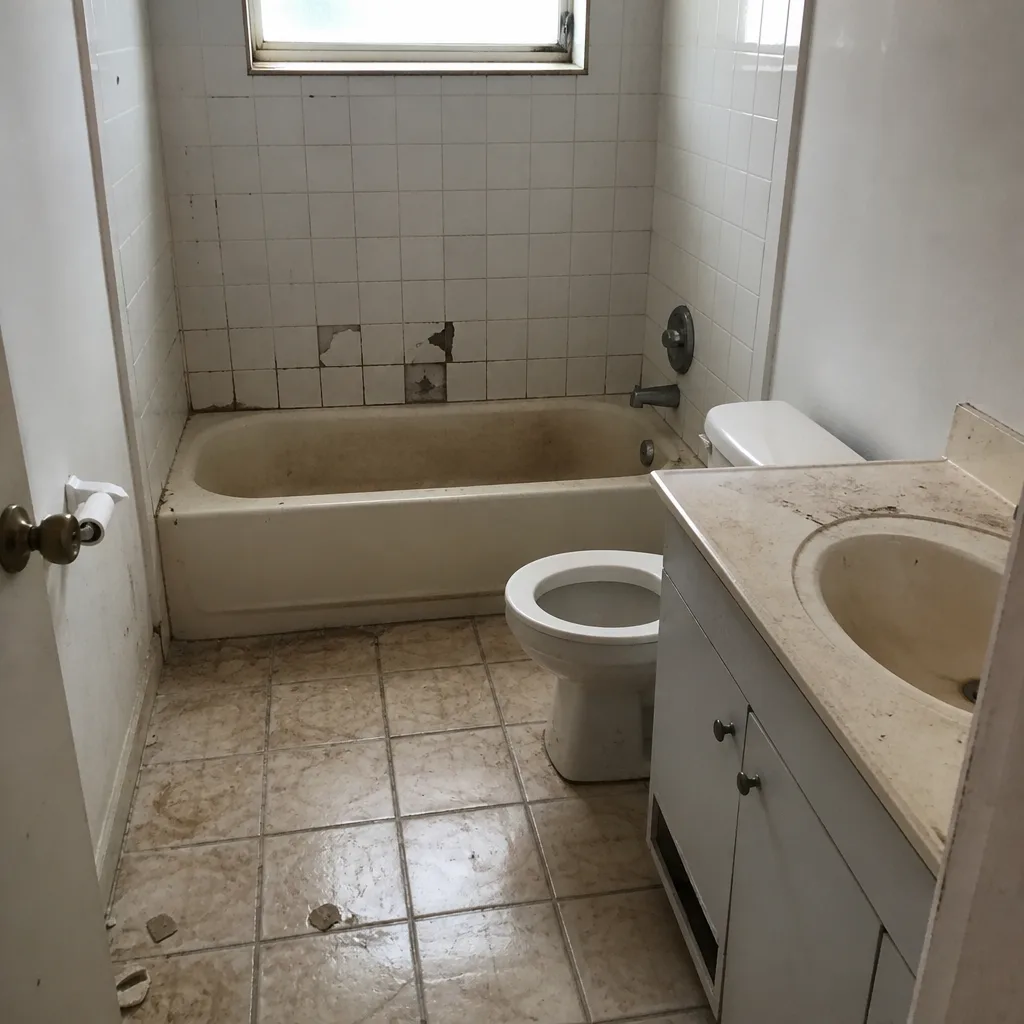 Before
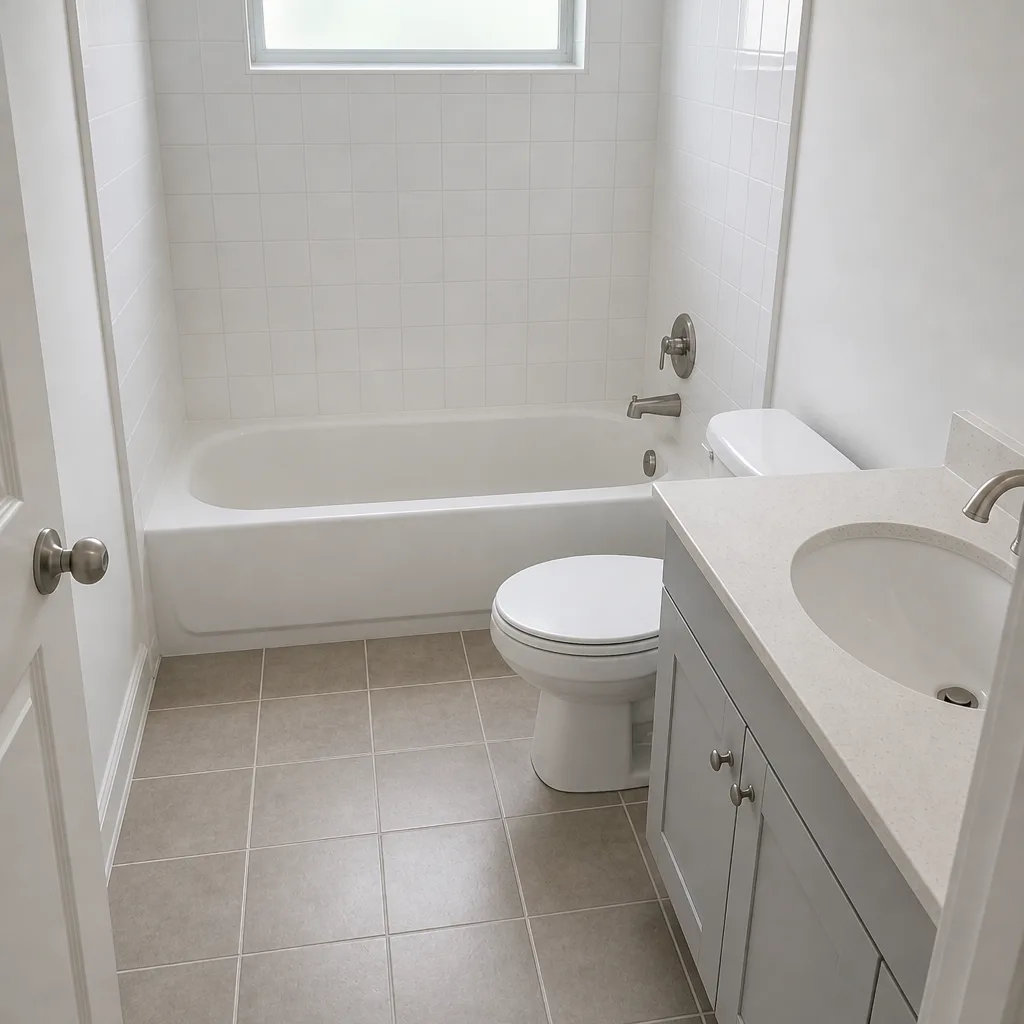 After
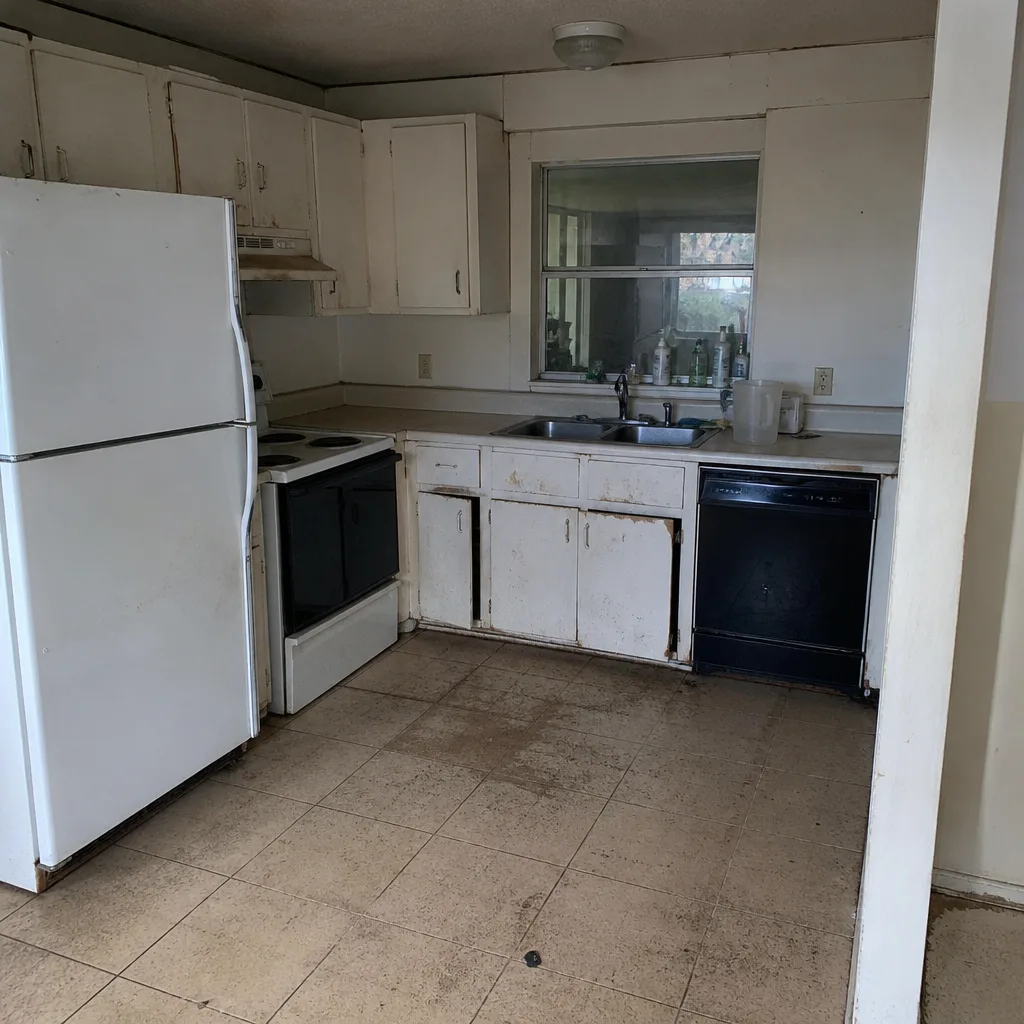 Before
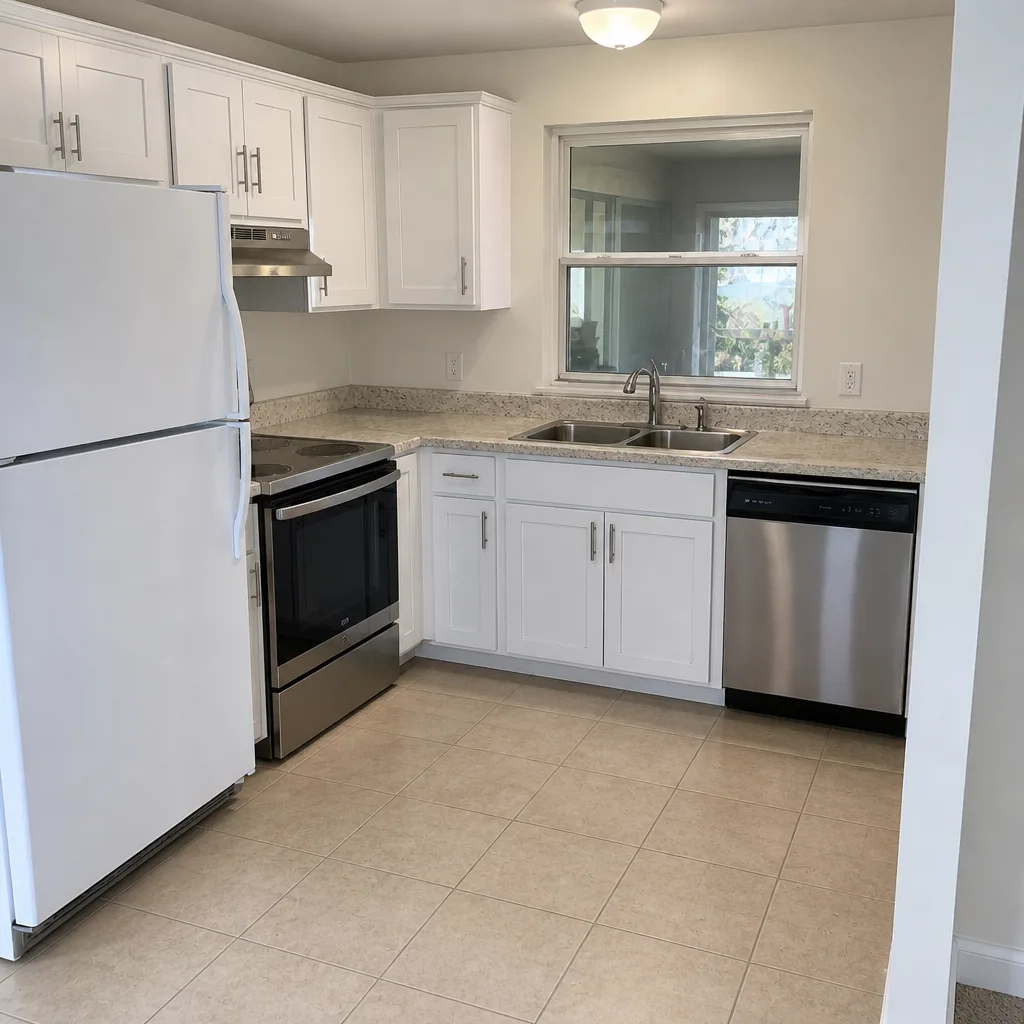 After
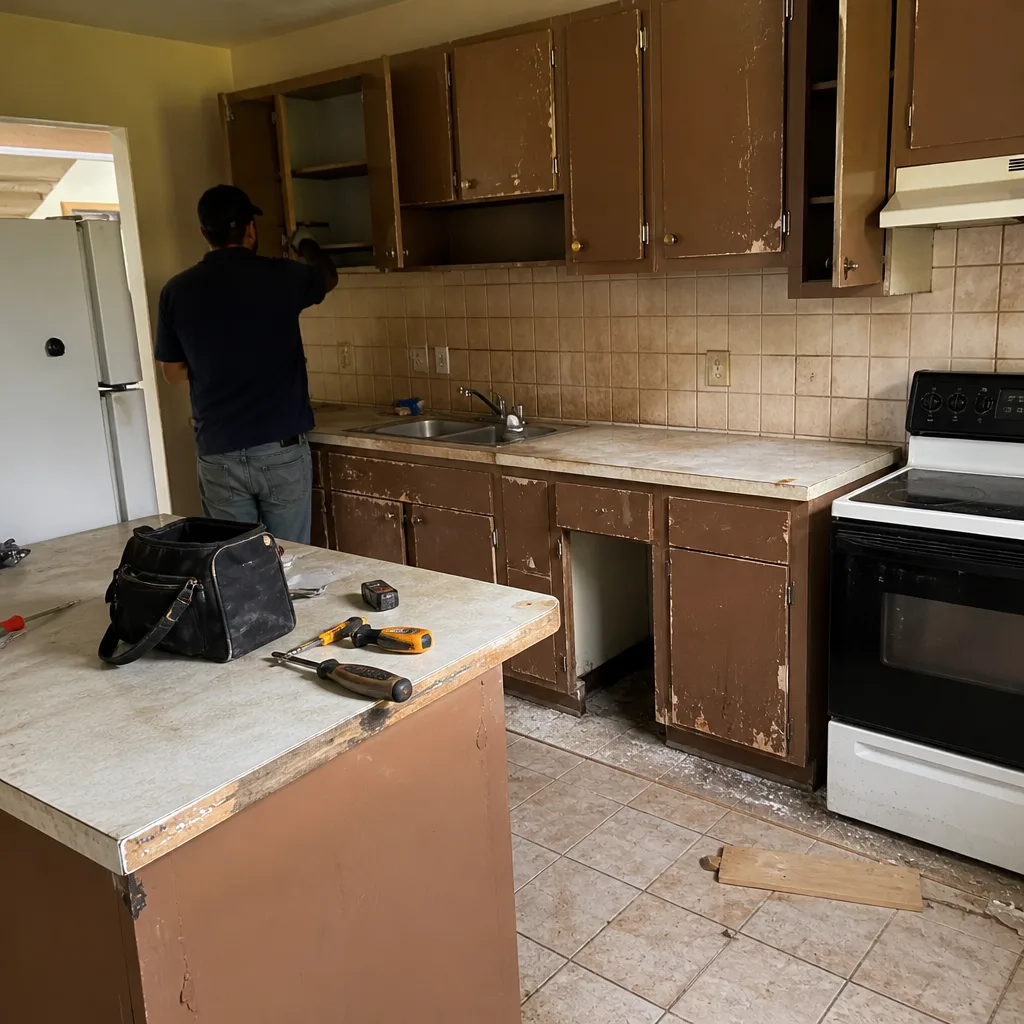 Before
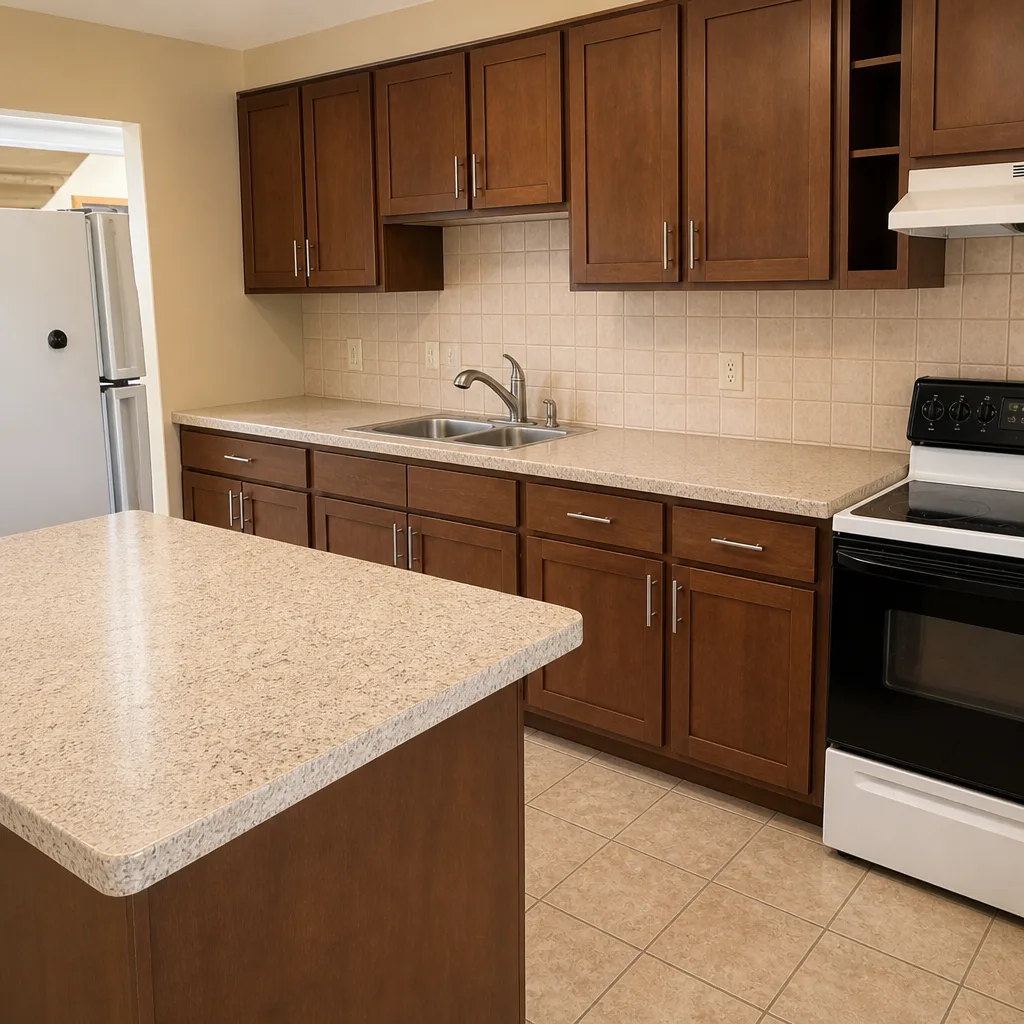 After
Frequently Asked Questions

Every two to three months, with every two months being safer for homes east of US-1 where salt air carries farther. Rinse with plain water first, then wash with mild dish soap and a soft cloth. Dry with microfiber. Avoid abrasive cleansers and any solvent on vinyl or aluminum, and note that most impact warranties require documented annual cleaning.
It can. Manufacturers like Andersen and Marvin write maintenance requirements into their impact warranty language, and the first thing a claims adjuster asks after a failure is whether the unit was maintained. Keep a simple log of when you cleaned, tested seals, and serviced tracks. That log is your evidence.
Silicone-based dry lubricant or PTFE spray. Never use WD-40, grease, or oil. Those attract grit, which grinds the rollers and adds to the problem. Apply after a full track cleaning and dry, and re-test the door’s slide to confirm the rollers are rolling cleanly.
Do the paper test. Close the door or window on a dollar bill at several points along the seal, and if the paper pulls out with no resistance, the seal has failed. Test in spring and fall. Common seal profiles for impact windows and doors are stocked locally, so replacement is typically same-week work.
Frame racking, seal integrity, glazing beads, locks and latches, interior water intrusion, and weep hole clearance. Photograph everything before any cleanup. Impact glass that holds is doing its job. The frame and hardware underneath need the inspection. If anything looks off, call us for an assessment before the next system arrives.
Yes. We handle impact window and door service, repair, and replacement across Homestead. Our crew members are background-checked and uniformed on every visit, and every eligible job includes permits pulled and inspections signed. For repairs over $200, we offer $40 off, and there’s no trip charge inside the county. Call (866) 344-6796 to schedule.
The Bottom Line
Impact windows and doors in Homestead need a routine, not just a repair plan. Clean frames every two to three months in salt air, service sliding door tracks quarterly, test weatherstripping twice a year, run the pre-hurricane checklist by mid-May, and inspect every unit after a storm. That schedule is what keeps the hardware working, the frames out of oxidation, and the warranty intact. Most of it you can do yourself. Anything structural, anything with the glazing, and anything that doesn’t check out after a storm needs a professional. We’ve walked a lot of Homestead homes through this exact calendar, and the homeowners who stick with it get more years out of their impact units and fewer surprise repair bills. Call (866) 344-6796 to schedule a free estimate on any window or door work, or to get a second opinion on a quote you’ve already received.
Written by the team at Barrett & Sons Construction Homestead.