Last updated November 17, 2026

Free written scope consultation - allowances, timeline, and change-order rules on paper before a single trade is scheduled
Driveway & Pavers Maintenance Checklist for Homestead Homeowners
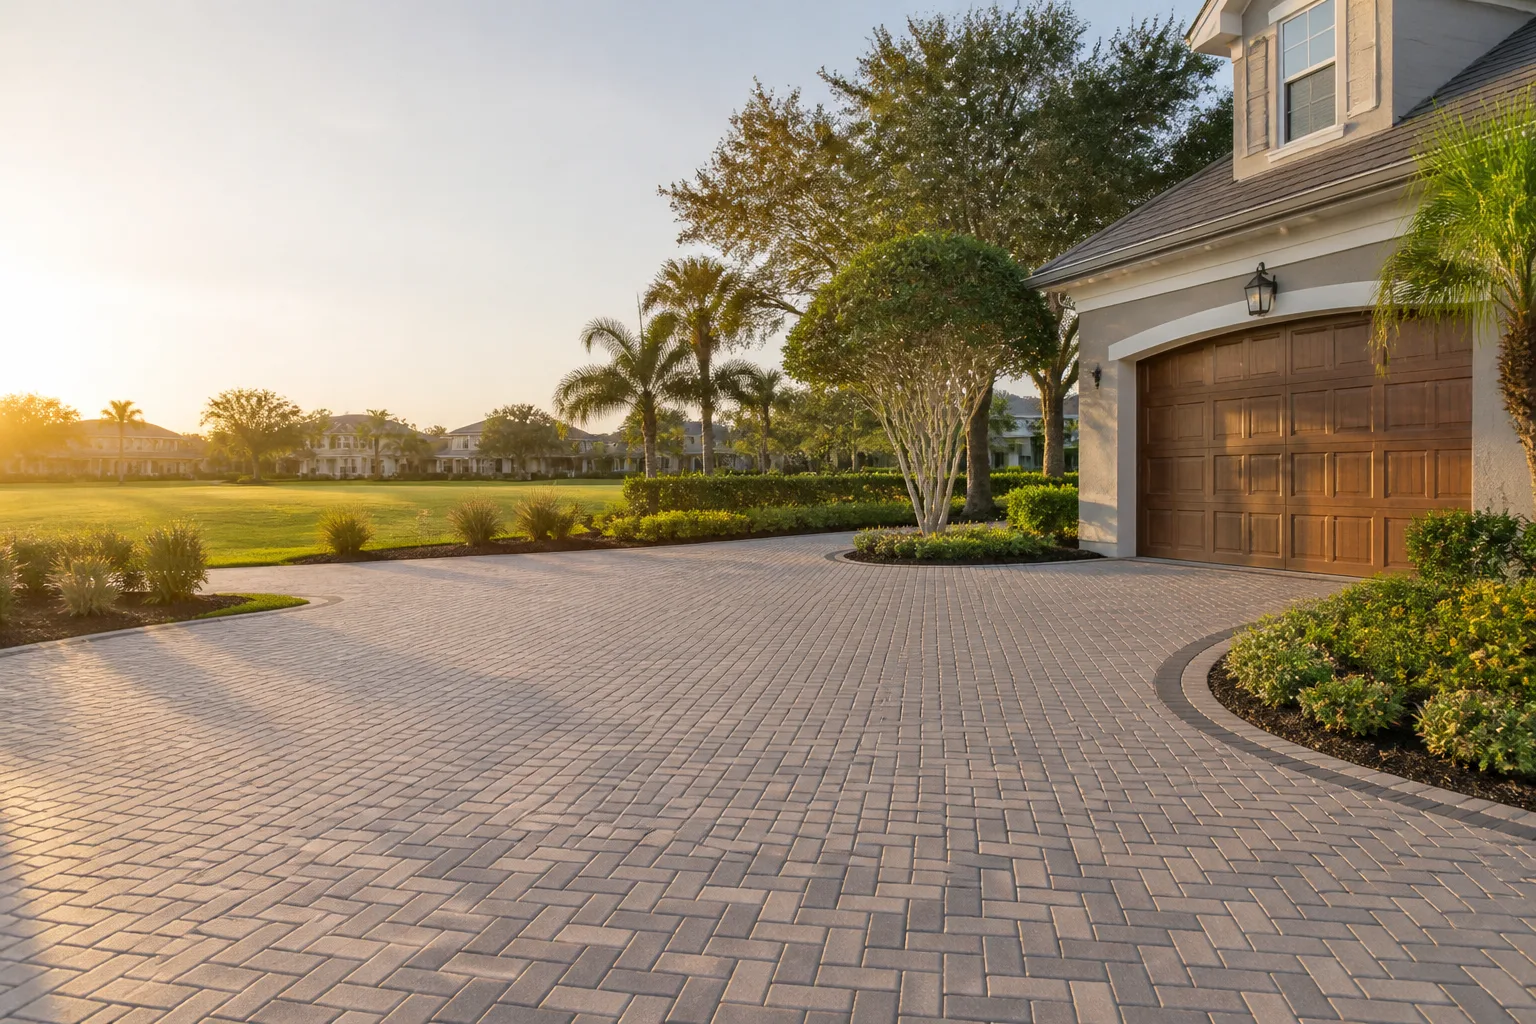
The number-one reason paver driveways in South Florida fail early isn’t cracking. It’s polymeric sand washout. A Homestead summer drops two inches of rain in an afternoon, the water runs the joints bare, the pavers start shifting a hair at a time, weeds split what’s left, and water gets under the surface to undermine the base underneath. By the time a homeowner notices a dip or a wobble, the whole drive needs releveling and a fresh sand fill. The good news: a smart six-month routine tied to this climate can double the life of a paver job without a single contractor visit. Here’s exactly what to do, when, and why it matters.
Quick Answer
In Homestead, a paver driveway needs a full joint re-sand before the June wet season and again in early November, plus a rinse-down and sealer check twice a year. The intense UV, heavy summer rain, and limestone-based soil here wear pavers faster than most of central Florida, so the routine is built around that weather, not a generic annual calendar. Do this much and you’ll skip the most common and expensive repair: base failure caused by water getting under shifted pavers.
Styles & brands we work with
- Kitchen remodeling
- Bathroom remodeling
- Home additions & ADU
- Roofing
- Windows & doors
- Driveway & pavers
- Fence
Table of Contents
- Why Pavers Age Faster in Homestead
- The Wet-Season Re-Sanding Schedule (June – October)
- Telling Efflorescence, Mold, and Algae Apart
- Choosing a Sealer for Homestead UV and Rain
- Checking for Base Failure Before It’s Obvious
- The Irrigation Mistake That Ruins Paver Joints
- The Six-Month Routine, Step by Step
- When to Call in a Professional
Why Pavers Age Faster in Homestead
Three things work against a paver driveway in Homestead, and none of them are the pavers themselves. The first is UV. Miami-Dade County sits inside the High Velocity Hurricane Zone, and the sun here is brutal – strong enough that cheap sealers go chalky in about 18 months and cheap plastic edging turns brittle. The second is rain. Homestead’s wet season from June through October doesn’t deliver a steady drizzle; it delivers hard, fast downpours that hammer the joints and push loose sand out of the driveway like a pressure washer on low.
The third is the ground. Much of the soil around Homestead and the Redland sits on limestone caprock, which drains poorly in spots and creates pockets of standing water under the surface after a heavy rain. When that water can’t drain, it finds the easiest path it can: a joint with missing sand, then the base. Once the base gets soft, the paver above it tips and the whole panel starts to fail.
Put those together and the math is simple. A paver job that would coast for years through a mild calendar in central Florida sees far more wear down here. That’s not a reason to skip pavers – it’s a reason to keep up a routine. For a full picture of materials, base prep, and installation in this market, see our Driveway & Pavers in Homestead service page.
The Wet-Season Re-Sanding Schedule (June – October)
Forget the once-a-year advice you’ll read elsewhere. In Homestead, polymeric sand needs two fills a year minimum, and the timing matters more than the number.
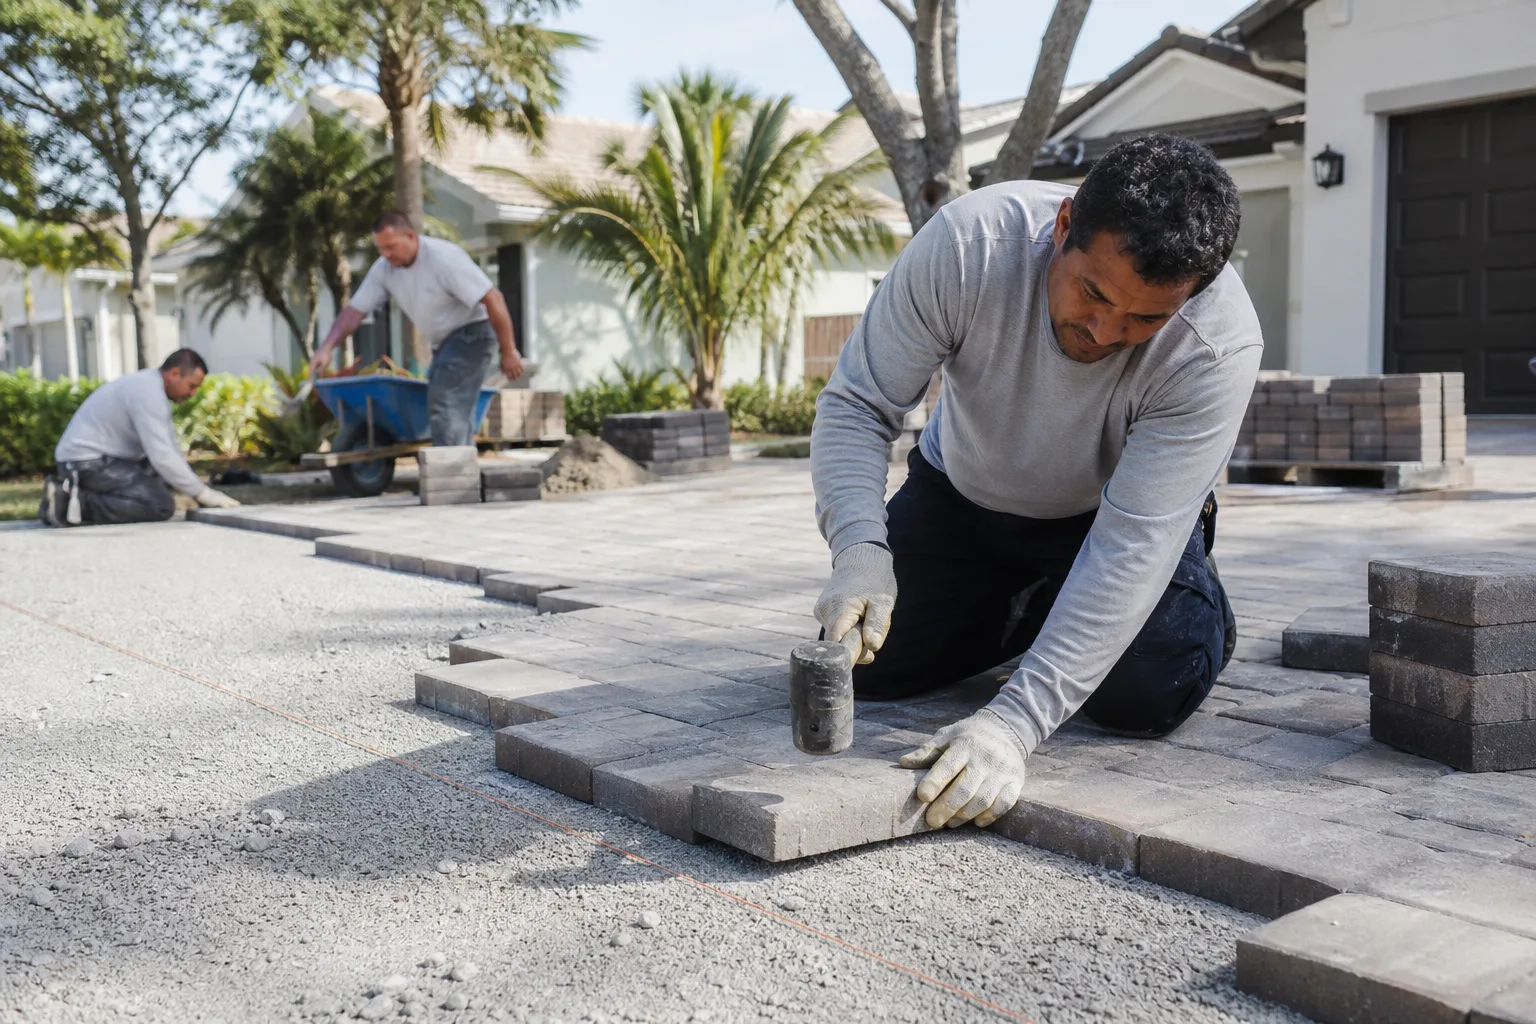
- Late May, before the rains. Re-sand all joints with a quality polymeric sand. This is your armor for the wet season. Get it done before the first sustained afternoon storms hit.
- Mid-season check in July or August. Walk the drive after a heavy rain and look for joints that have opened up or areas where the sand line has dropped. Spot-fill anything that’s failing.
- Early November, after the rains. A full re-sand once the wet season winds down. This protects the pavers from the dry, dusty months and locks the joints before the next June.
- Any time you see bare joints. Don’t wait for the calendar. A missing sand line is an open door.
Why the timing and not just the frequency? Polymeric sand needs a dry cure window of about 24 hours to set properly. In the middle of July, that’s a gamble – a surprise afternoon storm can ruin a fresh fill. Late May and early November give you the best stretch of dry weather, and the fill in those windows lasts through the season. Homestead’s rain also comes in consistent bands, so the homeowners who sand in those two windows get more protection per dollar than the ones doing it twice in random months.
Telling Efflorescence, Mold, and Algae Apart
Not every white or green mark on a Homestead paver drive is dirt, and treating all of it the same is how homeowners crack pavers or waste a weekend. Three different things show up here, and each needs a different approach.
- Efflorescence is the powdery white haze that shows up on the surface – it’s salt migrating out of the concrete inside the paver as moisture moves through. It’s usually a sign of moisture trapped under the surface, so it often appears after a storm or in a low spot.
- Mold is the dark, fuzzy, spreading pattern that shows up in shaded areas, especially under tree cover or on the north side of a house in Homestead.
- Algae is the green or black streak that shows up near irrigation heads, on the sides where water runs, and in shaded, damp spots. It’s slippery, which makes it a real trip hazard on a drive.
The cleaning method matters. Efflorescence is treated with a mild acidic cleaner and a stiff broom – but only after a water test on a hidden paver, because an acid wash can etch some finishes. Mold and algae get a diluted bleach or oxygen-based cleaner and a light scrub. Hitting algae with an acid wash, or efflorescence with a bleach mix, wastes the effort. And don’t pressure-wash above light setting – high pressure strips the finish and blows the joint sand out, which is the exact problem you’re trying to fix.
Choosing a Sealer for Homestead UV and Rain
Sealer is where Homestead homeowners waste the most money. It gets sold with a hard sell and applied wrong, and about 18 months later it’s chalking and peeling and looking worse than an unsealed drive.
Look for an acrylic or polyurethane sealer made for high-UV, high-rain climates, and confirm what it says about the Florida sun. Good options for this market include water-based acrylic sealers from brands with proven UV stabilizers – the same thinking that goes into strong exterior products across trades, like the GAF and CertainTeed systems we install on roofs. Cheap and clear isn’t the point; UV-stable is. A good sealer will hold four to five years in Homestead if it’s applied to a dry, correctly sanded surface. A cheap one might last 18 months.
Two rules that save expensive mistakes:
- Don’t seal over wet pavers or freshly sanded joints. The sealer traps moisture, and that’s how you get a milky, blotchy finish that won’t come off.
- Don’t seal over efflorescence. Fix the source first, then seal.
If your drive has been sealed before and is now peeling, a contractor can strip and reapply without replacing pavers. Ask before you buy another bucket.
Checking for Base Failure Before It’s Obvious
Base failure is the expensive one. A paver that tips slightly because the base under it has softened is a small fix now and a full panel replacement six months from now. Here’s how to catch it early.
- The visual walk. Stand at the edge of the drive in daylight and look across the surface at a low angle. Look for any paver that sits a hair high or low compared to its neighbors. A dip the size of a nickel is a warning.
- The foot-pressure test. Stand on the corner of any suspect paver and rock your weight. A paver that moves, clicks, or rocks is sitting on a void. Good base compaction means no movement at all – a tight paver on proper base is dead solid.
- The rain-map test. After a heavy Homestead rain, look for any spot that holds water longer than a few minutes. Low spots, or areas that pool, are where the base is settling.
- The joint-line test. Run a finger along a joint line. If the joint is wide and deep and the sand is gone on multiple pavers in a row, you have movement underneath. That’s not a re-sand fix; that’s a check-underneath fix.
If your drive has a spot where the pavers have shifted, don’t ignore it until spring. Water gets under a tipped paver fast, and once it does, it undermines the next rim of base. A pro can lift and reset a small section before it spreads. If the failure is more than a small panel, that’s a sign to look at the whole installation, which we’ve written about in more depth on the Barrett & Sons Construction Homestead home page.
The Irrigation Mistake That Ruins Paver Joints
This one gets overlooked because it doesn’t look like a driveway problem. Landscape irrigation heads placed near the edge of a paver drive spray across the pavers, and that creates two problems that compound.
First, the constant wet-dry cycling on the paver surface accelerates wear and discoloration, and it feeds algae growth on the shaded edge of the drive. Second, and worse, the buildup of water at the seam between the lawn and the drive pushes moisture under the paver edge, softening the base from above and below. If a head is positioned to overspray across the drive on a Homestead landscape, it needs to be re-aimed or moved. Slope and spacing matter – a head within a few feet of the drive, aimed toward the house, is usually fine; one aimed across the drive is not.
You can check this yourself in five minutes. Turn on the zones and watch. Any head that’s throwing water onto the pavers, especially at the driveway edge, is a slow-drip problem you’ll only notice a few seasons later when the edge pavers start shifting. Fixing it is generally a cheap fix at the irrigation controller end, and it saves a bigger repair at the pavement end.
The Six-Month Routine, Step by Step
Here’s the whole routine boiled down into the two weekends a year that matter in Homestead.
Every spring (before June):
- Walk the drive, look for movement, check the edge pavers.
- Sweep the surface clear of loose sand and grit.
- Spot-clean any algae or efflorescence with the right cleaner and confirm with a small water test first.
- Re-sand all joints with quality polymeric sand on a dry day.
- Check sealer condition; touch up worn areas only after the sand is fully set.
Every fall (after October):
- Re-check for any joint that opened during the wet season and re-fill it.
- Re-check the base for rocking or dips.
- Light pressure-wash (low setting) to remove summer grime, then re-sand any stripped joints.
- Look at your irrigation heads one more time before the dry months.
Two easy weekends a year, and you’re ahead of most driveways in the neighborhood. For homeowners who also need to lock in the property edge, we get asked about paver borders and matching the drive to the fence line; that’s covered on our Fence Installation in Homestead page. And if your property is heading toward a bigger project like a detached structure or an outdoor build, our Home Additions & ADU in Homestead page covers the permit side.
Common Mistakes to Avoid
- Sand once a year. One annual fill in Homestead means the joints are bare for most of the wet season. It’s two fills here, timed to the rain.
- High-pressure washing. Blasting a paver drive strips the finish and blows the joint sand out, so the surface erodes faster than if you’d left it alone. Low setting only.
- Sealing over a wet or freshly sanded surface. The moisture gets trapped and turns milky. Wait for a full dry day on both before sealing.
- Treating efflorescence and algae the same. One wants a mild acid, the other wants bleach or oxygen. Getting it backwards wastes the day and can etch pavers.
- Irrigation heads blasting across the drive. A Homestead landscaping mistake that quietly softens the paver edge for years after the install.
- Ignoring the small dip. A rocking paver on a soft spot is the cheapest repair you’ll ever make – and the most expensive one if you wait for the whole panel to fail.
- Using cheap sand. Low-grade polymeric sand breaks down in Homestead UV and rain faster than a quality brand, and the “cheap” fill ends up being two fills a year anyway.
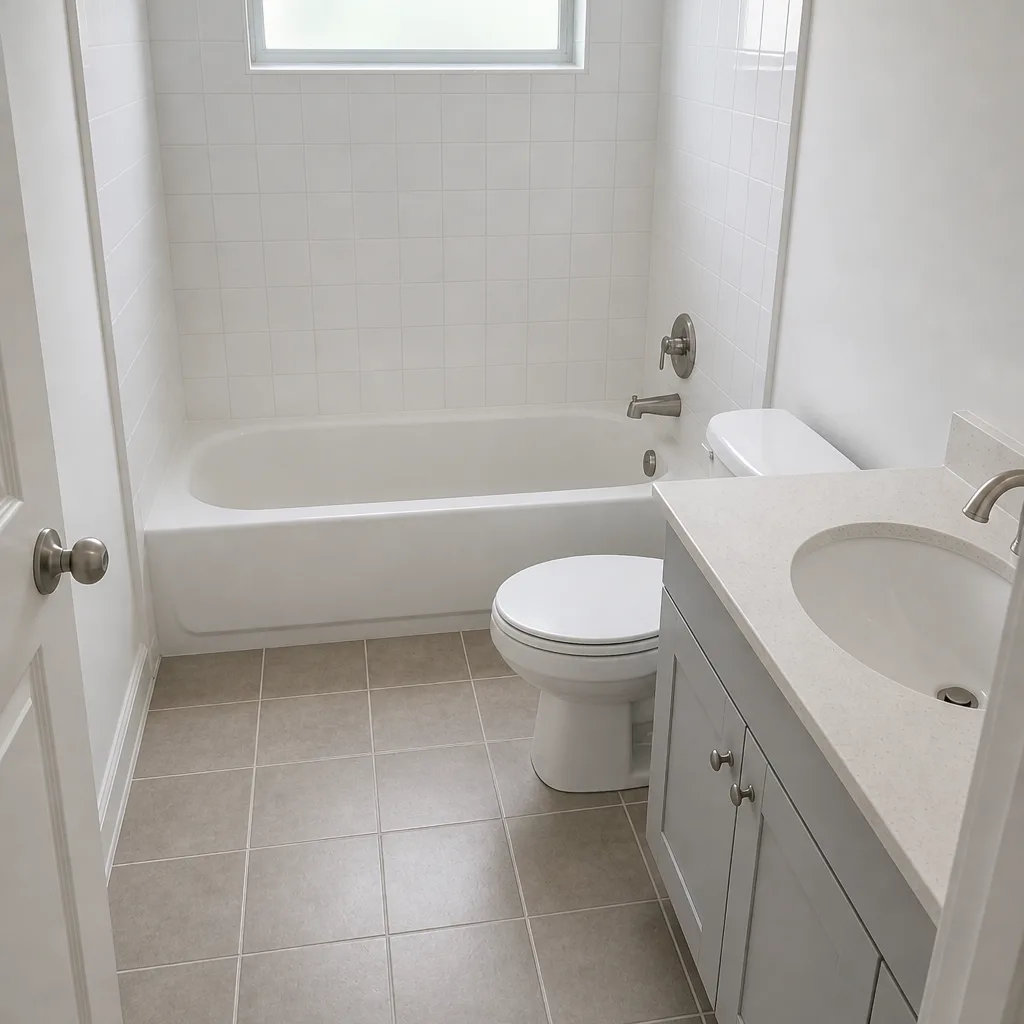
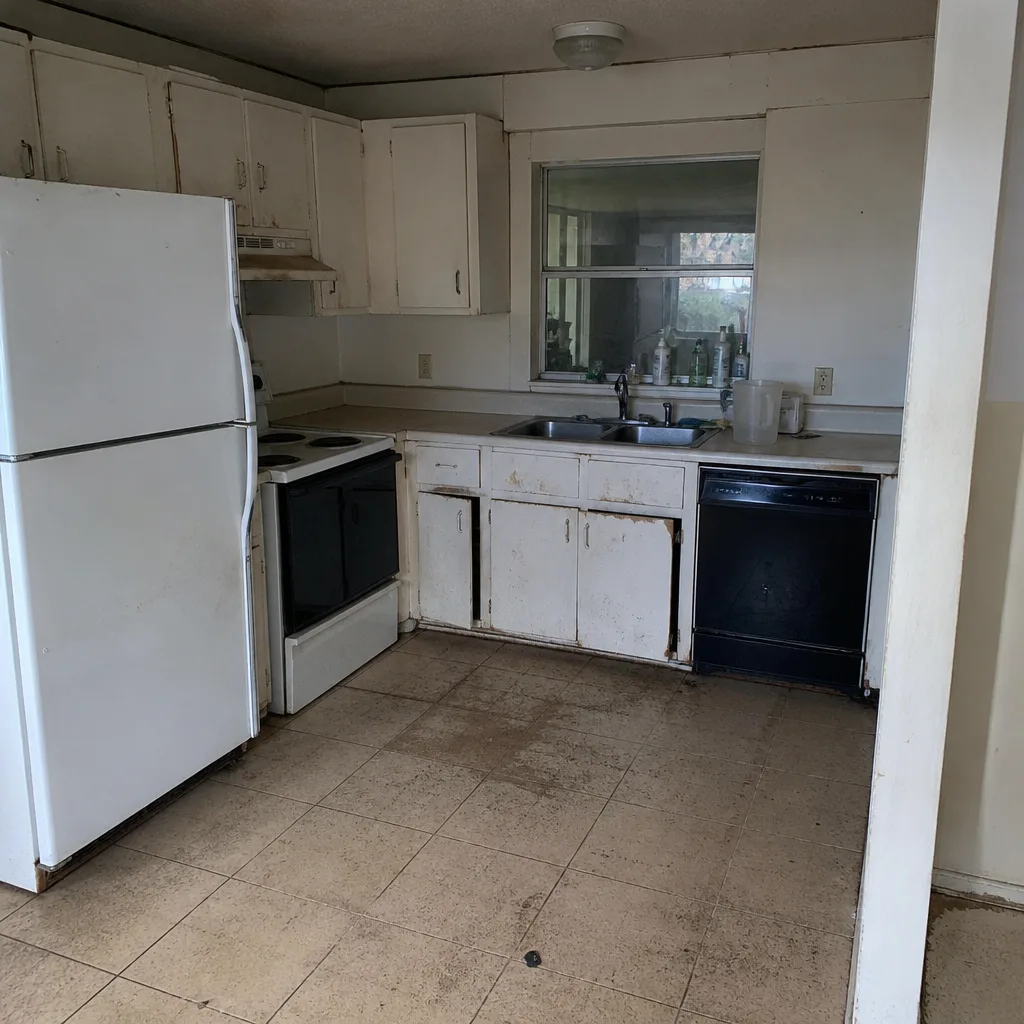
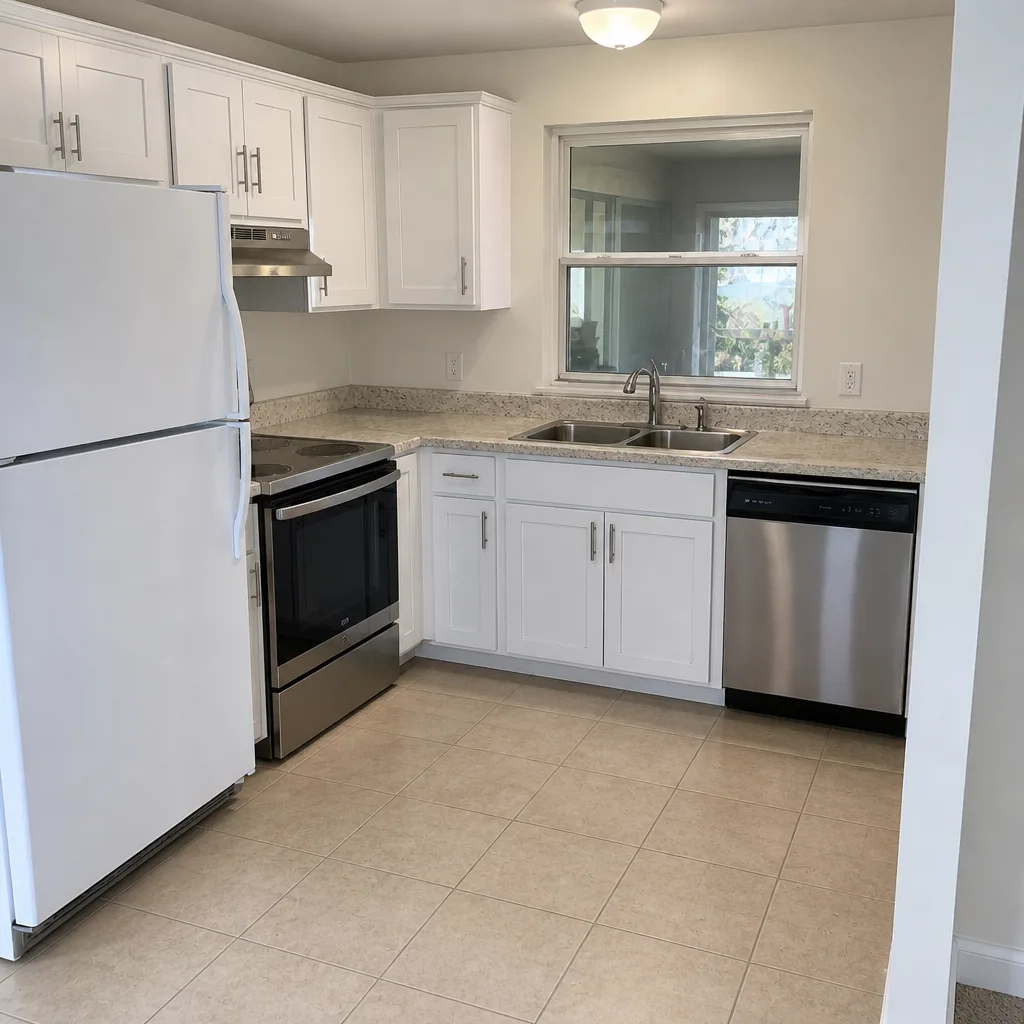
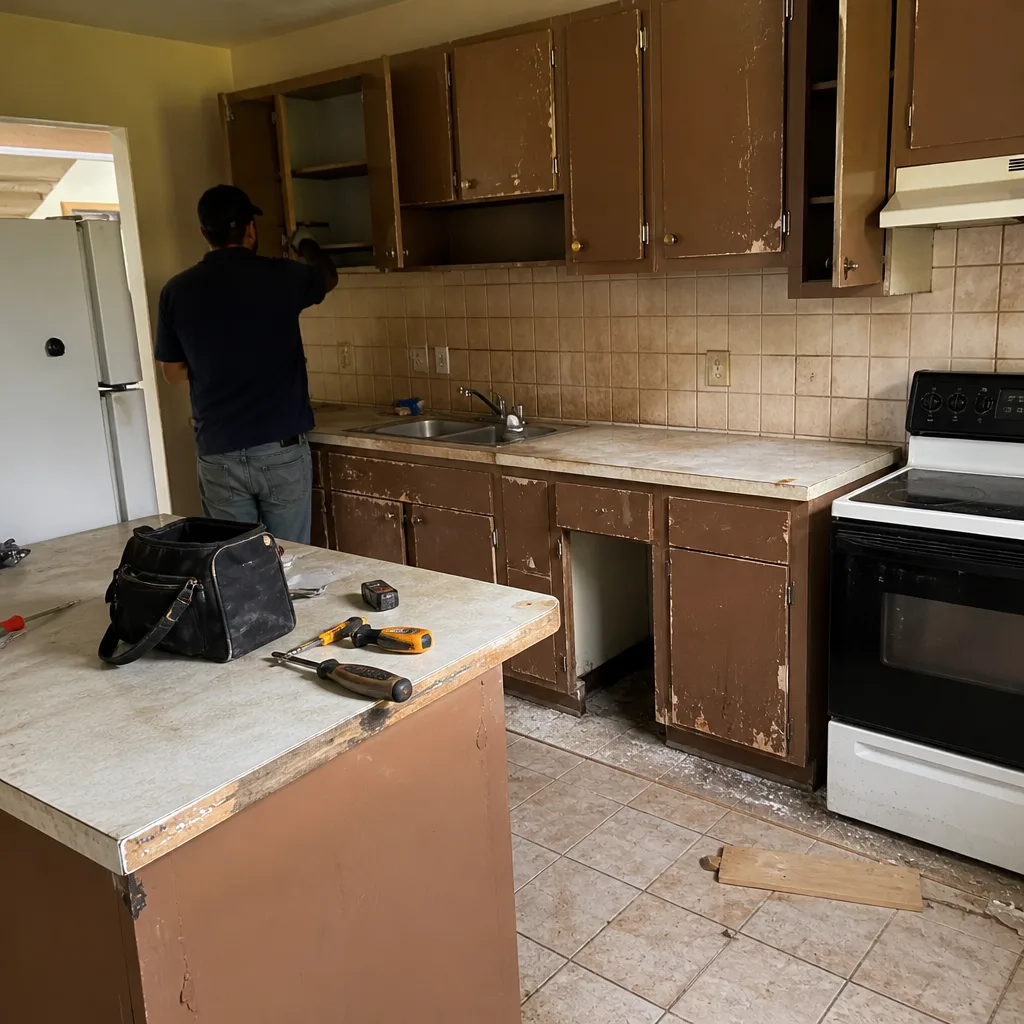
See the difference
 Before
 After
 Before
 After
 Before
 After
When to Call a Professional
Most of this list is homeowner work. There are a few situations where it isn’t, and worth saying plainly. Call a pro if more than a couple of pavers in a row are rocking or the surface has a dip deeper than about half an inch; if your drive is holding standing water hours after a storm; if water is spilling off the drive toward your foundation or into the garage; if sealant is peeling and blotchy across the drive; or if the edge of the drive has separated from the apron at the street. Those all point to base or compaction problems, and re-sanding won’t fix a base problem. For homeowners near the coast, salt air makes some sealers degrade faster than the inland timeline; worth a look before resealing. We pull permits on hardscape work where the county requires it, and every job includes a written change order before any scope change. Barrett & Sons Construction Homestead offers free estimates in Homestead – call (866) 344-6796.
Frequently Asked Questions
Twice a year – once in late May before the June wet season and once in early November after the rains taper off. Homestead’s heavy summer downpours wash out polymeric sand faster than most of Florida, so the twice-a-year schedule protects the joint line better than a single annual fill. Spot-fill any bare joint you find between scheduled fills.
That’s usually efflorescence, not mold or dirt. It’s salt pushing out of the concrete as moisture moves through the paver, and it tends to appear in Homestead during the wet season or in low spots where water lingers. A mild acidic cleaner after a water test on a hidden paver is the usual fix. If it keeps coming back in the same spot, that’s a sign of moisture trapped under the surface, and worth a professional look.
You can, but the sun and rain in Homestead will age an unsealed drive faster. A quality UV-stable sealer is what protects the surface in the High Velocity Hurricane Zone. Skip the cheap sealer – it’s the one that turns chalky in about 18 months. Call (866) 344-6796 if you need an honest read on whether your drive is ready to be resealed.
Yes – a rocking paver means it’s sitting on a void or soft spot in the base. That’s the earliest sign of base failure, and it’s the cheapest stage to fix. Catch it while it’s one paver and a crew can lift and reset the section; leave it through a wet season and the failure spreads to the panel next to it.
High-pressure washing is. It strips the finish and blows the joint sand out, which makes the base problem worse. A low-setting pressure wash or a garden hose and a broom is fine for light cleaning, and you re-sand anything the wash opened up. For algae, clean first with the right mix at low pressure, then re-sand.
No, and it’s important not to confuse the two. Re-sanding fills joints; it doesn’t fix a base that’s settled. A dip means the base under the surface has moved. Re-sanding a sagging drive can actually hide the problem until a paver cracks. Get the dip looked at before you sand.
Often yes, if the original brand is still in production. Premium hardscape lines from Belgard and Techo-Bloc are usually traceable. If the pavers are older or from a discontinued line, a repair will blend better if we can source from the same product family – worth a look before anyone pulls up pavers. Estimates here are free; call (866) 344-6796.
The Bottom Line
Homestead’s sun, summer rain, and limestone soil wear pavers faster than most of Florida, and the routine that protects them is built around that climate – not a generic annual checklist. Two re-sands a year timed to the wet season, the right cleaner for each kind of stain, a UV-stable sealer, a quick foot-pressure check on any suspect paver, and irrigation heads aimed away from the drive. Those five habits keep a paver job tight for years and skip the one repair that actually hurts – base failure. The routine is homeowner work. The base is not, and it’s worth knowing the difference. If you’d like a second opinion on any of it, ask the crew that keeps the drive out of your driveway until it’s needed.
Call (866) 344-6796 for a free estimate in Homestead. We’re owner-operated, we answer the phone at any hour with a live person, and every job comes with a written 90-Day Done Right Promise – if something’s not right, one call brings us back to fix it. Ask for a free second opinion on any written estimate before you sign anything.
Written by the team at Barrett & Sons Construction Homestead.