Last updated November 17, 2026

Free written scope consultation - allowances, timeline, and change-order rules on paper before a single trade is scheduled
Home Additions & ADU Troubleshooting: Common Problems and How to Fix Them
A crack in a new addition wall six months after construction is almost never a wall problem. It’s usually a foundation problem, and that foundation problem usually traces back to a soil compaction report nobody ordered or a footer depth that matched a northern code book instead of South Florida soil. Same story with the musty smell at the seam between old house and new addition: that’s not a paint issue, it’s a flashing detail that got skipped before the drywall went up. This guide works backward from the symptoms Homestead homeowners call us about and traces each one to the decision that caused it, so you can tell the difference between cosmetic settling and a real structural problem.
Quick Answer
Most home addition and ADU problems in Homestead trace to four causes: inadequate soil compaction or footer depth, missing or wrong flashing at the old-to-new connection, HVAC systems never recalculated for the added square footage, and electrical work tied into panels that were already at capacity. Structural settling that continues past the first year, moisture at the transition seam, and breakers that trip when the air handler kicks on are all fixable, but the fix has to address the cause, not the symptom.
Styles & brands we work with
- Kitchen remodeling
- Bathroom remodeling
- Home additions & ADU
- Roofing
- Windows & doors
- Driveway & pavers
- Fence
Table of Contents
- Why Moisture Always Shows Up at the Old-to-New Connection
- HVAC Underperformance After an Addition: The Manual J Problem
- Breaker Trips and Electrical Problems in Additions
- How to Check Whether Your Addition Passed Inspection
- Settling vs. Problematic Movement: How to Tell the Difference
- ADU-Specific Problems: Utilities, Access, and Occupancy
- Additions Built During the Post-Irma Contractor Surge
- A Step-by-Step Way to Diagnose an Addition Problem
Why Moisture Always Shows Up at the Old-to-New Connection
The seam between the original house and the addition is the highest-risk location in the entire build, and it’s where we get called most often in Homestead. Water intrusion there is rarely about the new roof or the new walls. It’s about how the two structures meet, and whether the contractor detailed that intersection the way Homestead’s summer rain demands.
What proper flashing looks like at that connection:
- Step flashing woven into the existing roof courses, with each piece overlapping the next by at least 4 inches and running under the shingle above.
- A continuous kick-out flashing at the bottom of the run, diverting water away from the wall cladding rather than letting it sheet down the face.
- House wrap or weather-resistive barrier lapped correctly across the joint, not butted together.
- Sealant used as a backup, not as the primary defense. If the whole detail depends on a bead of caulk, it will fail within two rainy seasons.
- Weepless siding or a rain screen detail on the new wall, because wind-driven rain during a Homestead thunderstorm will find any gap.
We’ve opened up walls where the original contractor simply ran the new stucco up against the existing wall and caulked the joint. That works for about one wet season. After that, you’re looking at rotted sheathing, mold behind the drywall, and a repair bill that starts at several thousand dollars because now you’re redoing finished interior surfaces too. If you’re seeing bubbling paint or a soft spot in the drywall a foot or so in from the seam, stop painting over it and open it up.
HVAC Underperformance After an Addition: The Manual J Problem
This is the complaint we hear more than any other: the addition is always a few degrees warmer than the rest of the house, or the whole system now struggles in August. The cause almost always predates the HVAC work. Somebody added 400 square feet of conditioned space and never recalculated the load on the existing system.
Sizing an air conditioner isn’t guesswork, and it isn’t a rule of thumb like “one ton per 500 square feet.” It’s a Manual J load calculation, and it accounts for:
- Insulation values in the new walls and attic, which are usually better than the 1990s original.
- Window area and orientation, since a west-facing slider in Homestead picks up a lot of afternoon heat.
- Air infiltration, and whether the new space is sealed tight or drafty.
- Duct runs, because adding a branch duct off an existing trunk line changes the static pressure of the entire system.
If the original system was sized correctly for a 1,800-square-foot house and you’ve tacked on 500 more, it’s now undersized by roughly 25 to 30 percent. Short-cycling, warm rooms, and an evaporator coil that ices over in the summer are the usual symptoms. The fix is a proper Manual J and Manual D calculation, then either a dedicated mini-split for the addition or a correctly sized replacement for the whole house. Adding a window unit is a bandage that raises your power bill and doesn’t solve the humidity problem, which matters more in Homestead than raw temperature.
Breaker Trips and Electrical Problems in Additions
Breakers that trip when the air handler cycles, lights that dim when the microwave runs, a panel that’s warm to the touch: all of these point to the same root cause. Somebody wired the addition into an existing panel that was already close to capacity.
A modern Homestead home with a pool, a heat pump, an electric range, and a dryer can easily need 200 amps. Plenty of older panels are 150-amp or even 100-amp service. Adding circuits for a new bedroom, bathroom, and mini-split without a load calculation is asking for trouble, and it’s the kind of trouble that doesn’t announce itself until a hot day when everything runs at once.
What a proper electrical scope for an addition includes:
- A load calculation on the existing service before any new circuits are added.
- A dedicated circuit for the addition’s HVAC equipment, not a tap off an existing branch.
- GFCI protection in any wet area, and AFCI protection on bedroom and living-space circuits per current code.
- A panel upgrade, if the calculation says you’re over 80 percent of capacity.
- A permit and an inspection. Electrical work is the single most common place we find unpermitted work hiding behind drywall.
Electrical is one trade we never advise a homeowner to troubleshoot themselves. A panel that’s warm to the touch or a breaker that trips repeatedly is a call-a-professional situation, not a weekend project. Our crews pull the permit and get the inspection signed, and the inspector who looks at that panel works for you, not for us. That’s the whole point.
How to Check Whether Your Addition Passed Inspection
If your addition was built in Homestead any time in the last decade, there’s a real chance it wasn’t fully inspected. The contractor surge after Hurricane Irma left a lot of work half-finished and half-papered, and some of those jobs were signed off by people who aren’t around to answer for them anymore.
Here’s how to find out, in order:
- Pull your property records through the Miami-Dade County Property Appraiser’s site, which shows permitted square footage and can flag an addition that was never recorded.
- Contact Homestead’s Building Department and ask for the permit history on your address. They can tell you what permits were pulled and whether each one has a final inspection on record.
- Request the inspection card or the certificate of occupancy for the addition. If it doesn’t exist, the work was either never permitted or never closed out.
- If you find a permit that was opened but never finalized, you can usually still get it inspected and closed out with some paperwork and, occasionally, corrective work.
- If there’s no permit at all, plan on a professional inspection and a conversation about what it will take to bring the work into compliance.
This matters at resale, at refinance, and at insurance renewal. An unpermitted addition can be excluded from your policy’s covered square footage, and it can kill a sale at the eleventh hour. If you’re buying a Homestead house with an addition, ask for the permit history before you sign anything, and if the seller can’t produce it, get an independent inspection.
Settling vs. Problematic Movement: How to Tell the Difference
Every new addition settles somewhat during its first year. The house is finding its weight on the soil. That’s normal. What isn’t normal is movement that continues past that window, or cracks that grow instead of staying put.
Here’s the practical distinction:
- Normal settling: hairline cracks in drywall at the corners of door and window openings, appearing in the first 12 to 18 months and then stabilizing.
- Problematic movement: cracks wider than a dime, horizontal cracks in foundation walls, doors that stick in one season and not another, or a floor that slopes noticeably more than when it was new.
- Red flags that warrant an engineer: a crack that grows measurably over a few months, separation at the old-to-new joint, or any crack accompanied by a sticking exterior door.
A licensed structural engineer’s inspection typically runs $400 to $800 for a residential addition in the Homestead area, and it’s worth every dollar before you spend money on cosmetic repairs. Patching drywall over active movement just hides the problem and buys you another six months. In our experience, a two-hour engineer’s visit usually answers in one afternoon what three different contractors have been guessing at for a year.
ADU-Specific Problems: Utilities, Access, and Occupancy
Accessory dwelling units bring their own troubleshooting list, and most of the problems come back to one question: was the ADU treated as a separate living unit from day one, or as a converted garage somebody wired off the main panel?
The common ADU problems we see in Homestead:
- Shared electrical service. An ADU needs its own panel or a clearly calculated share of the main service. Tapping off the house panel is how you end up with the tenant’s space heater tripping the family’s kitchen circuit.
- Sub-metering disputes. If the ADU is metered through the main house, sort the split out on paper before anyone moves in. We’ve seen family relationships strained over a $180 power bill.
- Setback and lot coverage violations. Homestead has specific setback rules for ADUs, and a unit built closer to the property line than allowed can cause trouble at resale or with a future permit.
- HVAC and humidity. A detached or semi-detached ADU runs its own load calculation, and a mini-split is often the right answer. Sharing a duct run from the main house almost never works in South Florida.
- Access and egress. A code-compliant exterior door with proper hardware and lighting, and a path that drains. Water pooling at the ADU door is a common post-storm complaint.
If your ADU is already built and something on that list is going wrong, our Home Additions & ADU in Homestead page lays out what a properly scoped ADU build includes, which is a useful benchmark for what yours should have had.
Additions Built During the Post-Irma Contractor Surge
If your addition went up in the eighteen months after Hurricane Irma, there’s a specific set of problems worth checking for. The demand for contractors in South Florida in that window was enormous, and the supply of licensed, insured, thorough contractors wasn’t. A lot of work got done fast by people who didn’t stick around to answer for it.
What we look for on post-Irma additions in Homestead:
- Permits opened but never closed out, or work performed entirely without a permit.
- Roofing work where the old-to-new connection was flashed with caulk and hope instead of proper step flashing.
- Stucco applied without a proper weather barrier behind it, which in South Florida’s humidity is a slow-motion water problem.
- HVAC equipment sized by the seat of someone’s pants rather than by load calculation.
- Electrical work where a panel was added without a load calc, or circuits were double-tapped.
The honest answer is that most of this work looks fine until it doesn’t. In our experience, if you bought a Homestead house with a post-Irma addition, the best few hundred dollars you can spend is on an independent inspection while the weather is dry and small problems are still small. If you’re thinking about roofing work along with the addition repair, our Barrett & Sons Construction Homestead home page lists the trades we handle, including roofing, and we’re always happy to look at a roof connection as part of a broader estimate.
A Step-by-Step Way to Diagnose an Addition Problem
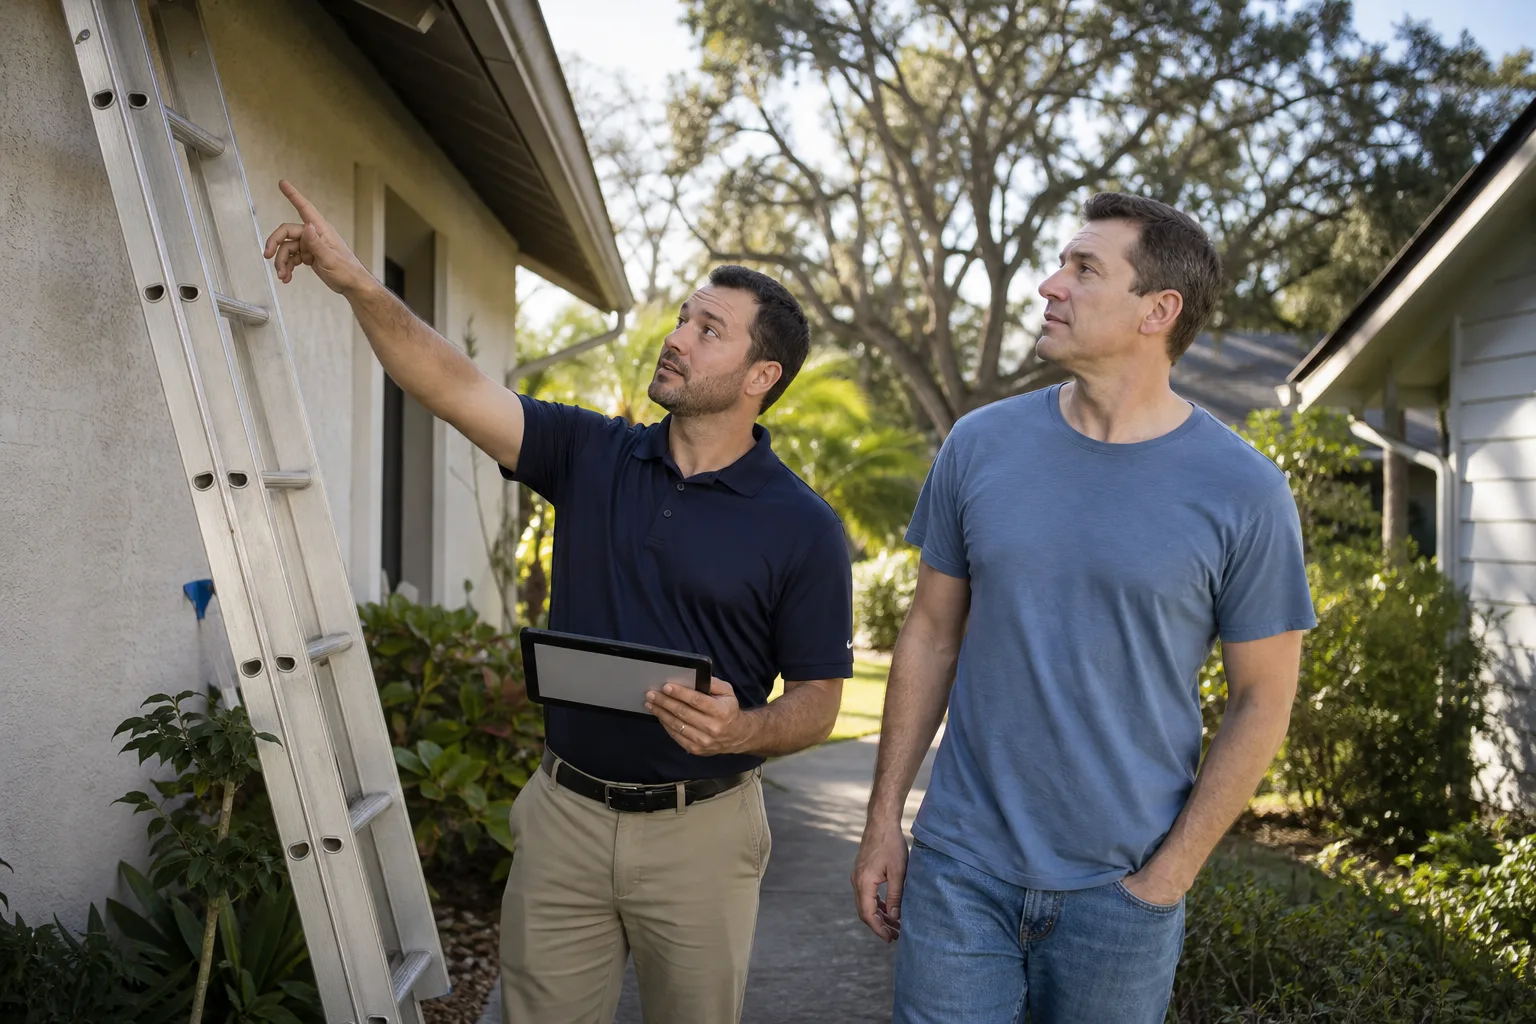
When something is going wrong with an addition, the goal isn’t to guess. It’s to work backward from the symptom to the cause, one layer at a time. Here’s the sequence we use on our own jobs when a homeowner calls with a complaint.
- Document the symptom and the timing. A photo, a date, and a description. “Crack is about 3/16 inch wide, appeared in March, has grown by a quarter inch since June” tells us far more than “there’s a crack.”
- Check the permit history first. Before we open anything up, we want to know whether the addition was permitted, what the drawings specified, and whether the final inspection was signed. That record usually explains what we’re about to find.
- Test the moisture question. A penetration meter at the seam between old house and new gives a quick read on whether you’re chasing a water problem or a structural one.
- Look at the panel and the HVAC equipment tags. The age, brand, and tonnage on the air handler and the amp rating on the panel tell us whether the system was ever sized for the addition.
- Get an engineer’s inspection if movement is involved. A licensed engineer’s written report is worth more than any contractor’s opinion, including ours, and it’s the document you’ll need for insurance, resale, or a corrective permit.
- Get a written scope before any repair. Every itemized line, every allowance, every price in writing, with a written change order if the scope shifts. If your contractor won’t put it in writing, that’s your answer about whether to hire them.
A proper diagnostic scope is what a free estimate should be. If somebody quotes you a repair number off a photograph, they’re guessing, and you’ll end up paying twice.
Common Mistakes to Avoid
- Patching drywall cracks before diagnosing the cause. If the crack is moving, the patch will move with it. Find out whether it’s settling or something structural before you spend a dime on cosmetics.
- Assuming the HVAC is fine because it was fine before the addition. It wasn’t sized for the square footage that exists now. Run the Manual J.
- Adding circuits to a panel without a load calculation. Older 100-amp or 150-amp panels in Homestead homes are frequently within 10 percent of capacity before you touch them.
- Trusting a contractor who says permits are optional. They are not optional, they are not “just paperwork,” and the inspector works for you, not for the contractor who skipped them.
- Skipping the permit search on a house you’re buying. A fifteen-minute call to the Homestead Building Department can save a $40,000 surprise at closing.
- Using a design-build outfit that won’t put the change order in writing. The allowance that isn’t on paper is a surprise waiting for a date. Insist on written change orders before work proceeds.
- Ignoring moisture at the seam until it shows as a stain on the ceiling. By the time it stains, the sheathing behind it has often been wet for two seasons.
See the difference
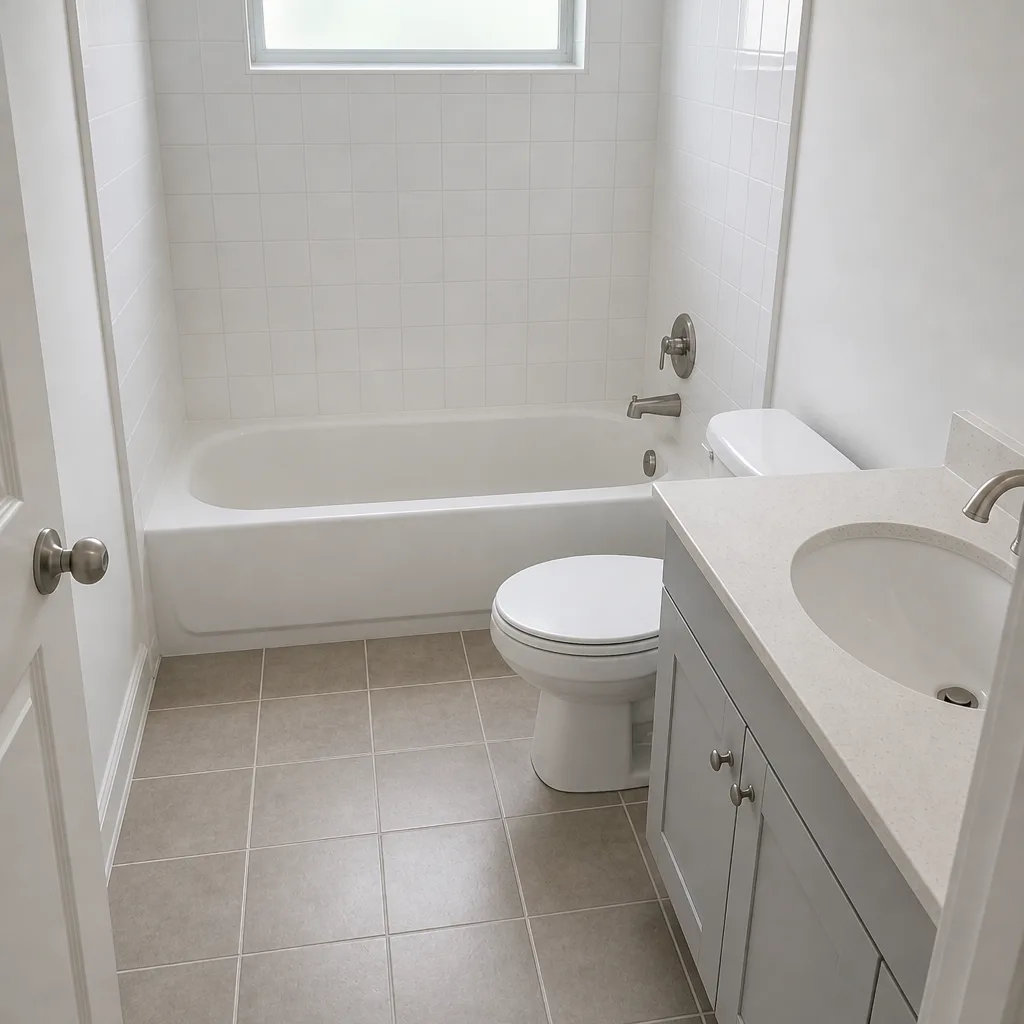
 Before
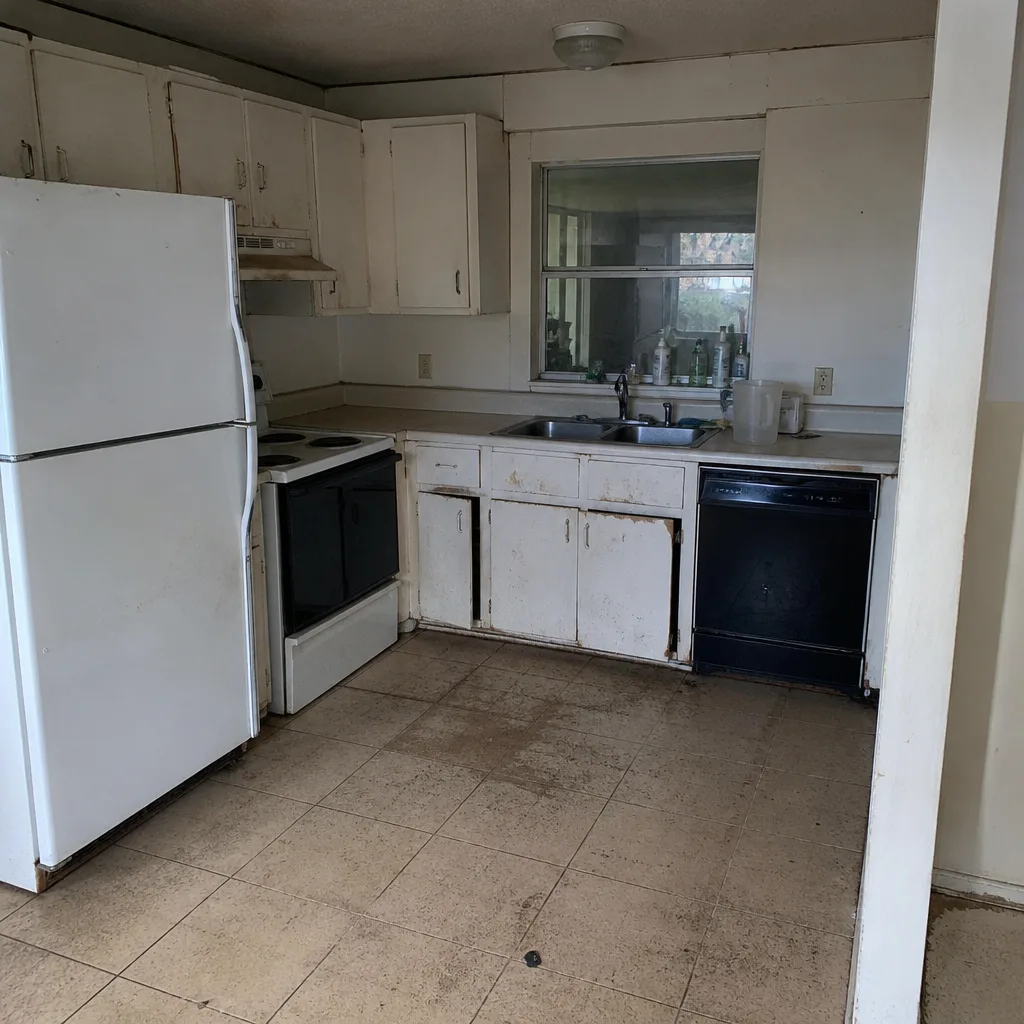
 After
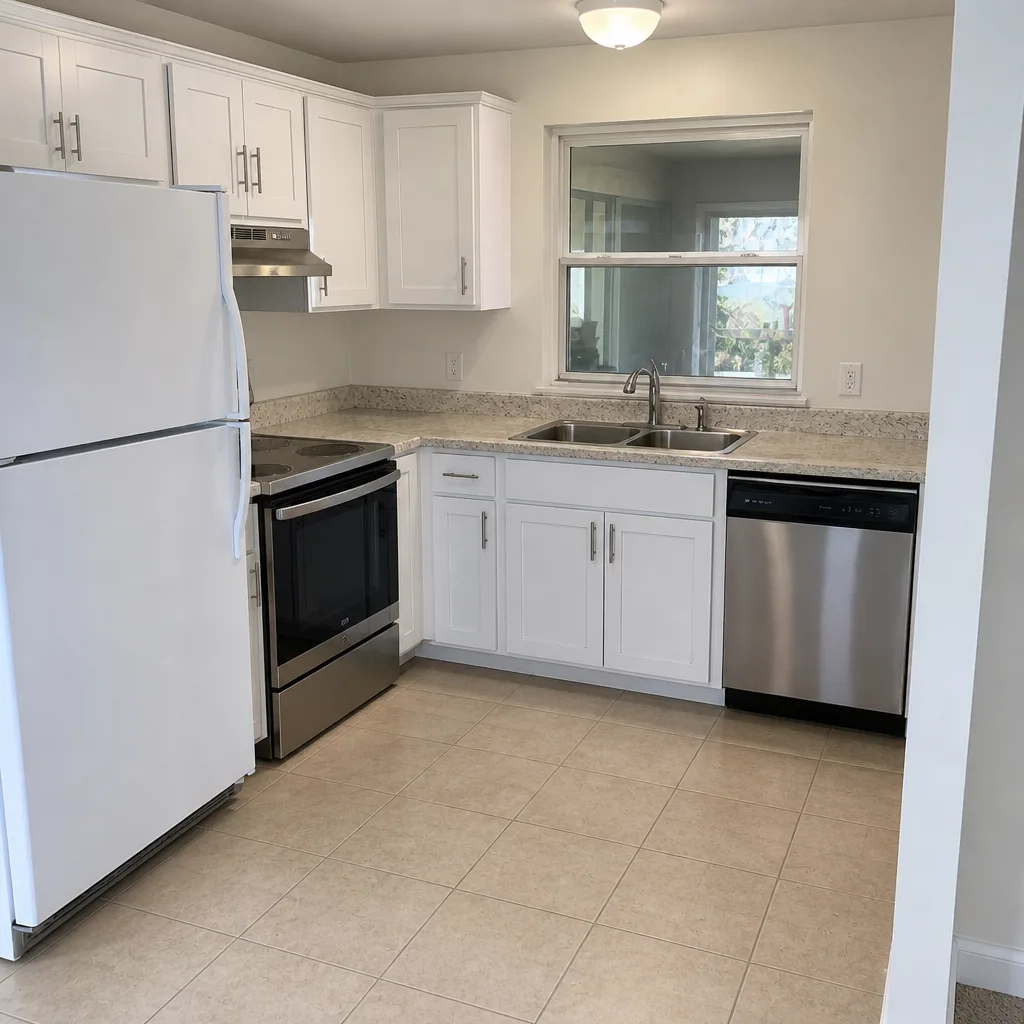
 Before
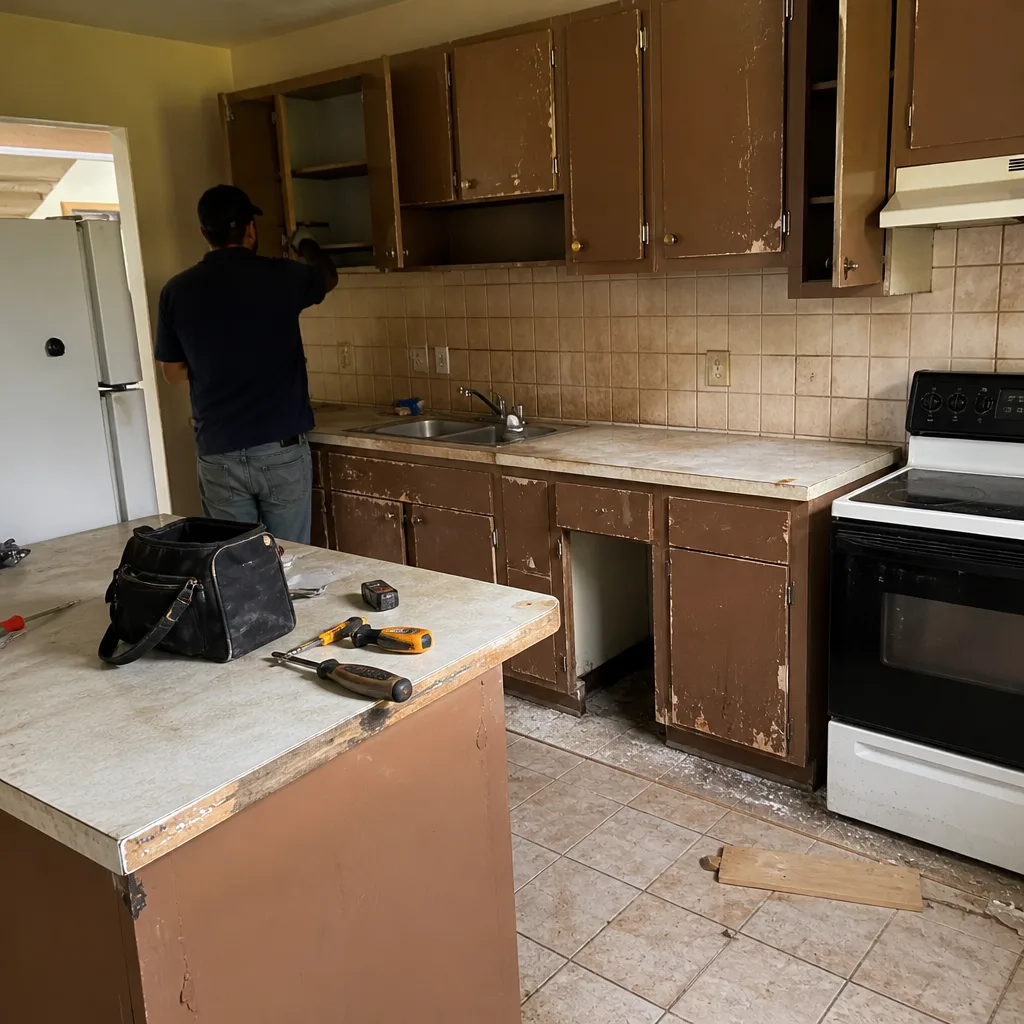
 After
 Before
 After
When to Call a Professional
Some of this you can handle yourself: photographing the crack, checking the Property Appraiser’s site, calling the Building Department for permit history. Some of it you shouldn’t touch. Electrical panel work, structural engineer’s inspections, anything that requires opening up a wall to check sheathing, and any repair to an HVAC system that wasn’t sized for the addition all belong in professional hands.
Two situations in particular are worth calling about today. The first is any crack that’s growing, or any crack accompanied by a sticking door or window. The second is any moisture at the old-to-new joint, because the cost of fixing it goes up sharply once mold and rotted sheathing are involved. Barrett & Sons Construction Homestead offers free estimates in Homestead and the surrounding area. Call (866) 344-6796, and if the repair turns into a larger scope than you expected, our crews pull the permits and get inspections signed, just like we do on a full build.
Frequently Asked Questions
Cosmetic settling repairs usually run $300 to $900. An engineer’s inspection runs $400 to $800. Underpinning or pier installation, if the footing is genuinely inadequate, typically starts around $8,000 and goes up from there depending on access and depth. The one thing we’d say is that the engineer’s report always saves money in the long run, because it tells you whether you need the underpinning or not. Call (866) 344-6796 for a free estimate on the repair itself, and we’ll tell you honestly if you need the engineer first.
Almost always because the HVAC system was never recalculated for the added square footage. The original system was sized for the original house, and adding 400 or 500 square feet puts it below the load. The fix is a Manual J and Manual D calculation, then either a dedicated mini-split for the addition or a correctly sized replacement for the whole system. A window unit will move air but won’t run the humidity down, which is the bigger problem in Homestead.
Call the Homestead Building Department with your address and ask for the permit history, then check the Miami-Dade Property Appraiser’s site for recorded square footage. If the addition’s square footage isn’t in the property record and there’s no permit on file, it was almost certainly unpermitted. If a permit was pulled but never closed out, it can often still be inspected and finalized with some paperwork and corrective work.
Often not, or not fully. An unpermitted addition can be excluded from your covered square footage, and a claim related to work that was never inspected can be denied outright. The specific answer lives in your policy, so read the exclusions section and call your agent. If you own a Homestead home with an unpermitted addition and you’re unsure, getting the permit history sorted out now is cheaper than sorting it out after a claim.
Not without a written change order that you sign before the work proceeds. Our rule is simple: scope in writing, allowances in writing, every price change in writing. If a contractor opens up a wall and finds something unexpected, they should stop and put a written change order in front of you. If they don’t, they’re working without your agreement, and that’s not how a job should go.
Yes, on any eligible job. We pull the permits and get the inspections signed, and we’ll never tell you permits are optional, because they aren’t. The permit inspector works for you, not for us, and that’s why we like him. It’s the cheapest insurance you’ll ever buy on a repair, and it’s the difference between a documented fix and a patch that costs you later.
The Bottom Line
The problems that show up in an addition two years after construction almost always trace back to decisions made before the foundation was poured: soil compaction, footer depth, flashing detail, HVAC load calculation, and electrical capacity. If you’re troubleshooting an addition in Homestead right now, start with the permit history and a moisture reading, then get an engineer involved if movement is on the table. Don’t patch the symptom and hope. Get the cause diagnosed and put the repair in writing before anyone picks up a tool, with the allowance and the scope and the price all on paper before the work starts. If you need a second set of eyes, we’re happy to give you a free estimate.
Written by the team at Barrett & Sons Construction Homestead.
If you’re working through an addition or ADU problem in Homestead and need a straight answer, call Barrett & Sons Construction Homestead at (866) 344-6796 for a free estimate. Every scope is written, every price change is a written change order, permits are pulled and inspections signed on eligible jobs, and the whole thing is backed by our 90-Day Done Right Promise. We also handle Driveway & Pavers in Homestead and Fence Installation in Homestead when the addition project extends out to the yard.