Last updated November 17, 2026

Free written scope consultation - allowances, timeline, and change-order rules on paper before a single trade is scheduled
The Complete Driveway & Pavers Guide for Homestead Homeowners
Most driveway paver failures in South Florida happen six inches underground, not at the surface, because the installer followed a northern spec sheet in a subtropical climate. That’s the quiet problem behind cracked pavers, sunken corners, and grass creeping through joints up and down the streets here in Homestead. This guide is our Homestead-specific playbook: how our climate, soil, water table, and county codes change the job, what materials and base depths actually hold up, how to read your lot before a single paver is set, and what those impressive warranty words really require from you. We’ll walk you through all of it, from the first grading pass to the last sealer coat.
Quick Answer
A driveway paver installation in Homestead succeeds or fails on three local factors: a deeper, drainage-conscious compacted base built for our high water table, a paver and joint system that handles salt air and intense UV, and a pulled Miami-Dade permit that keeps your insurance valid. Get those three right and the driveway lasts decades. Skip any one of them and you’ll be re-leveling it within a few hurricane seasons.
Styles & brands we work with
- Kitchen remodeling
- Bathroom remodeling
- Home additions & ADU
- Roofing
- Windows & doors
- Driveway & pavers
- Fence
Table of Contents
- Why Homestead’s Water Table Demands a Different Base
- Salt Air, UV, and Which Pavers Last Here
- Miami-Dade Permits and Your Homeowner’s Insurance
- Reading Your Lot for Sheet-Flow Before You Build
- Material Choices: Concrete, Clay, Travertine, and More
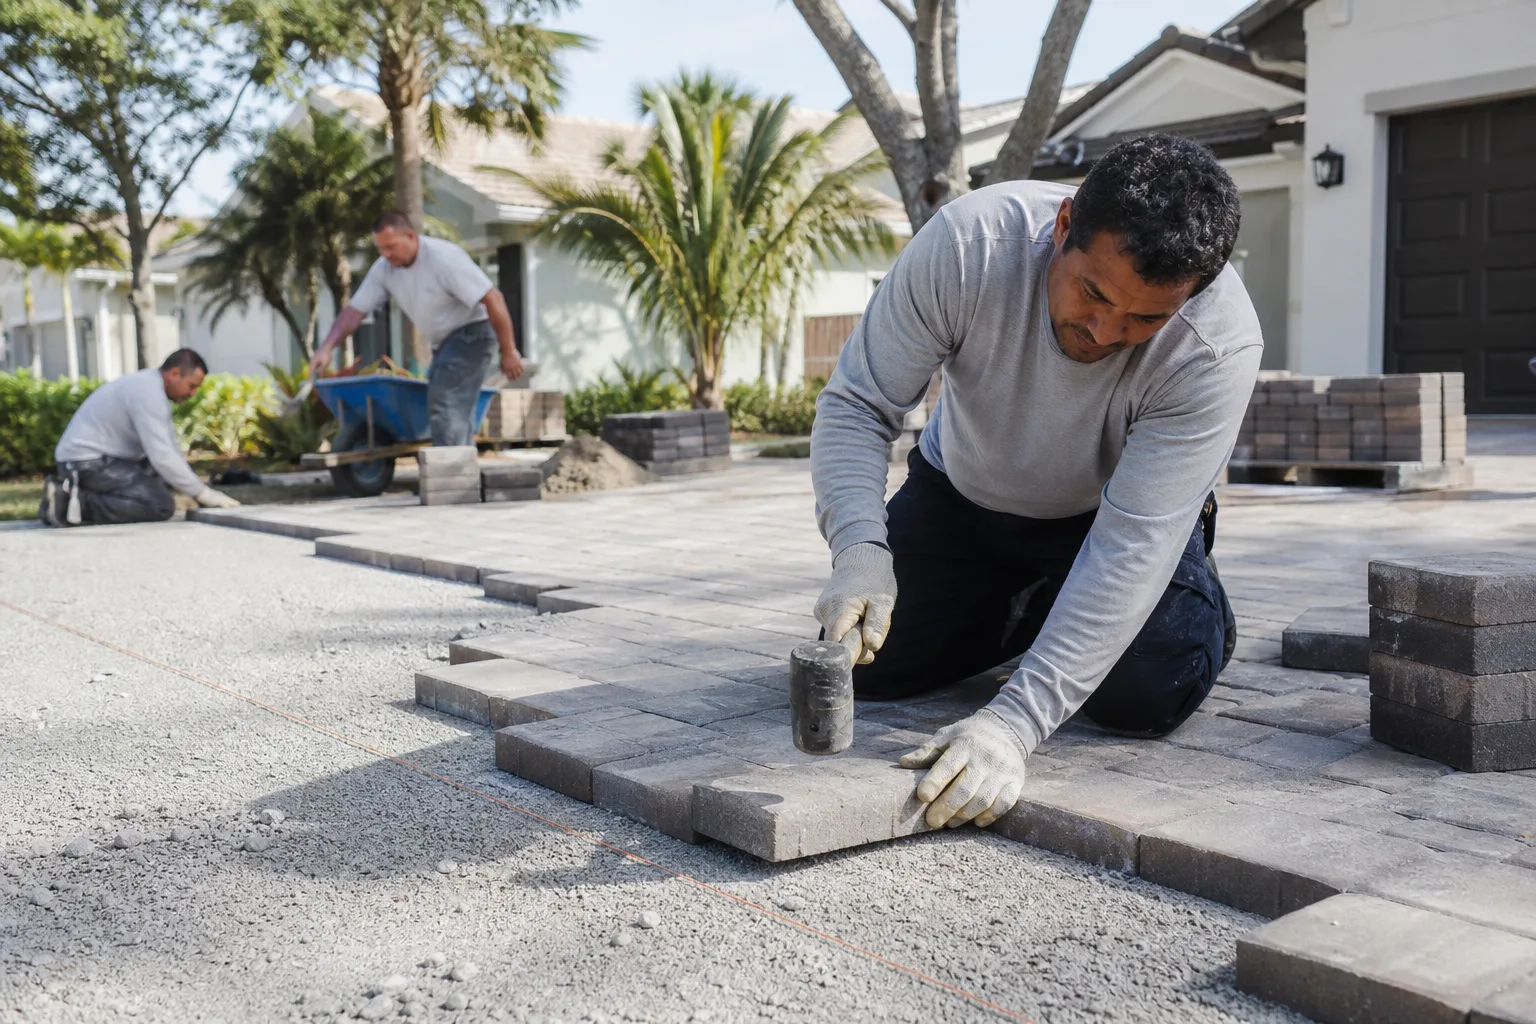
- The Installation Sequence, Step by Step
- What “Lifetime” and “Transferable” Warranties Really Require
- Keeping a Homestead Driveway Alive for Decades
Why Homestead’s Water Table Demands a Different Base
Here’s the counterintuitive part: our high water table means the ground under your driveway is often wetter than you’d guess, even in the dry months. National guides spec a base depth of four to six inches for residential driveways. In much of Homestead, that’s an invitation for heaving, pumping, and settlements after a summer storm. We routinely build a deeper compacted base of six to eight inches here, and on the lowest lots, more.
The reason is drainage. When the water table sits close to the surface, water in the base has nowhere to fall. It sits, it expands when it’s saturated, it moves under load. A properly built base uses a graded aggregate, meaning the stone sizes are mixed so small particles fill the gaps, and it’s compacted in lifts. A 4-inch base laid in one pass is really just loose gravel with pavers on top. A 6- to 8-inch base built in two or three lifts, each compacted with a plate compactor, is what actually resists the pumping motion that cracks a driveway from underneath.
We also add a drainage layer or a perforated underdrain on the low side of lots where we know water collects. In older Homestead subdivisions and in parts of the Redland, we’ve seen driveways fail within two seasons simply because the installer skipped that step. The trade-off is cost and time upfront. The payoff is a driveway that doesn’t leave tire ruts after a tropical downpour.
What to ask any installer about base prep
- How deep is the compacted base, and how many lifts?
- Does the base have a drainage path, or does water sit?
- What aggregate are you using, and is it graded and compacted?
- How do you handle the transition where the driveway meets the street or garage?
If the answer to any of those is vague, slow down. Base prep isn’t glamorous, but it’s most of the job. You can see more on how we handle our Driveway & Pavers in Homestead work, including how we plan grading and drainage from the first site visit. And if you’re thinking beyond the driveway, our Barrett & Sons Construction Homestead home page gives the full picture of what we do around the property.
Salt Air, UV, and Which Pavers Last Here
Salt air off Florida Bay and the intense UV at this latitude do more damage to a sealer and a joint than a decade of northern freeze-thaw cycles. We see sealers break down in two to four years here where a manufacturer’s literature suggests five to seven. The sealer goes chalky, then it flakes, then water gets into the joint and the joint fails. Concrete pavers with integral color and a quality penetrating sealer hold up well. Clay pavers and certain travertine products also do fine in Homestead when they’re installed with the right joint system.
The material that surprises people is travertine. It’s popular in South Florida because it stays cool underfoot, which matters more than most homeowners realize. The catch is that travertine is porous and needs filling and sealing to survive here. Pool-deck travertine and driveway travertine are not the same spec, so ask about the fill grade and sealer before you commit.
Polymeric sand is our default joint filler in Homestead, not ordinary washed sand. Polymeric locks together and resists water washout from storm runoff. Ordinary sand gets pushed out by the next heavy rain, and once the joints open, weeds and erosion follow. UV stability in the polymeric product matters too. Cheaper products haze and turn cloudy after a summer of South Florida sun.
What we say to every homeowner: pick the paver for how it handles here, not for how it looks in a brochure photo taken in Arizona. A paver that looks great for three years and then goes chalky and loses its color is a worse investment than a plainer one that holds up. For a sense of which premium brands we recommend, we carry Belgard and Techo-Bloc hardscape materials, and we’ll show you the actual product lines available for your job.
Miami-Dade Permits and Your Homeowner’s Insurance
Skipping the permit on a Homestead driveway is one of the most expensive shortcuts a homeowner can take. Miami-Dade County requires a permit for most driveway construction, replacement, and significant repair work, and that permit brings an inspector out to check the base, drainage, and final grade. The permit inspector works for you, not the contractor. He is there to confirm the job was done to code before it’s covered in pavement.
Here’s the insurance angle most people miss. If a driveway is added or replaced without a permit, and later there’s a claim connected to water intrusion, standing water, or a trip-and-fall, the policy language can give the insurer grounds to dispute the claim. The homeowner’s first line of defense is a permit record. Without it, you’re relying on the goodwill of an adjuster at the worst possible moment.
We pull permits on every eligible job and get inspections signed before we close the job. On a paver driveway, that means the base and drainage are inspected, the finished grade and slope are checked, and the paperwork lives with the county. If a contractor tells you permits are optional, that’s a red flag you shouldn’t ignore.
What a Homestead driveway permit typically involves
- Application with the property survey and a site plan showing the driveway extent.
- Plan review to confirm setbacks, slope, and drainage flow direction off the property.
- Pre-pour or pre-install inspection of subgrade, base, and drainage features.
- Final inspection of finished grade and slope once pavers are set.
- Signed and closed permit record for your file.
On any job where the scope changes midstream, the change arrives as a written change order before the work happens. That’s how we handle every scope and allowance. You’ll never get a surprise invoice at the end of a Homestead paver job. The same rule applies to the fence side of the property, so if you’re fencing at the same time, look at our Fence Installation in Homestead page and we’ll coordinate the two.
Reading Your Lot for Sheet-Flow Before You Build
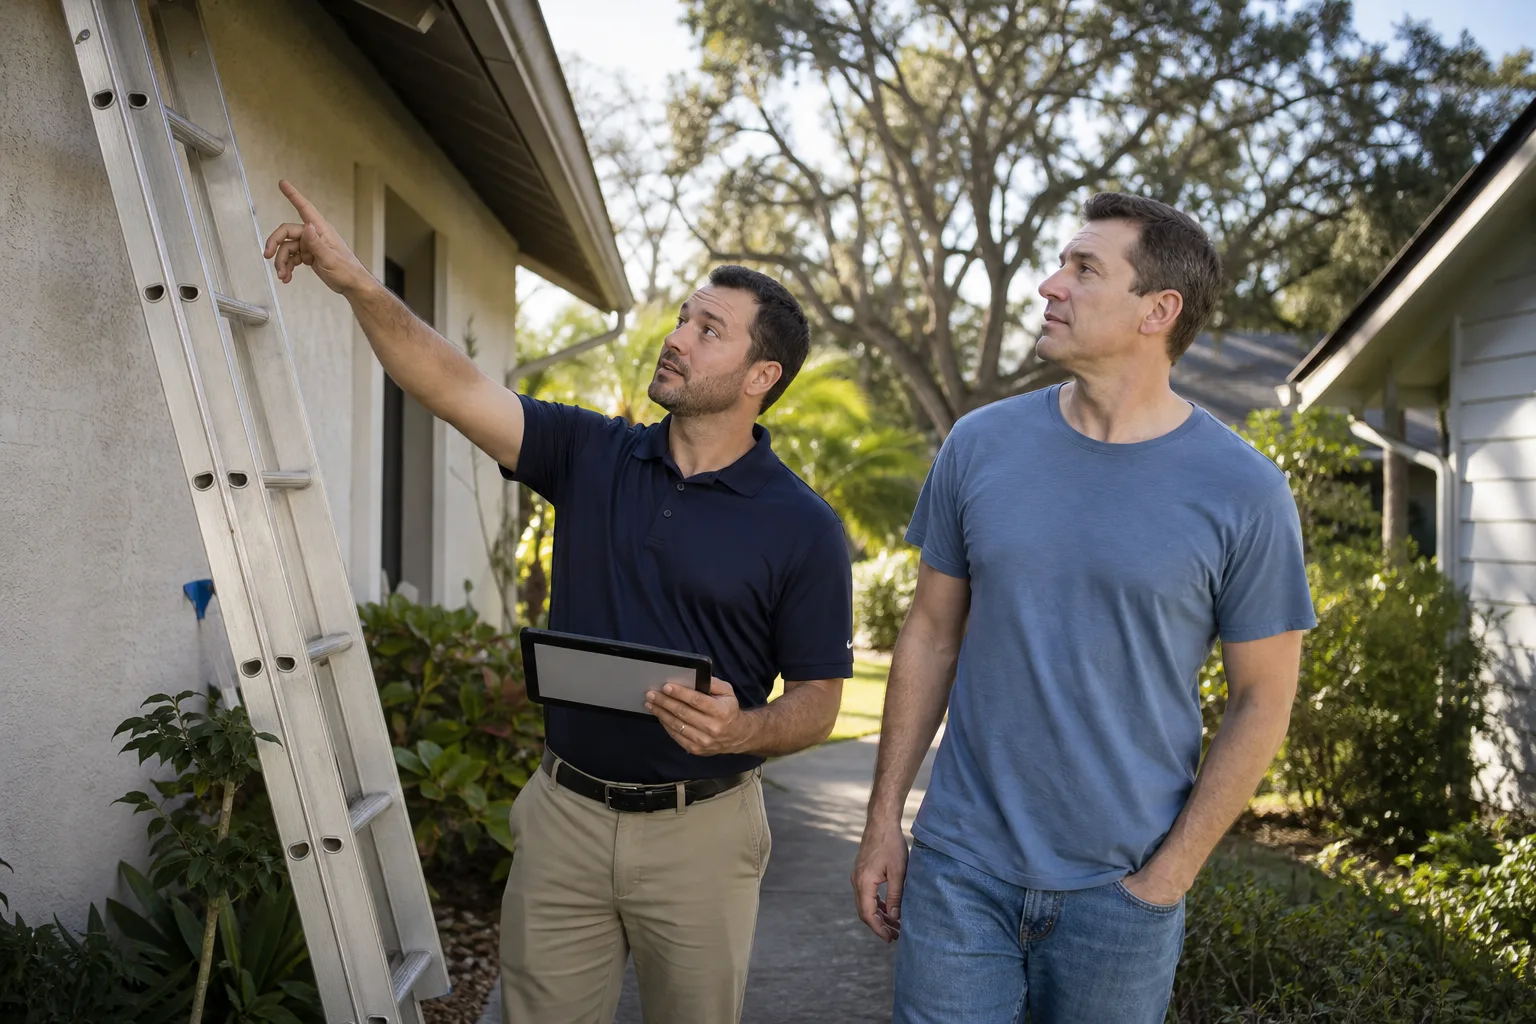
Before a single paver gets set, we read the lot. Sheet-flow is the direction water wants to take across the surface under the influence of gravity and grade. If your driveway is graded to send water toward the garage or the front door instead of the swale or yard, you will be chasing water out of the garage for as long as you own the house. That’s true in newer Homestead construction and in older lots.
Reading a lot for sheet-flow means looking at the site from the street inward, checking where the surrounding properties drain, and confirming the finished slope. Small changes in the grade at the driveway apron matter more than most people think. So does the shape of the driveway itself. A single broad slope toward a swale is safer than a crown or valley that sends water into the house side.
How we read a Homestead lot
- Walk the lot from the street and note the natural high and low points.
- Check adjoining properties: do they drain onto your lot, and where does the water want to go?
- Confirm the fall from the garage door threshold to the street, and verify it always drops away from the house.
- Identify any low spots and plan a swale, drainage, or grading fix before paving.
- Finalize the driveway layout and slope in the site plan before permits go in.
A driveway that channels runoff into the garage is a design failure, not a weather event. Correcting grade after pavers are set is far more expensive than planning it right. If you’re building further out on a lot with grading challenges, or adding a covered carport or garage, our Home Additions & ADU in Homestead team can coordinate the footprint and drainage with the paving scope.
Material Choices: Concrete, Clay, Travertine, and More
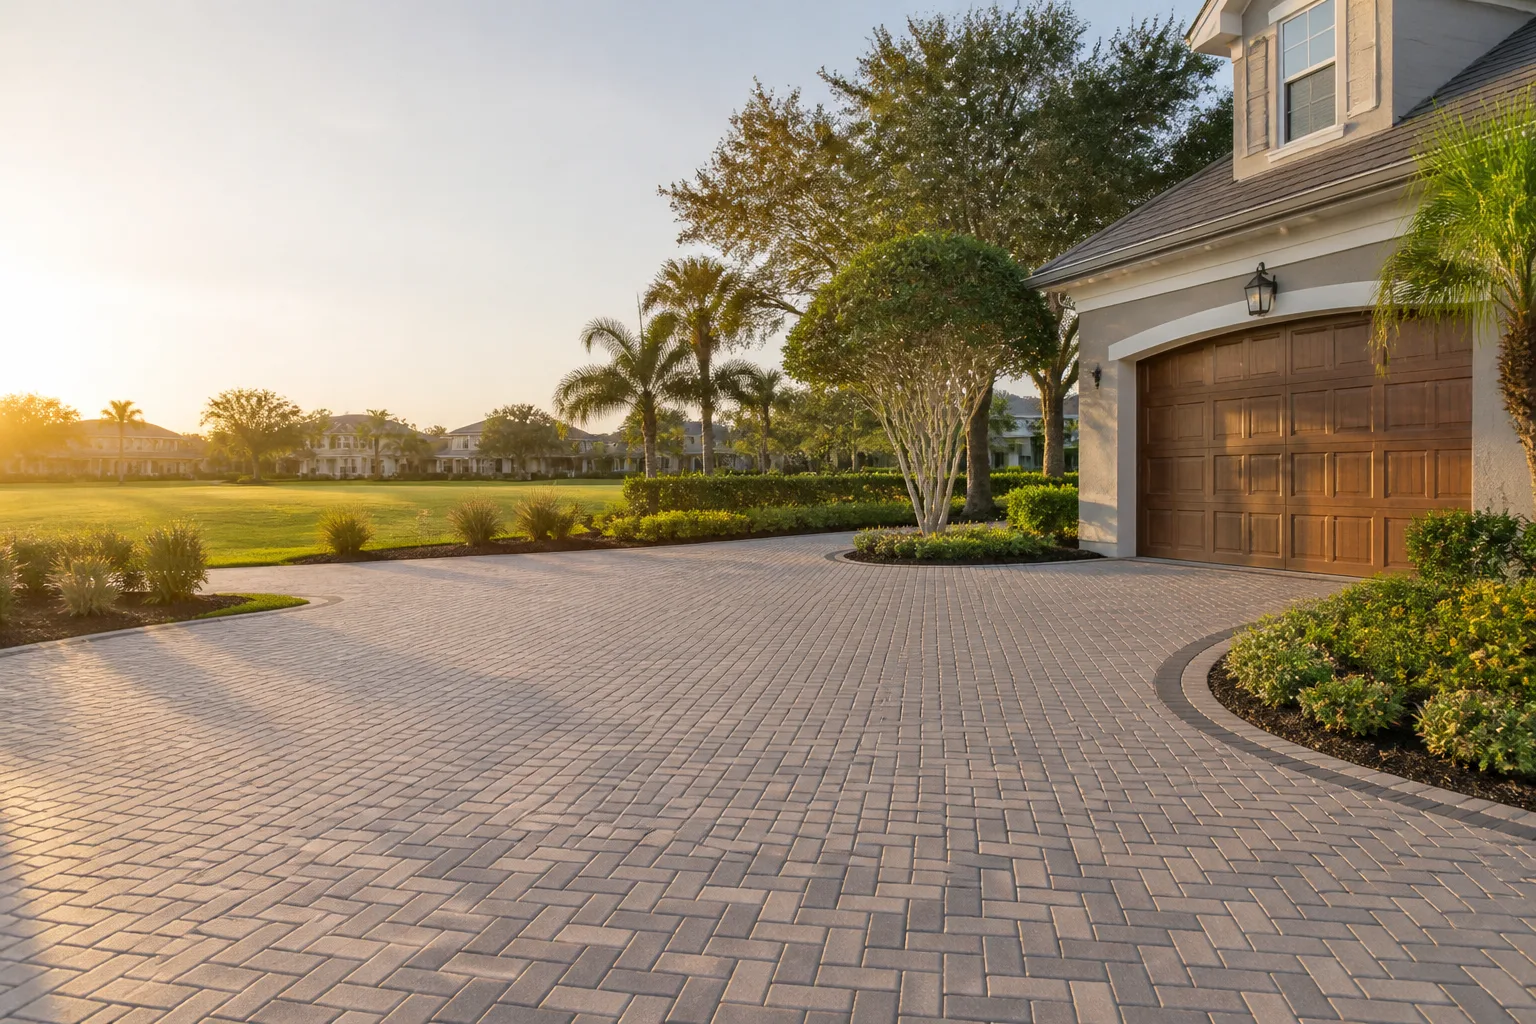
The right paver for Homestead balances three things: how it handles salt and UV, how it drains and stays cool, and what it costs to maintain. Here’s how the most common options stack up in our experience.
- Concrete pavers. The workhorse choice. Integral color and a quality sealer keep them looking good for years. Wide range of styles, easy to repair a section if something fails.
- Clay pavers. Fire-resistant color that doesn’t chalk, and generally at home in humid climates. A bit softer underfoot and requires more attention to joint filling.
- Travertine. Cool to walk on and very popular in South Florida. Needs fill and sealer appropriate to a driveway, not a pool deck. Ask about grade and sealing before you commit.
- Porcelain pavers. Excellent UV and salt resistance. More expensive up front, and not every installer is experienced with the setting bed they require.
- Permeable pavers. A good fit where local drainage needs it. They must be built with the right sub-base and a permit-compliant drainage design to work.
We carry premium-brand hardscape materials so the paver you pick is a brand you can look up, not a mystery product off a van. When a material is confirmed in the scope, it’s confirmed in writing. An allowance that isn’t on paper is a surprise waiting for a date, and we’d rather not put you in that position.
The Installation Sequence, Step by Step
The sequence matters as much as the materials. Here’s the order we follow on a Homestead paver driveway, from first cut to final sealer.
- Site visit and scope. Walk the lot, read sheet-flow, and write the scope with all allowances in the plan.
- Permit. Submit to Miami-Dade, review plans, and schedule inspections.
- Excavation and grading. Remove the existing surface, grade to plan, and set the base elevation.
- Base build. Lay graded aggregate in lifts, compact each lift, and install drainage features on low lots.
- Base inspection. The inspector signs off on subgrade, base depth, and drainage before pavers go down.
- Edge restraint. Set edge restraint so the pavers don’t migrate outward under load and water.
- Setting bed and pavers. Install pavers over the bedding layer, checking slope and layout as we go.
- Joint fill. Fill with polymeric sand and compact to lock the joints against water washout.
- Final inspection and sealer. Confirm grade and slope, pass the final inspection, and apply sealer.
Our crew members have up to 28 years of experience and are background-checked, and they carry the Barrett & Sons name. Every eligible job includes permits pulled and inspections signed. Our materials depth runs deep across the trades, with brands like GAF and CertainTeed on roofs and Belgard and Techo-Bloc on hardscapes.
What “Lifetime” and “Transferable” Warranties Really Require
A “lifetime” paver warranty sounds unconditional, but in Florida it usually isn’t. Most manufacturer warranties cover defects in the paver itself, not the failure of the base or the joint, and most require the homeowner to meet specific conditions to keep the coverage alive. A transferable warranty only transfers if the transfer is registered with the manufacturer, and only within a set window, usually measured from the date of the original install. Read the fine print before you sign anything.
The conditions that most often void a warranty in our climate:
- Sealing on a schedule the manufacturer specifies, and using a compatible sealer.
- Prompt repair of any joint or base settlement before it spreads.
- Keeping drainage functioning, which means not building planters or additions over drainage paths.
- Registering the transfer if you sell the house, within the window.
- Not power washing with the wrong pressure or chemicals, which can damage the sealer and the joint.
Our own 90-Day Done Right Promise is simpler. If it isn’t done right, we come back and make it right on one call. It’s written on every contract, not buried in fine print. Separately, if you ever need a second look at someone else’s written estimate, our Free Second Opinion on Any Written Estimate is a standing offer, and it applies whether or not you hire us.
Keeping a Homestead Driveway Alive for Decades
A paver driveway in Homestead is not set-and-forget. The routine that keeps it looking right is small and regular. Reseal every two to three years here rather than every five or six, because UV and salt break the coating down faster. Sweep or blow off leaf litter from trees and palms so it doesn’t hold moisture against the surface. Check joints once a year and top up polymeric sand where it has worn. Address a small settlement or a single cracked paver before it becomes a section replacement.
We see the same pattern in maintenance failures: the homeowner reseals on a northern schedule, the sealer breaks down between coats, water gets into the joints, and the joint system fails before the pavers do. If your driveway is on a low lot, watch the drainage path too. A storm drain that silts up over two seasons is easy to clear and expensive to ignore.
Common Mistakes to Avoid
- Building a 4-inch base on a high water table lot. It’s the northern spec applied to our soil, and it’s the most common cause of settlement we see in Homestead.
- Skipping the permit because a contractor says it’s optional. You lose the inspector’s oversight and you put your homeowner’s insurance at risk.
- Using ordinary sand instead of polymeric joint fill. The first heavy summer rain pushes it out, and then weeds and erosion take over.
- Sealing on a northern schedule. Two seasons is enough to break down sealer here, not five or six. Test a patch each year.
- Grading the driveway to flow toward the garage or front door. It’s a design error that no sealer or maintenance will fix.
- Trusting a “lifetime” warranty without reading the conditions. The paver is often covered; the base and joint usually aren’t.
- Replacing pavers without checking the base underneath. If the base has failed, new pavers on top will fail too.
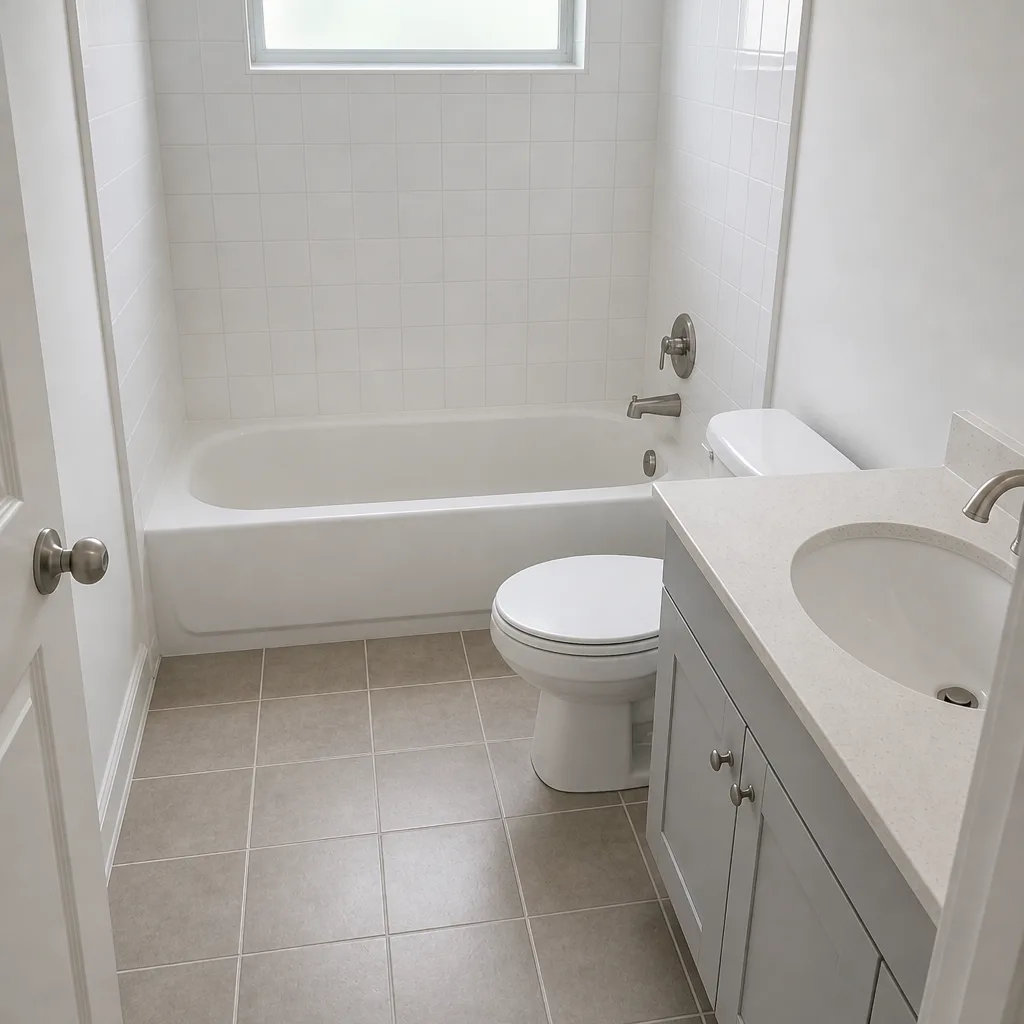
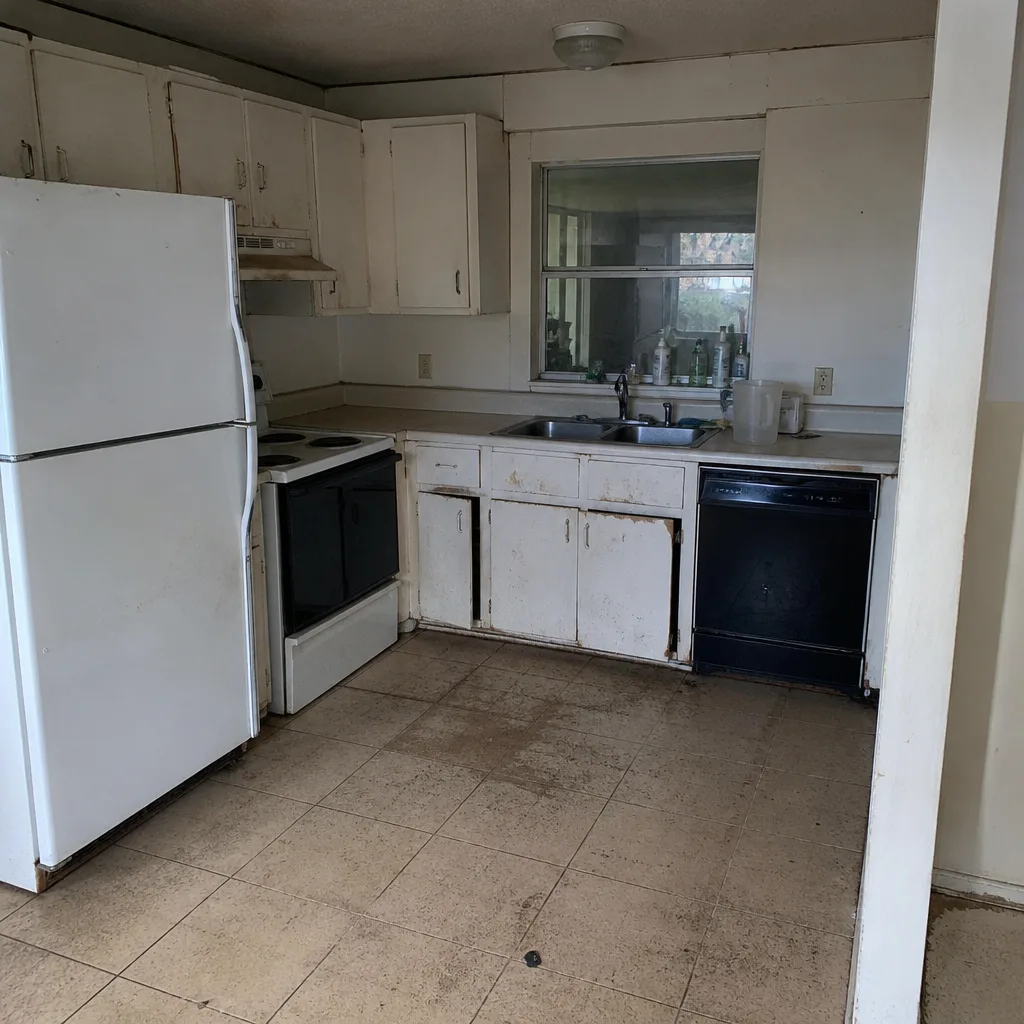
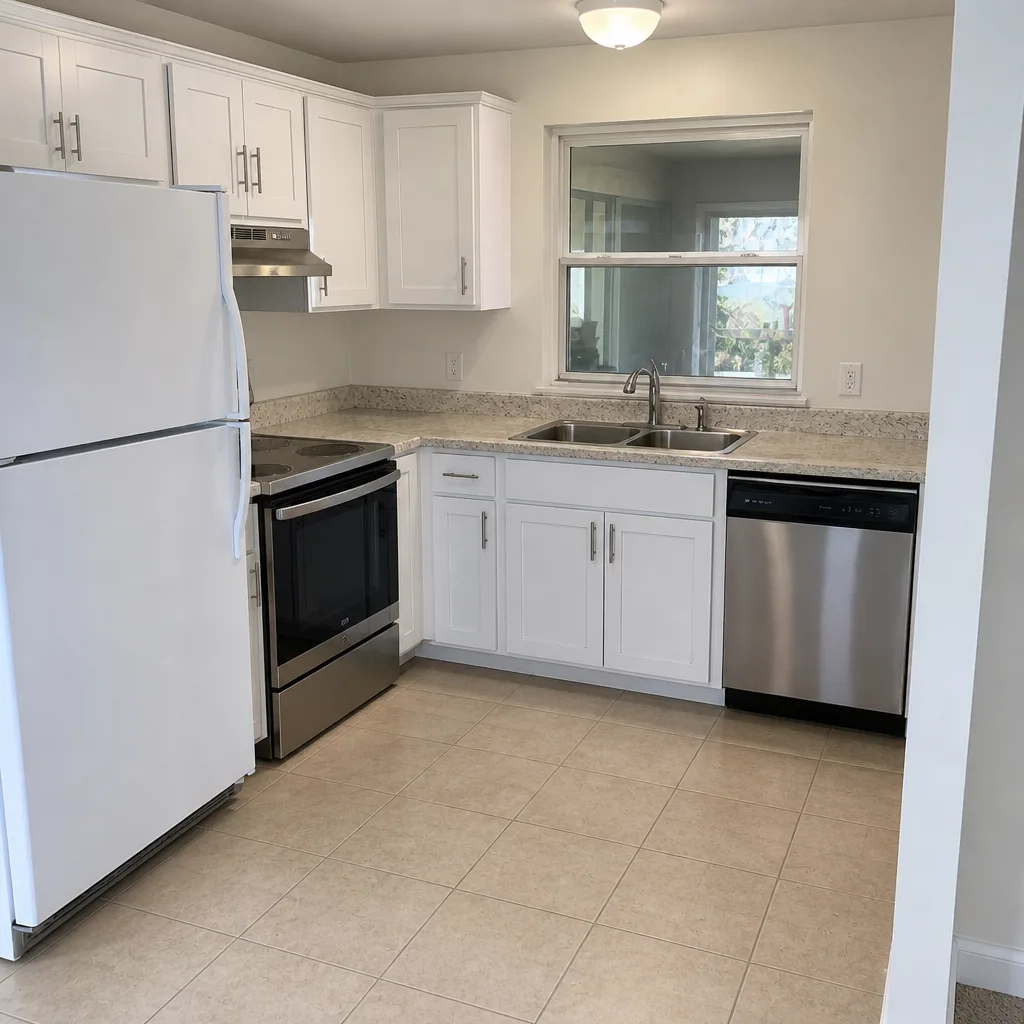
See the difference
 Before
 After
 Before
 After
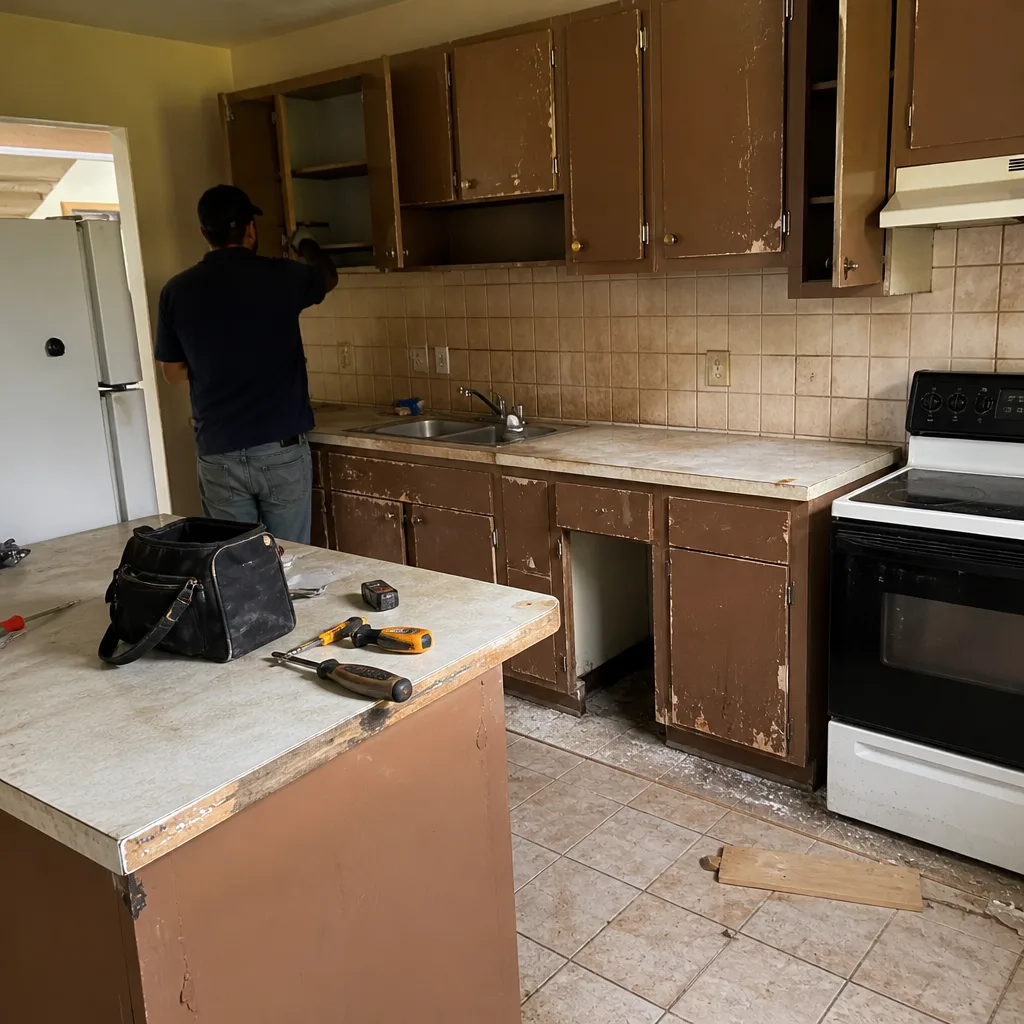 Before
 After
When to Call a Professional
Call us when water is pooling against the garage, when joints are opening faster than you can refill them, when sections of the driveway have settled, or when you’re planning a new driveway or a full replacement. Those are the cases where grade, base, drainage, and permit work together and a small mistake compounds over seasons. A paver driveway is heavy work with a real risk of injury from lifting, cutting, and compaction equipment, so it’s not a project to hand-tackle on your own. Barrett & Sons Construction Homestead offers free estimates in Homestead. Call (866) 344-6796 to schedule yours. Calls are answered by a live person, 24 hours a day, seven days a week, and a live person will pick up. You can also ask for the Free Second Opinion on Any Written Estimate before you commit, and the Senior & Veteran 10% discount is a standing offer.
Frequently Asked Questions
Most Homestead paver driveways land in a wide range depending on square footage, base depth required by your lot, and material choice, with base prep and drainage being the biggest swing factors. Concrete pavers are typically the most economical, travertine and porcelain sit at the higher end, and a higher water table lot that needs extra base and drainage pushes the number up. We write line-item estimates so you can see where every dollar goes. Call (866) 344-6796 for your free estimate.
Yes, Miami-Dade County requires a permit for most driveway construction and replacement work, and the inspection process checks base, drainage, and final slope. A permit record also protects you at claim time with your homeowner’s insurance. We pull permits on every eligible job and get the inspections signed. Call (866) 344-6796 to talk through your project.
We typically build a compacted base of six to eight inches here, deeper than the four to six inches in national guides, because our high water table means water has nowhere to go. The base is built in lifts, each compacted, with a drainage layer on low lots. Base depth is not a place to cut corners in Homestead. Call (866) 344-6796 for a site-specific recommendation.
Concrete pavers with integral color, clay pavers, and correctly sealed travertine all hold up well in Homestead, provided the joint system and sealer are matched to our climate. Porcelain pavers excel on salt and UV resistance but cost more. What matters more than the label is a suitable paver, polymeric joint fill, and a resealing schedule built for South Florida. Call (866) 344-6796 and we’ll walk through options for your lot.
No. Every scope, allowance, and price change arrives as a written change order before the work happens, so there are no surprise invoices at the end. If your base requires more excavation than the site visit showed, that change comes to you in writing first. Call (866) 344-6796 for a free estimate with the full scope on paper.
A properly built paver driveway in Homestead can last decades, but the lifespan is set by the base and drainage more than the paver itself. With a compacted base built for our water table, polymeric joint fill, and resealing every two to three years, the surface stays stable through our storm seasons. Call (866) 344-6796 and we’ll assess your lot and existing driveway.
The Bottom Line
A Homestead paver driveway is a different job than a driveway built in Atlanta or Phoenix. The base has to be deeper and drainage-conscious to handle our water table, the materials and joints have to tolerate salt air and intense UV, the permit has to be pulled to protect your insurance, and the lot has to be read for sheet-flow before the first paver goes down. Get those four things right and you’re set for the long haul. Read your warranties carefully, keep up with resealing on a South Florida schedule, and call us when the drive is ready for a real plan. We’d rather give you a written scope now than an apology later. That’s the way we’ve worked with our neighbors for over 29 years, and it’s how we’ll work with you.
Written by the team at Barrett & Sons Construction Homestead.