Last updated November 17, 2026




Free written scope consultation - allowances, timeline, and change-order rules on paper before a single trade is scheduled
Driveway & Pavers Maintenance Schedule: What to Do and When
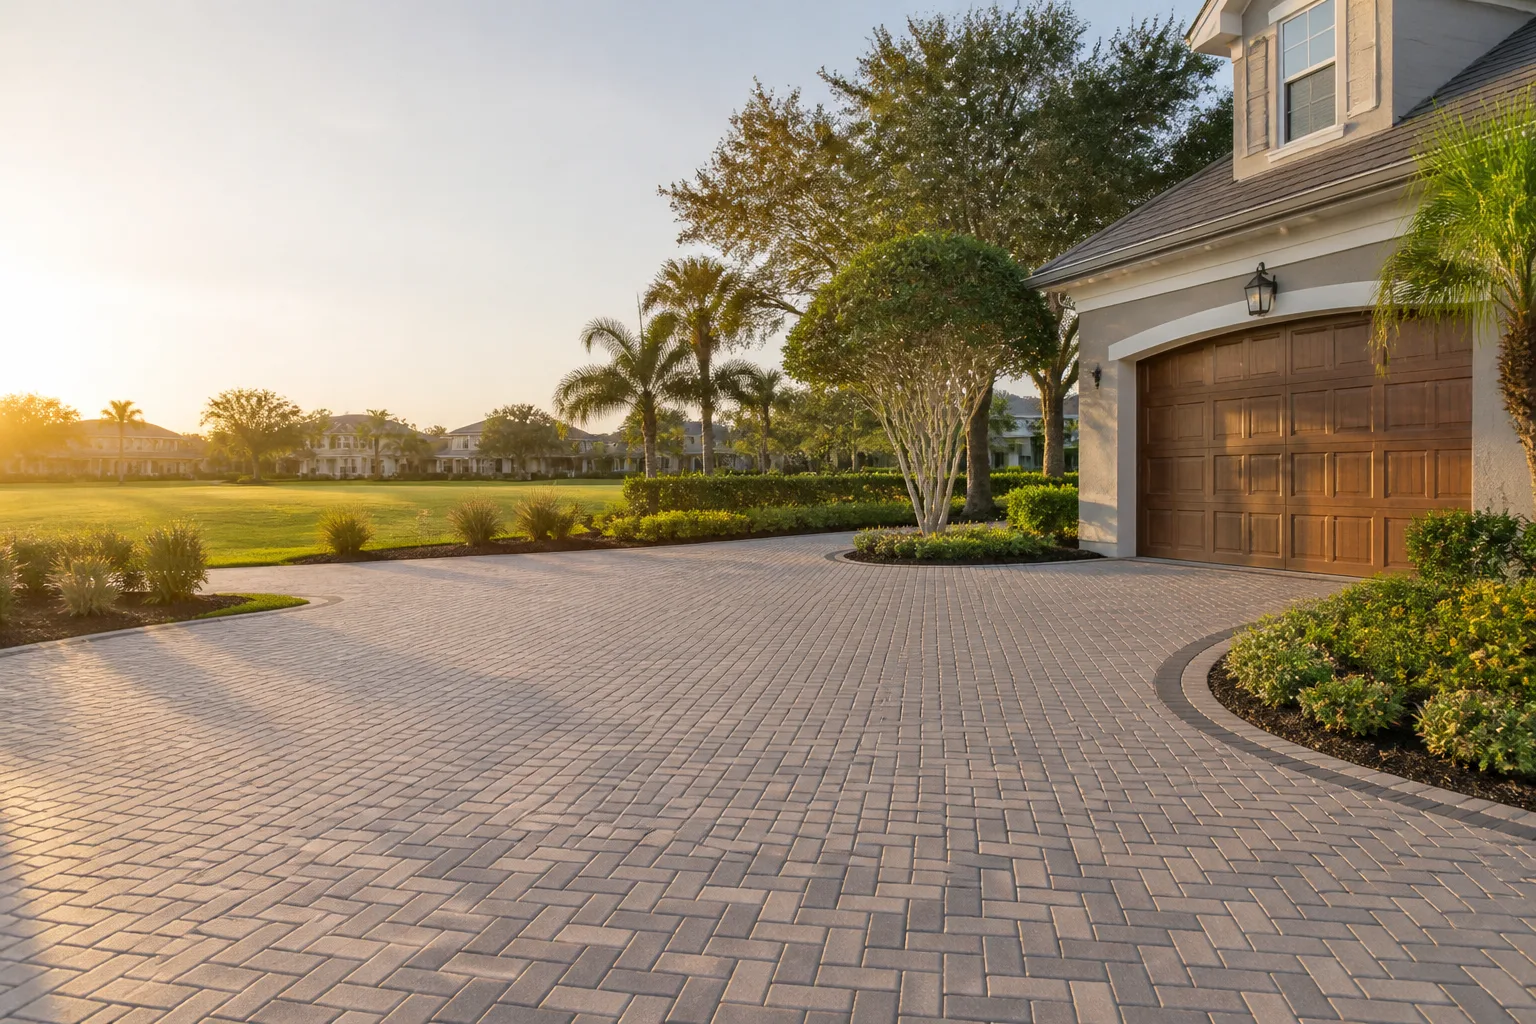
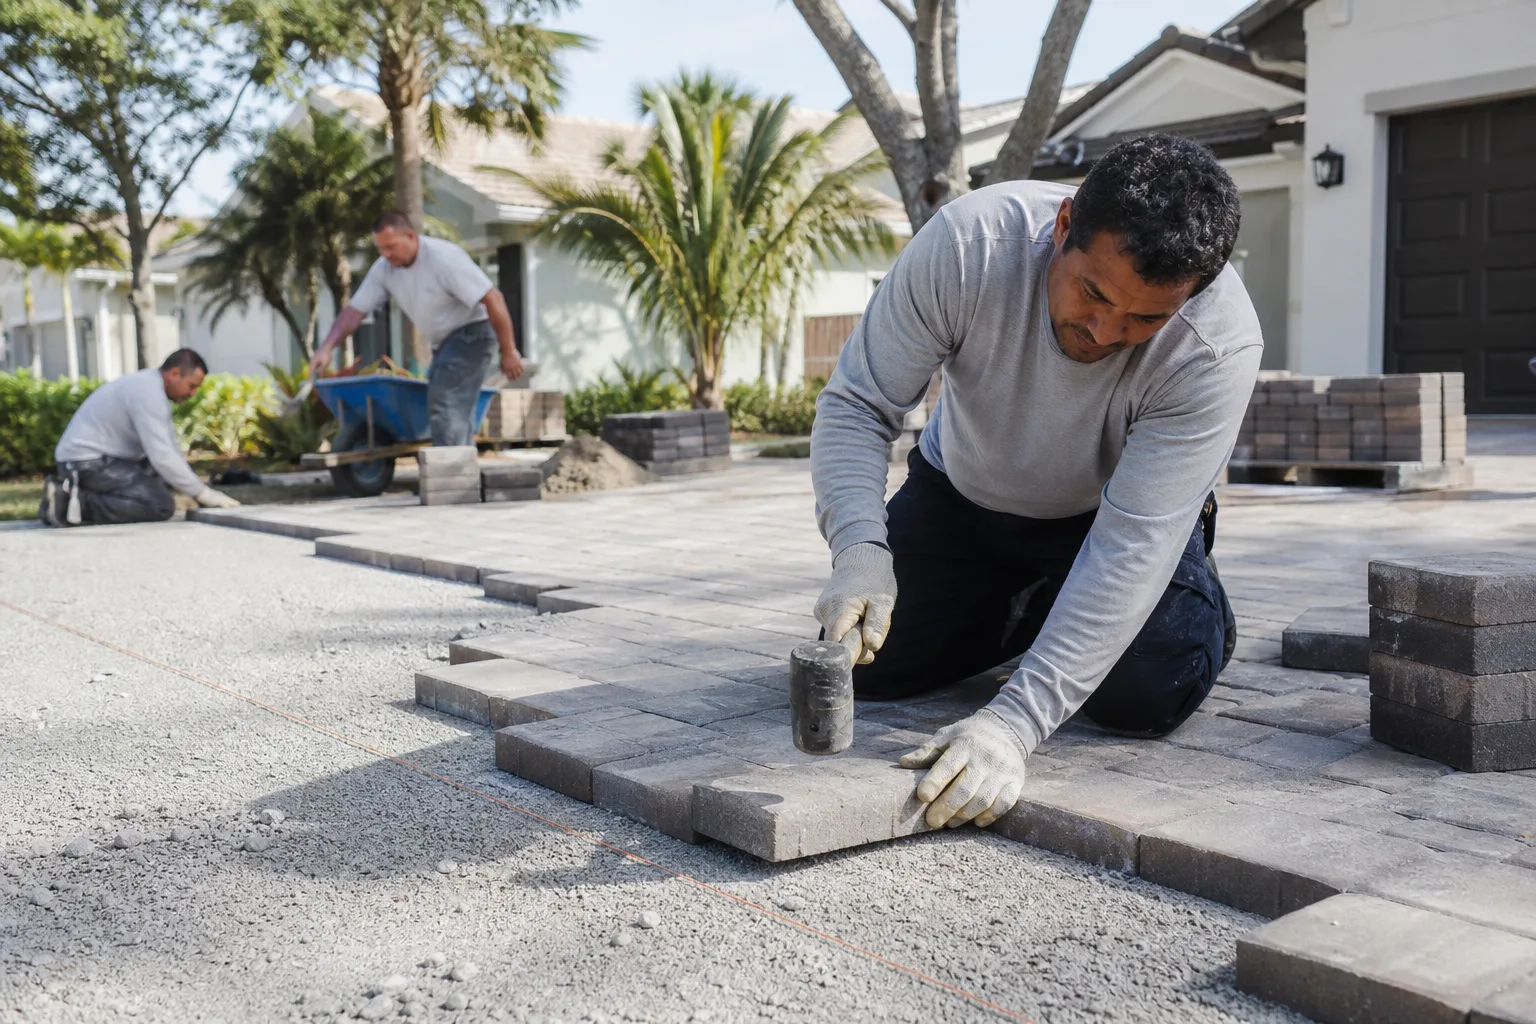
Sealing pavers in October in Homestead is too late. By the time most homeowners think about it, six months of summer rain and hard UV have already driven moisture into the joints, faded the color, and loosened sand that took a real investment to install. Most manufacturer guides hand you a spring-and-fall calendar built for Ohio or the Carolinas. Homestead doesn’t run on that calendar. Our rhythm is a long wet season from May through October, a short dry stretch in winter, and hurricane prep folded into the middle of it. This guide walks you through the month-by-month tasks, how to inspect after a named storm, and the humidity trap that ruins most DIY re-sanding jobs. We build and repair driveways and pavers in Homestead, and this is the schedule we actually keep.
Quick Answer
Maintain a paver driveway in South Florida on a wet-season calendar, not a four-season one: clean and spot-sand in April before the rains, weed, edge-check, and re-sand through the wet months, do a full storm inspection after any named system, and seal in December through February when joints are at their driest. Annual edge-restraint checks and documented cleaning keep most paver warranties active. Re-sealing too early after a wet season or over damp joint sand is the single most common failure we see.
Styles & brands we work with
- Kitchen remodeling
- Bathroom remodeling
- Home additions & ADU
- Roofing
- Windows & doors
- Driveway & pavers
- Fence
Table of Contents
- The Homestead Maintenance Calendar: Dry Season vs. Wet Season
- Month-by-Month Task List
- When to Re-Seal (and What Happens if You Seal Too Soon)
- Post-Storm Inspection: Edge Restraints and Perimeter Joints
- Re-Applying Polymeric Sand in South Florida Humidity
- Annual Tasks That Keep a Paver Warranty Active
- Common Mistakes to Avoid
- When to Call a Professional
The Homestead Maintenance Calendar: Dry Season vs. Wet Season
Homestead runs two seasons that matter for pavers: a dry window from roughly November through April, and a wet season from May through October when afternoon thunderstorms are routine and the ground rarely gets a chance to fully dry. The paver itself doesn’t care much. The joints and the base do. Joint sand washes out, polymeric sand softens and mildews, organic debris holds moisture against the surface, and the slab edges take the runoff.
Most national guides tell you to “seal in spring.” In Homestead, spring means the front edge of the rainy season. Sealing in March or April traps moisture you didn’t know was there under a film that then blushes white or peels within one summer. That’s why we push sealing into the dry months and push cleaning and prep to just before the rain arrives.
Split the year into four working phases:
- November through February (dry core): seal, deep-clean, replace any failed joint sand, inspect edges.
- March through April (pre-wet prep): full wash, weed the joints, top off sand, check the base for settling.
- May through October (wet season): spot maintenance, mildew control, drainage watch, storm response.
- After any named storm: dedicated inspection before you assume the driveway is fine.
If you’re weighing repair versus replacement based on how the surface is holding up, our Driveway & Pavers in Homestead page covers what’s realistic to fix and what signals a rebuild is due. For most Homestead driveways under fifteen years old with a sound base, maintenance beats replacement every time.
Month-by-Month Task List
Here’s the working calendar. It’s built around Homestead’s rain pattern, not the manufacturer’s generic one. Adjust the exact dates by a couple weeks depending on the year; the sequence matters more than the calendar square.
- November: Full pressure wash at low pressure (see the notes below on pressure), let the surface dry several days, then plan your seal window.
- December: Seal if the joint sand is confirmed dry and the forecast is clear for 48 hours. Replace any soft or missing polymeric sand first.
- January: Check edge restraints along the driveway perimeter and at the apron. Re-tighten or re-set any that have shifted.
- February: Spot-replace joint sand in the highest-traffic lane where it’s worn down. Note color to match for the next batch.
- March: Pre-wet-season deep clean. Pull weeds and roots from joints before the April rains feed them.
- April: Last clean, last sand top-off, final inspection of the base for any soft spots.
- May: First wet-season check. Watch for standing water after storms; note where it’s pooling.
- June through September: Monthly mildew and organic-debris check. Re-sand small joint losses as they happen, not at the end of the season.
- October: Wet-season closeout. Assess joint sand condition and plan the November wash.
That’s roughly four to six hours of owner time per year if nothing goes wrong, plus a seal cycle every 3 to 5 years. It’s a rhythm, not a chore list. The homeowners who keep their pavers looking new aren’t doing more work than anyone else; they’re doing the right tasks in the right month.
When to Re-Seal (and What Happens if You Seal Too Soon)
Seal a paver driveway when the sealer that’s already on it has worn thin, the color has started to dull, and the joint sand is confirmed dry. In South Florida that’s typically every 3 to 5 years, not every year, and the work belongs in the dry season. Sealing is a moisture-management job before it’s a cosmetic one.
What most people get wrong: they wait until October to seal after a wet season. In Homestead, that’s too late. The joints are still holding summer moisture, the polymeric sand may have softened, and early-fall rains are still in the forecast. A sealer applied over damp joints does one of two things. It blushes white under the film, or it traps moisture that pushes back through and lifts the sealer from underneath. Either way, you’re redoing the job in the spring.
Do this before you seal:
- Confirm the paver surface has had at least 72 hours of dry weather and no rain in the 48-hour forecast.
- Test the joint sand depth with a screwdriver. If it gives easily, it’s still holding moisture. Wait.
- Wash and dry the surface before sealing. Seal over a dirty surface and you seal in the dirt.
- Check for mildew staining on any shaded or north-facing pavers. Treat it, let it fully dry, then seal.
If your driveway has moved, settled, or the base is failing under the pavers, sealing is wasted money until the base is fixed. That’s a conversation worth having with someone who can look at the whole surface, not a salesperson who only sells sealer.
Post-Storm Inspection: Edge Restraints and Perimeter Joints
After a named storm, the paver surface itself is usually the last thing that fails. The perimeter is. Wind-driven rain and runoff hit the edges of the driveway hardest, and edge restraints – the aluminum or concrete restraint that holds the outer course in place – are what keep the whole field tight. When they loosen, pavers walk. Once pavers walk, the joints open and the next storm makes it worse.
Walk the perimeter before you assume everything is fine. It takes ten minutes.
- Check that the outer pavers haven’t shifted out past the edge restraint. Any gap you can slide a finger into is a problem.
- Look for joint sand loss along the perimeter. If the joints are hollow, the edge is taking the load normally the sand should.
- Press on the outer restraint. It shouldn’t rock or move under hand pressure.
- Check the apron where the driveway meets the road. That’s where runoff exits and where the base gets undermined fastest.
- Look at the base at the perimeter edge. Any soft spot, any exposed sub-base, any washing out of the edge sand means water is finding a path.
Small joint losses, re-sand. Loose restraints, re-set. Undermined base, call a professional. We’ve been called out to Homestead driveways after storms where the homeowner waited three weeks to look at the perimeter and by then half the edge course had shifted. It’s a much bigger job at that point.
The same principle holds for your Fence Installation in Homestead perimeter; posts and paver edges on the same property take storm damage together, and it’s worth checking both in the same walk.
Re-Applying Polymeric Sand in South Florida Humidity
Polymeric sand works by activating when it gets wet, then curing into a semi-solid joint that resists washout and weeds. That’s a good system, and it works in South Florida – but the humidity changes the timing and the margin for error. Standard tutorials skip this. We don’t.
Do this:
- Pick a day with no rain in the forecast for at least 24 hours, ideally 48. Humidity below 80% helps.
- Sweep the existing joint sand out to a depth of about an inch, using a stiff brush or a small vacuum. Sweep the surface clean.
- Pour the polymeric sand and sweep it into the joints. Work in sections, not the whole driveway at once.
- Compact lightly, then mist with water – low pressure, not a jet. The activation requires a full soak, but only once. Over-watering pools sand on the pavers and leaves a haze.
- Let it cure undisturbed. In high humidity, that takes longer than the bag says.
- If a haze appears on the surface, brush off after fully cured, never while still wet.
The humidity warning: in Homestead, polymeric sand can skim over before it fully sets, especially on the shaded side of a driveway or under afternoon cloud cover. That skim looks cured, but it’s not. Stand on it and it crumbles. Give it overnight before any foot traffic, and a full 48 hours before vehicles if the humidity has been high. If the surface is too wet when you apply – after a rain the day before – the sand clumps and won’t sit snug in the joint. That’s a do-over, and it’s why we schedule re-sanding for dry mornings, not afternoons.
Annual Tasks That Keep a Paver Warranty Active
Most paver manufacturers write maintenance obligations into the warranty. Read the terms on your specific product and you’ll usually find requirements around cleaning, joint sand condition, sealing intervals, and edge restraint integrity. Manufacturers aren’t looking for a reason to deny – but if the joint sand has been allowed to wash out completely and the edges have been loose for two seasons, the warranty claim gets much harder to make.
The tasks that keep the warranty intact, in plain terms:
- Keep the joint sand at the depth the manufacturer specifies. Top it off, don’t let it disappear.
- Re-seal at the manufacturer’s recommended interval. Skip it for five years and you’re out of the schedule.
- Keep the edge restraint tight. Warranty may cover a paver defect, but it usually won’t cover a shifted field caused by a loose edge.
- Keep records. Date of install, date of each cleaning and re-seal, products used. A dated log is what makes a claim go smoothly.
- Address base failure early. Most warranties exclude base movement from soil conditions, but they also typically require the homeowner to notify the installer or manufacturer promptly when an issue appears.
We don’t need to see your driveway every year to keep it in shape. But when we install, we hand over a written scope and the manufacturer documentation so you know what the warranty actually requires. Scope in writing, allowances in writing, change orders in writing – the same discipline that runs our construction jobs runs the handoff on a paver install. If you’re planning a larger hardscape change, a Home Additions & ADU in Homestead project often includes new driveways and aprons, and the maintenance schedule should start the day the project closes out.
Common Mistakes to Avoid
- Sealing in October. The joints are still holding summer moisture. Wait for the dry window, typically December through February in Homestead.
- Sealing over damp joint sand. The most common cause of a sealer that blushes white or peels within one season. Confirm the sand is dry first.
- Skipping the post-storm perimeter check. The pavers look fine; the edge is what moved. Ten minutes of walking the perimeter prevents a much bigger repair.
- Pressure-washing at full blast. A 3,000 PSI wand will strip the joint sand out of the driveway faster than you can put it back. Low pressure, wide fan tip, keep the wand moving.
- Re-sanding in the middle of the wet season and expecting it to hold. Re-sand in the dry months, and only spot-fix during the wet season.
- Letting mulch and soil pile against the edge restraint. It holds moisture against the perimeter year round. Pull it back and let the edge breathe.
- Assuming the installer’s warranty covers neglect. It usually doesn’t. Follow the maintenance schedule and keep records.
When to Call a Professional
Call a professional when the problem is under the surface, not on it. Soft spots in the base, visible settling, edge restraints that move under hand pressure, or joint sand that disappears as fast as you put it back all point to a base or drainage issue a homeowner can’t fix with a bag of sand. Storm damage where the perimeter has shifted or the apron has undermined is the same call. And if the surface has been sealed over a wet joint and is peeling or blushing, that’s a strip-and-redo job, not a spot fix.
Barrett & Sons Construction Homestead offers free estimates in Homestead, and every estimate comes with a written scope and a written price. Call (866) 344-6796 to schedule yours. If the driveway was installed by someone else and you have a written estimate for repairs, we’ll give you a free second opinion on it before you commit.
See the difference
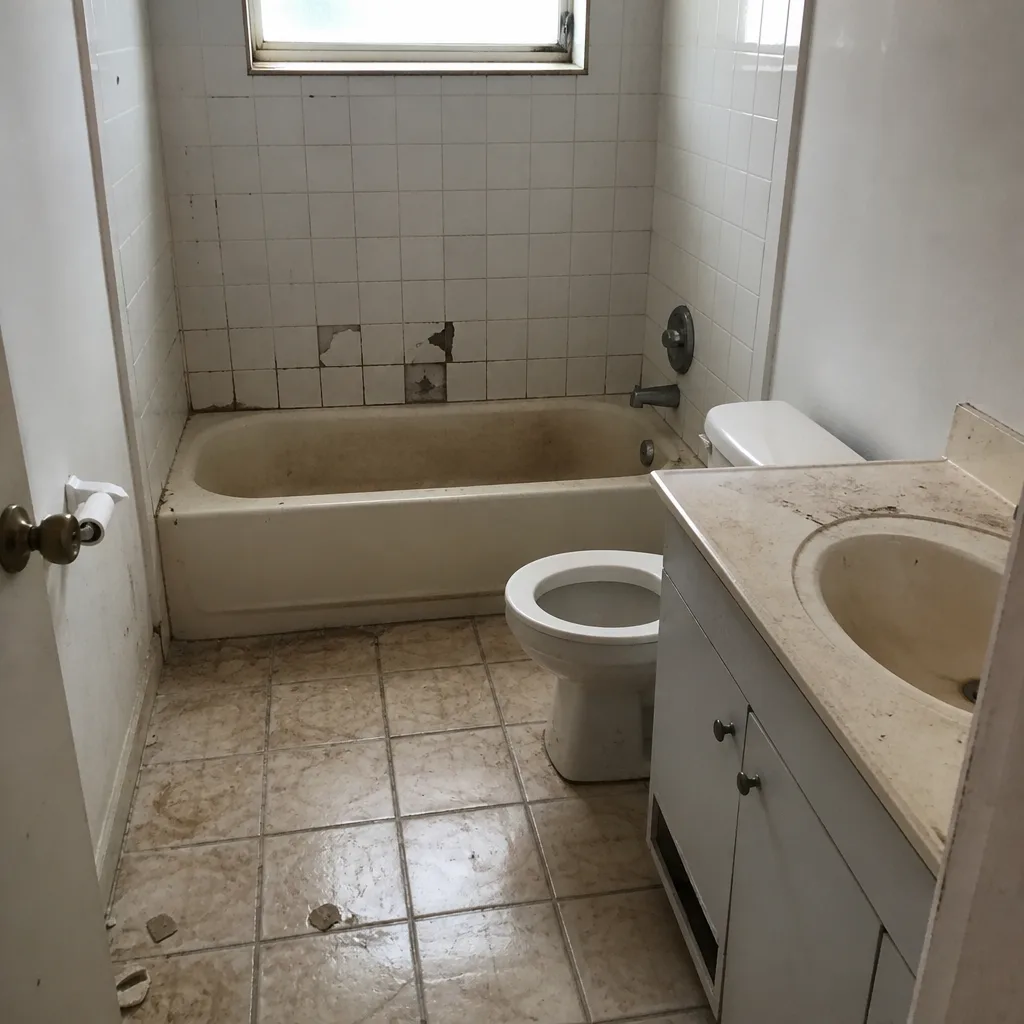 Before
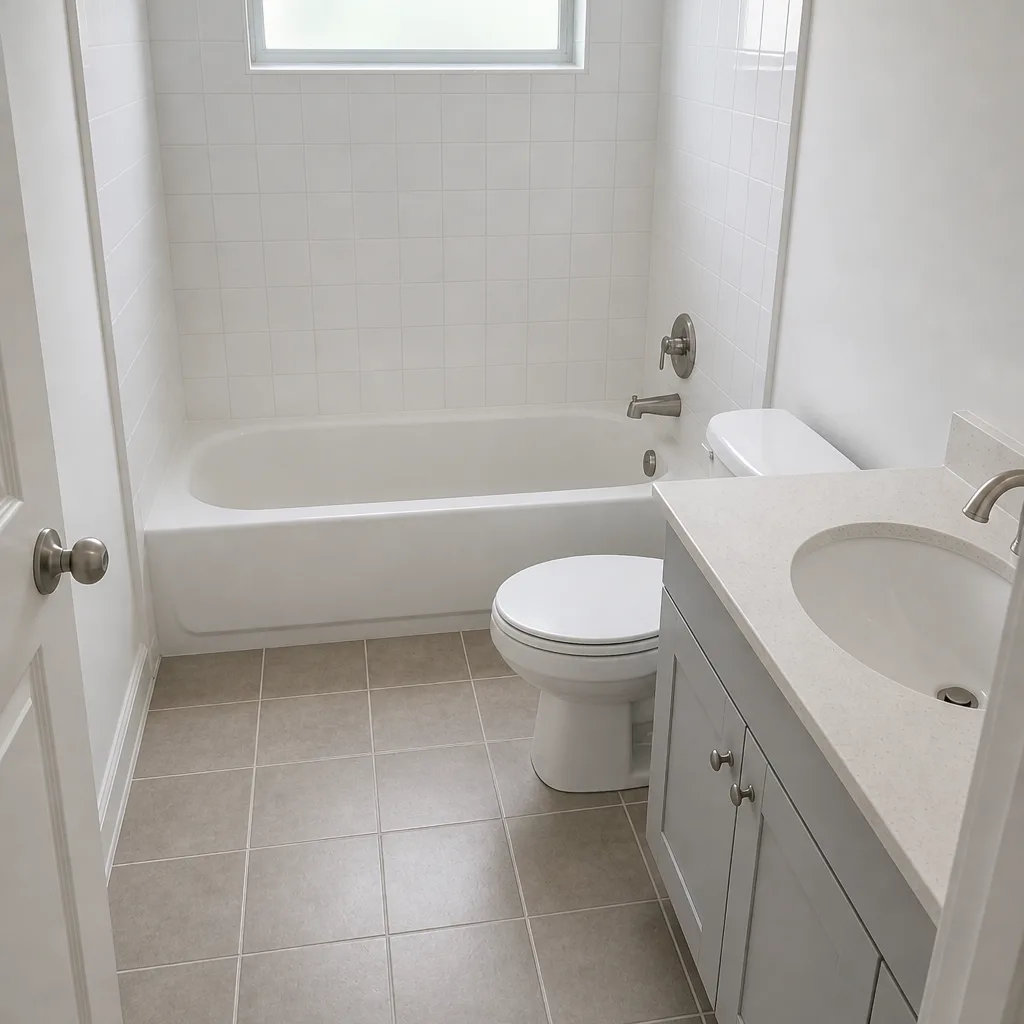 After
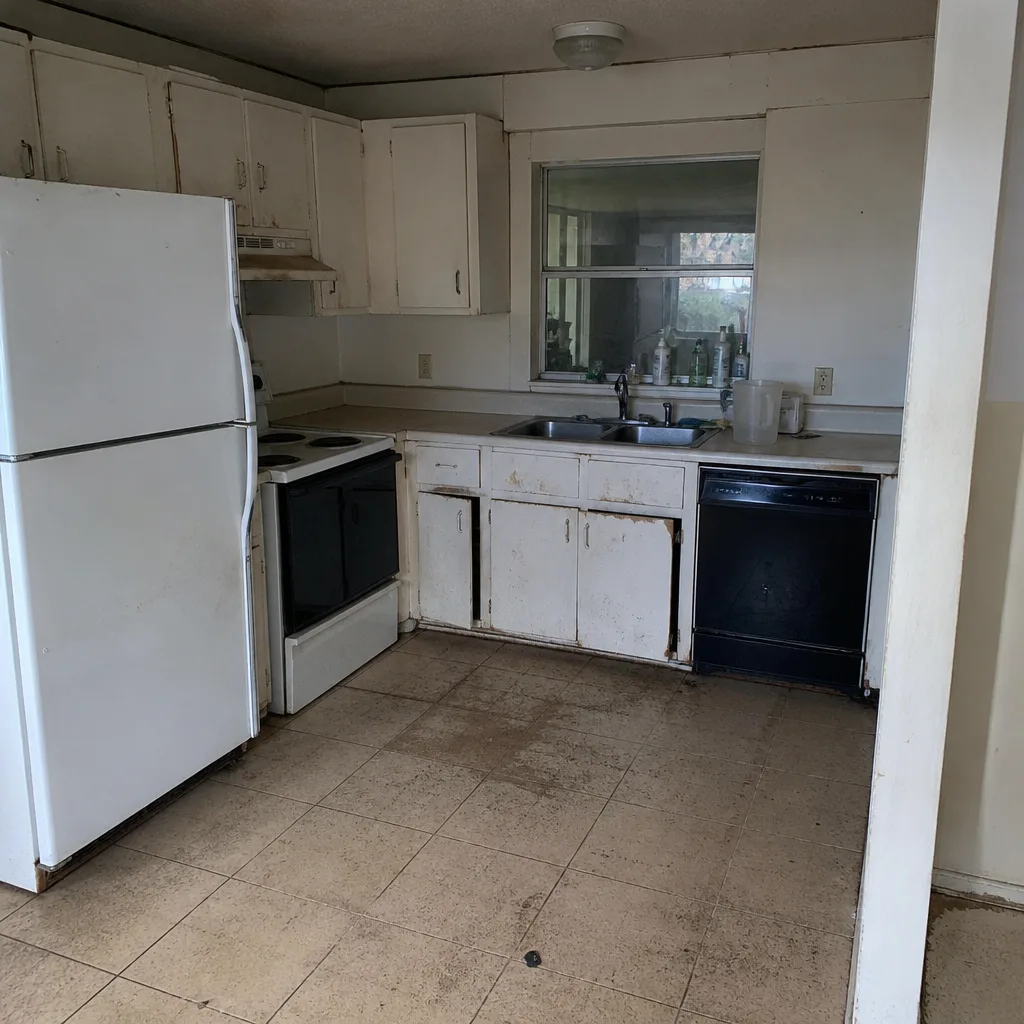 Before
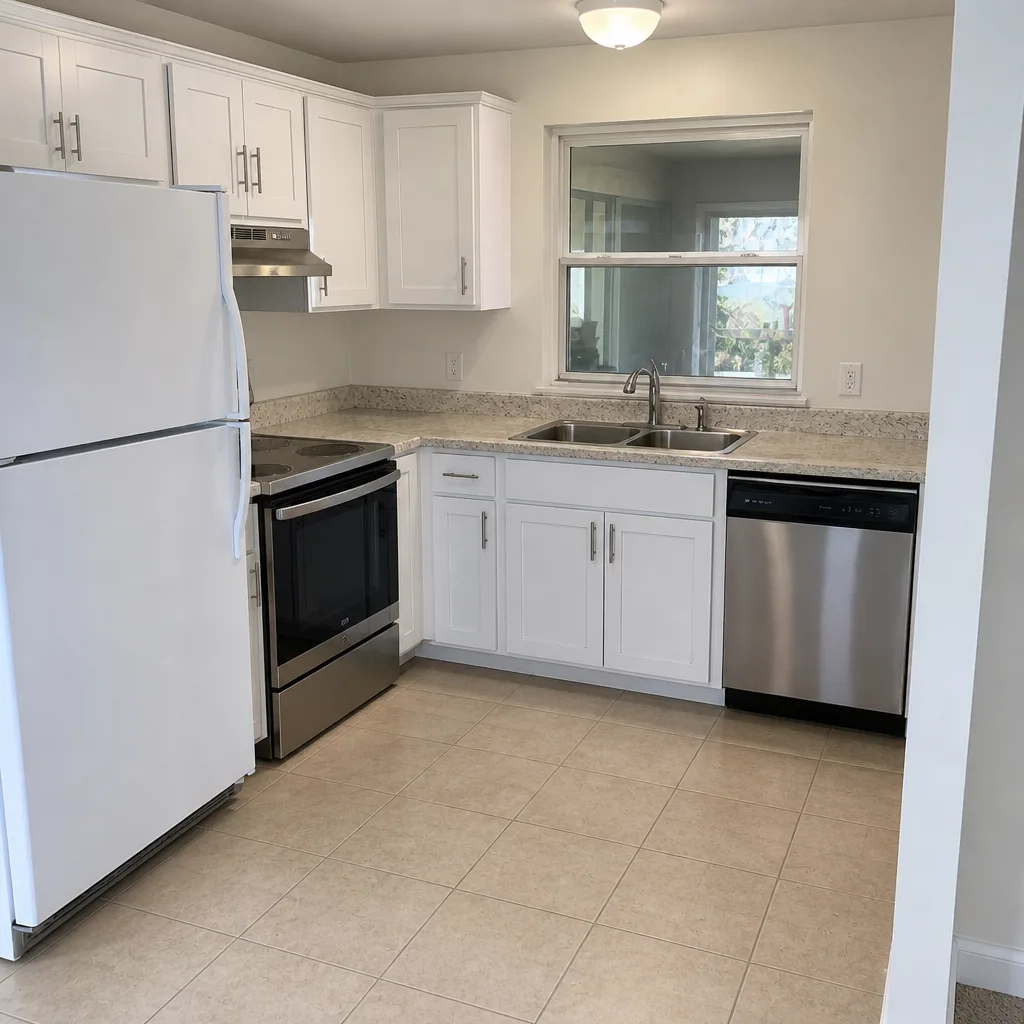 After
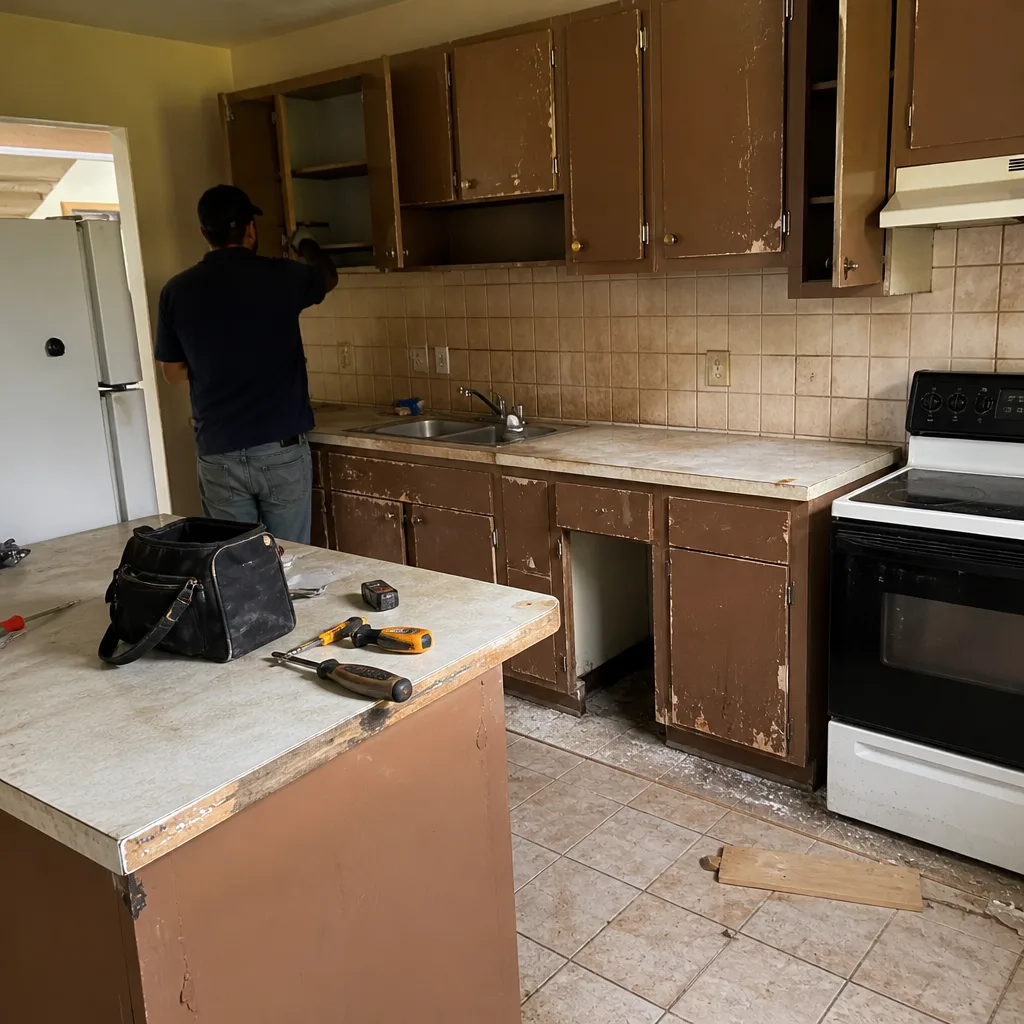 Before
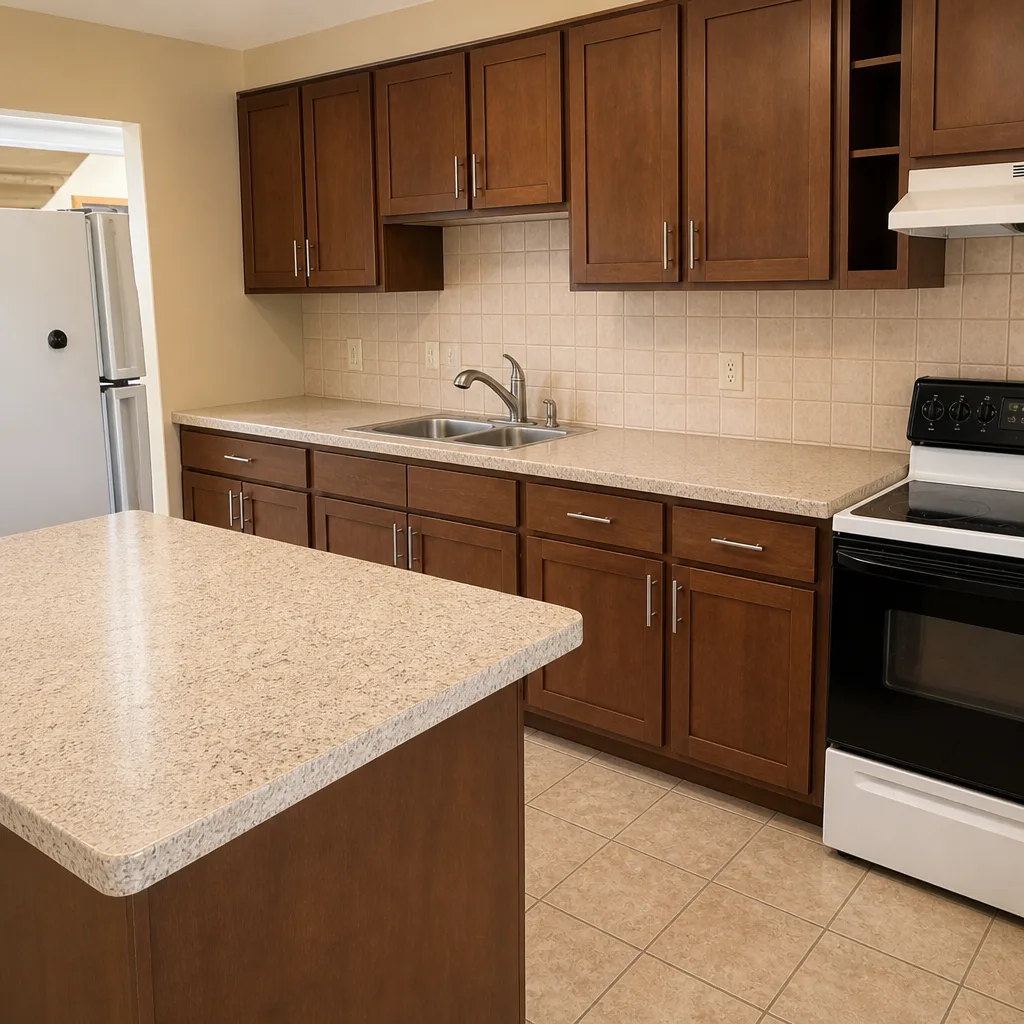 After
Frequently Asked Questions
Every 3 to 5 years in most Homestead driveways, done in the dry season (roughly December through February). Seal more often only if the product or your specific warranty calls for it. Sealing every year wastes money and builds up film that eventually peels.
Yes, for spot repairs only. A full re-sand should wait for the dry season. In Homestead’s wet season, polymeric sand can skim over before it cures and wash out within weeks. Small joint losses between May and October are normal – patch them and plan the full re-sand for November.
The sealer blushes white, peels, or traps moisture that pushes back through from underneath. In Homestead, that usually shows up within the first wet season after the application. The fix is strip and redo, which costs more than waiting for the right weather in the first place.
Walk the perimeter first: check that outer pavers haven’t shifted past the edge restraint, that the restraint doesn’t rock under hand pressure, that perimeter joints aren’t hollow, and that the apron where the driveway meets the road isn’t undermined. Check the base for soft spots. If any of those fail, call a professional – the surface can look fine while the edge is already moving.
Often, yes. Most manufacturers require periodic cleaning, joint sand upkeep, edge restraint integrity, and sealing at the recommended interval. Miss those for long enough and a valid claim can be denied. Keep a dated log of cleanings and re-seals; it’s the difference between a smooth claim and a fight.
You can pressure-wash pavers yourself with the right settings – low pressure, wide fan tip, keep the wand moving. The risk isn’t the pavers; it’s the joint sand. Full blast strips sand out of the joints and undoes a season of sand maintenance. If you’re not sure what your machine’s settings are, a professional wash is cheaper than a re-sand.
The Bottom Line
The Homestead paver maintenance schedule isn’t complicated, but it isn’t the one most guides hand you. Seal in the dry months, clean and re-sand before the wet season, do the monthly mildew and drainage checks from May through October, walk the perimeter after every named storm, and keep a written record so your warranty stays intact. Four to six hours a year, done in the right sequence, is what keeps a driveway looking new for decades. Skip the sequence and the repair bill gets serious fast. If you want a professional look at your driveway before the next wet season, call Barrett & Sons Construction Homestead at (866) 344-6796 to schedule a free estimate. Every eligible job gets permits pulled and inspections signed, and every completed job is backed by the written 90-Day Done Right Promise. You can also start at the Barrett & Sons Construction Homestead home page for the full picture of what we do.
Written by the team at Barrett & Sons Construction Homestead.