Last updated November 17, 2026






Free written scope consultation - allowances, timeline, and change-order rules on paper before a single trade is scheduled
Bathroom Remodeling Troubleshooting: Common Problems and How to Fix Them
A bathroom remodel is the most likely place in a South Florida home to uncover hidden mold, failed waterproofing, and plumbing that was never permitted. Not because bathrooms are uniquely cursed, but because they’re the room most often touched by the cheapest previous contractor. Tile goes up fast. What’s underneath it can sit quietly for a decade. By the time you smell it or see it, you’re staring at finished work that has to come apart. This guide walks through the problems we actually find in Homestead bathrooms, how to catch them before demo day, and how to fix each one so it stays fixed. You’ll learn the inspection steps, the diagnostic sequences, and the calls you should make before you sign a scope.
Quick Answer
Most bathroom remodel problems trace back to something covered up rather than fixed: failed shower pan waterproofing, unpermitted plumbing behind the vanity, or an exhaust fan ducted into the attic instead of outside. Fixing the visible symptom (new grout, new fan, new fixture) without addressing the cause underneath is the single biggest waste of money in a bathroom project. Inspect before you commit to a scope, and write every finding into a change order before work starts.
Styles & brands we work with
- Kitchen remodeling
- Bathroom remodeling
- Home additions & ADU
- Roofing
- Windows & doors
- Driveway & pavers
- Fence
Table of Contents
- 1. The Pre-Demo Inspection: What to Check Before You Commit
- 2. Grout Cracking and Tile Failure: Working Backward From the Crack
- 3. Drain Smell After Remodel: The South Florida Diagnostics
- 4. Water Pressure Problems After Fixture Replacement
- 5. Exhaust Fan Condensation and Ceiling Mold That Comes Back
- 6. Unpermitted Work: What to Do When You Find It
- 7. Common Mistakes to Avoid
- 8. When to Call a Professional
1. The Pre-Demo Inspection: What to Check Before You Commit
Every dollar you spend discovering problems before demolition is a dollar you don’t spend tearing out new tile because you missed one. In our experience, a two-hour inspection before the scope is written saves homeowners thousands more often than not. Here’s the protocol we run in Homestead homes.
- Behind the vanity. Pull the cabinet doors and look at the wall where the supply lines enter. Look for old water staining, soft drywall, and any sign of a previous leak that was painted over. Reach under and feel the cabinet floor. Soft spots mean water has been sitting there.
- Under the toilet flange. Rock the toilet gently by hand. Any movement means the wax ring is compromised or the flange is broken. On a slab home, the flange is cast into the concrete. Replacing it means cutting concrete, which is a scope item that needs to be priced before you sign.
- At the shower pan. This is where the money lives. Look at the caulk line where the tile meets the shower floor. Darkened, peeling, or missing caulk is a strong signal the pan waterproofing has already failed. Press on the shower floor with your thumb. Any give means the mud bed is wet or the substrate has failed.
- At the exhaust fan. Get into the attic if you can. Look for the flex duct coming off the fan. If it’s venting into the attic air instead of out through the roof or a gable, that’s an exhaust failure waiting to happen, and it’s the cause of most recurring ceiling mold.
- At the window and exterior wall. In Homestead, the humid side of the house is usually the problem side. Check for peeling paint, soft stucco, or water staining near the window frame. Mr-Glass or Therma-Tru window replacement may be a smarter scope item than a cosmetic tile upgrade if the frame is compromised.
When you find any of these, write it into the scope as a line item before any work starts. An allowance that isn’t on paper is a surprise waiting for a date. If you’re also planning a bigger change like widening the doorway, adding a closet, or bumping out for a walk-in shower, a Home Additions & ADU in Homestead conversation belongs in the same planning phase.
2. Grout Cracking and Tile Failure: Working Backward From the Crack
Grout is the visible evidence. The failure is almost always underneath it. When we’re called to look at cracked grout in a shower or along a floor, the first thing we do is rule out deflection and substrate movement, because re-grouting without addressing the cause is a waste of money. The crack will return.
How to read a crack
- Straight-line cracks along a grout joint that follow a floor joist. That’s deflection. The subfloor is flexing and the tile is following it. Re-grouting won’t fix it; the substrate has to be stiffened or replaced.
- Hairline cracks spreading in a spiderweb pattern. Usually a mortar bed that’s too thin, wrong thinset, or a tile installed over a contaminated surface. It’s a tiling execution problem, not a structural one.
- Cracks combined with hollow tile sound. Tap the tile with a screwdriver handle. A hollow tap means the tile has debonded. Water can get behind it now, which is how you end up with a hidden mold problem two years later.
- Cracks in a shower corner where two tiled surfaces meet. Grout in that joint was never going to survive. That joint needs flexible sealant, not grout. If it was grouted, it was going to crack.
In Homestead, the soil tends to move with our wet and dry seasons, and slab-on-grade homes are not immune to that movement. Tile cracking near the edges of a small bathroom slab is something we see more often here than in homes built on deep vertical foundations. If you’re going to replace tile anyway, it’s the right moment to inspect the waterproofing under it. That’s the part nobody sees, and it’s the part that determines whether the new tile lasts.
3. Drain Smell After Remodel: The South Florida Diagnostics
A drain smell after a remodel is almost always one of five things, and you can work through them yourself in about fifteen minutes before calling anyone. September through May, the most common cause in Homestead is a guest bathroom where the P-trap has evaporated from disuse. The trap dries out in three to six weeks in our climate, and once it’s dry, sewer gas comes straight up through the drain.
The diagnostic sequence
- Run water in every fixture. Pour a gallon into each drain and shower, wait thirty minutes, then smell. If the smell is gone, it was an evaporated trap. That’s not a repair; that’s a reminder to run the fixtures monthly.
- Check the toilet base. Sniff around the base of the toilet. A failed wax ring lets sewer gas out under the toilet, and it reads as a floor drain smell. Look for movement and water staining at the base.
- Look for a dry-fit connection. If the vanity, sink, or shower drain was recently replaced, check the trap and connections. Plumbers use primer and cement on PVC. A dry-fit joint that was pushed together and never glued will leak gas, and it will pass a casual inspection because it looks assembled.
- Check the shower pan weep holes. On a newly tiled shower, the weep holes in the drain assembly can be blocked by thin-set, which traps water under the tile bed and produces a musty, persistent smell. That’s a re-do on the shower floor, not a drain-cleaning job.
- Check the vent stack. If a remodel moved plumbing, the vent may have been disconnected or capped. Confirm with a smoke test if you’re not sure.
If you or the previous owner did a DIY fixture swap and you’re smelling gas after, that’s a call-it-now issue. Get it diagnosed before it becomes a bigger plumbing scope.
4. Water Pressure Problems After Fixture Replacement
The most common reason a homeowner calls us after a bathroom fixture swap is “the new faucet has terrible pressure.” In our experience with Homestead’s water, the culprit is usually not the fixture. It’s calcium buildup in the old supply lines that got disturbed when the fixture was changed, or a supply valve that was never fully turned back on.
Quick diagnostic
- Only the new fixture is weak. Pull the aerator off the faucet and check for debris. On a new install, the aerator is the first place sediment collects after the water is turned back on.
- Every fixture in the bathroom is weak, and it wasn’t before. That points to a partially closed shutoff valve or a pressure regulator issue. Check the angle stops under the sink.
- Every fixture in the house is weak, all the time. That’s a building pressure issue. Florida homes often run on municipal pressure at 50 to 70 PSI. If a pressure test shows you’re below 40, the whole house is dealing with it, not just the bathroom. A pressure-reducing valve or a supply line issue is the likely diagnosis.
- One hot fixture is weak. That’s almost always a failing cartridge or a calcium-clogged hot supply line. Hard water in Homestead leaves scale behind, and old galvanized or partially scaled copper lines deliver low volume to a new low-flow fixture that needs more to feel right.
Fixtures from Mr-Glass or Therma-Tru in the door and glass category are fine; this issue is inside the wall. If you’re replacing fixtures as part of a wider project, bring the supply line condition into the scope. It’s a small line item that prevents a callback.
5. Exhaust Fan Condensation and Ceiling Mold That Comes Back
We see this on nearly every bathroom remodel in Homestead that has a recurring ceiling mold stain. The homeowner did the right thing: they replaced the old fan with a new one. The mold came back in the same place six months later. The fan wasn’t the problem. It was where the fan exhausts.
Why new fans fail
An exhaust fan has two jobs: move air out of the bathroom and get that air out of the house. If the duct runs into the attic and stops, you’re just relocating the moisture into the attic air, and in a South Florida summer, attic air is already near the dew point. The moisture condenses on the ceiling joists, the roof sheathing, and eventually cycles back down as staining on the bathroom ceiling. A new fan vents the same way and the mold returns on the same schedule.
The fix that actually works
- Confirm where the duct terminates. It must go out through the roof or a gable wall with a proper vent cap, and the cap must open and close on airflow. A flap that’s stuck shut in Homestead heat blocks the exhaust.
- Insulate the duct run. In a hot attic, an uninsulated flex duct full of humid bathroom air condenses on the inside and drips back into the fan housing. Every foot of flex duct in an unconditioned space needs to be insulated.
- Minimize the run and the number of bends. A 25-foot flex duct with three elbows moves very little air. Shorten it and use rigid metal where you can.
- Size the fan to the room and check the timer. A fan rated for the bathroom’s cubic footage, run for twenty minutes after the shower instead of five, does far more than a bigger fan run briefly.
This is the difference between resetting the clock and fixing it. Barrett & Sons Construction Homestead home gets called about this on remodels where the previous contractor simply dropped a new fan into the old duct. If your ceiling stain has returned twice, it’s the duct.
6. Unpermitted Work: What to Do When You Find It
If your home was built or updated before you bought it, there’s a reasonable chance the bathroom remodel was never permitted. In Homestead, that matters at resale, on insurance, and when a future inspector starts asking questions. The permit inspector works for you, not for your contractor. That’s why we like them.
When we find unpermitted plumbing or electrical in a bathroom remodel, the practical route is usually this:
- Document what’s there. Take photos before any demo. Note the wiring, the drain routing, and any signs of a previous remodel that wasn’t permitted.
- Bring it into scope. If the plumbing or electrical has to be opened up anyway, adding it to the permit is a fraction of what a surprise correction costs later.
- Get a written change order. Every price change for code upgrades, permit corrections, or scope additions arrives in writing before work proceeds. That’s the standard for a job that’s going to be inspected.
- Pull the permit. Permits pulled and inspections signed on every eligible job means the record exists, which protects you at resale and with your insurer.
If your bathroom shares a wall with a garage or a carport and the door in between hasn’t been touched in decades, the door is a fire-rated assembly and needs to stay that way. A Therma-Tru or Barrette door in the right fire rating keeps the assembly legal; a hollow interior door does not. This comes up more often than homeowners expect in older Homestead homes.
Common Mistakes to Avoid
- Re-grouting without diagnosing the crack. Grout is the visible symptom, and the substrate or deflection issue underneath is the cause. New grout over a moving floor cracks again in a season.
- Replacing the exhaust fan without checking the duct. A new fan on an old improperly run duct resets the clock by one mold cycle. Confirm exterior termination and insulation before you buy a fan.
- Skipping the permit because the last contractor said it wasn’t needed. Unpermitted plumbing and electrical can surface at resale, on insurance claims, and during a future inspection. Permits pulled and inspections signed are your protection, not the contractor’s.
- Buying fixtures before the supply lines are inspected. Homestead’s hard water scales old lines, and a low-flow fixture on a restricted line feels like a bad fixture. Inspect first.
- Treating an allowance as a final price. An allowance that isn’t on paper is a surprise waiting for a date. Insist on written allowances and written change orders before work touches the job.
- Ignoring a toilet that rocks or a stain under the vanity. Small movement and old water staining are the biggest predictors of a hidden wax ring or supply line failure.
- Assuming the attic is vented because the fan has a duct. In South Florida heat and humidity, a duct that stops in the attic is often worse than no duct at all.
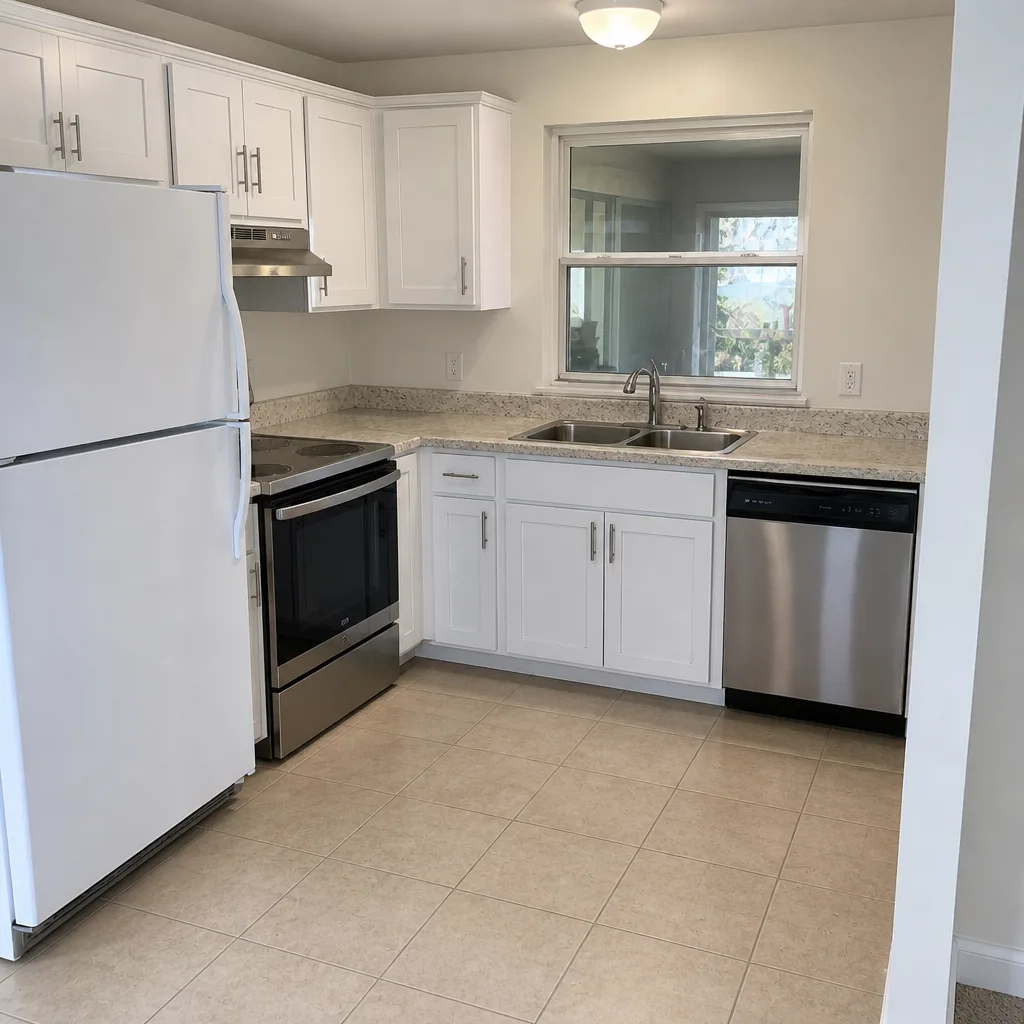
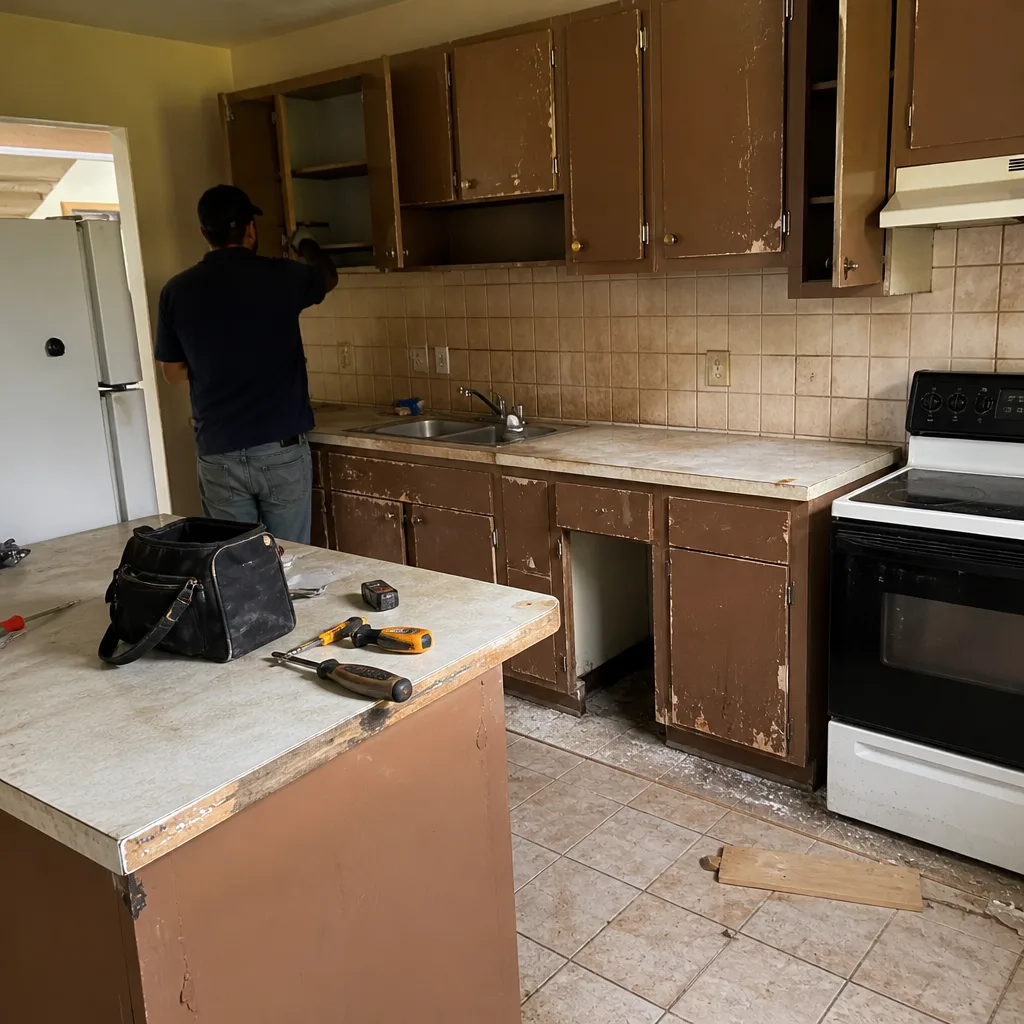
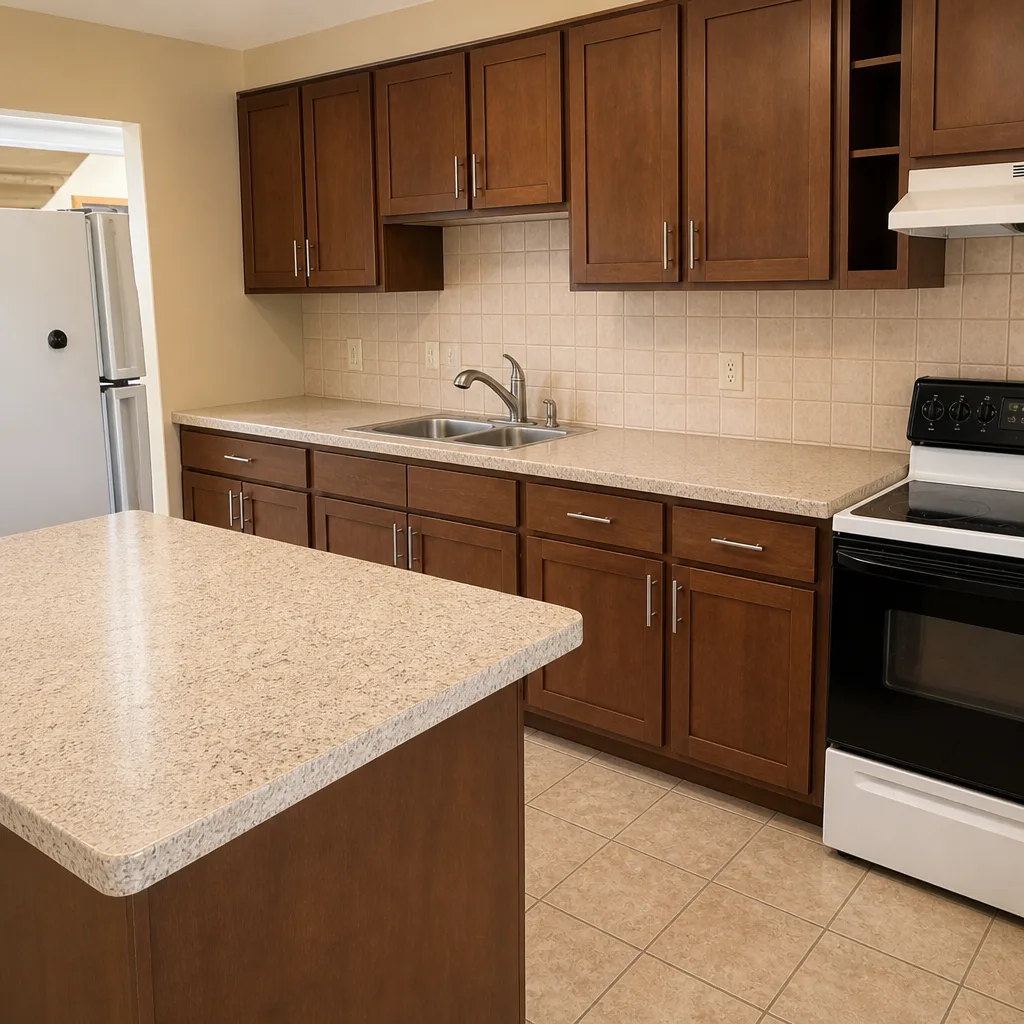
See the difference
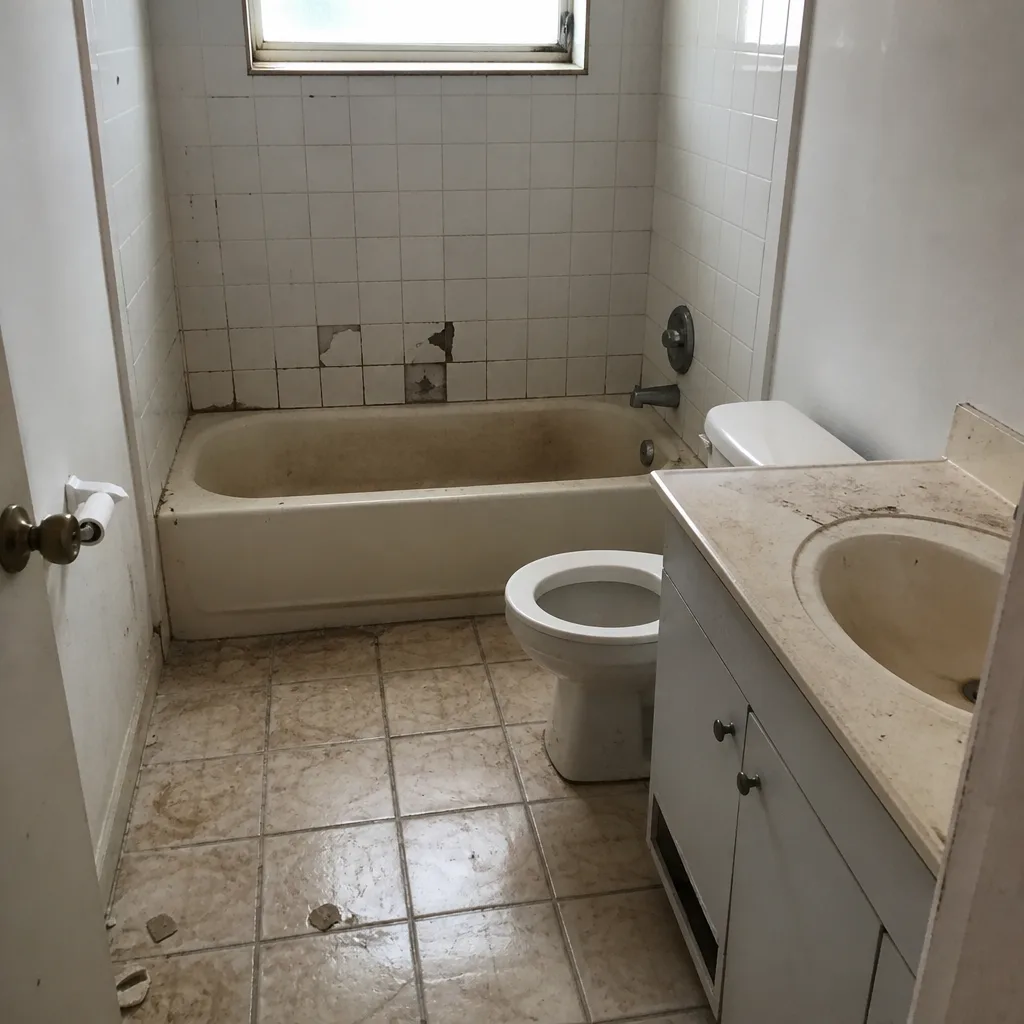 Before
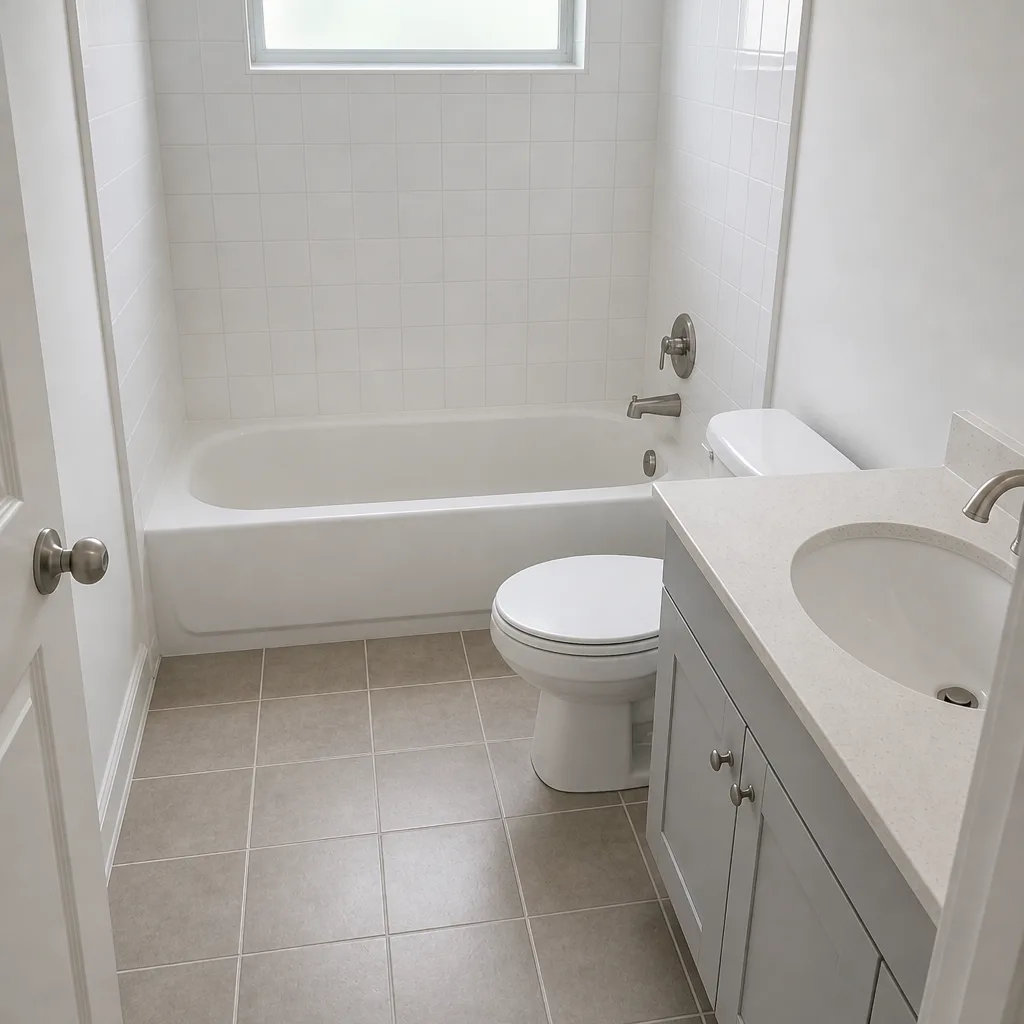 After
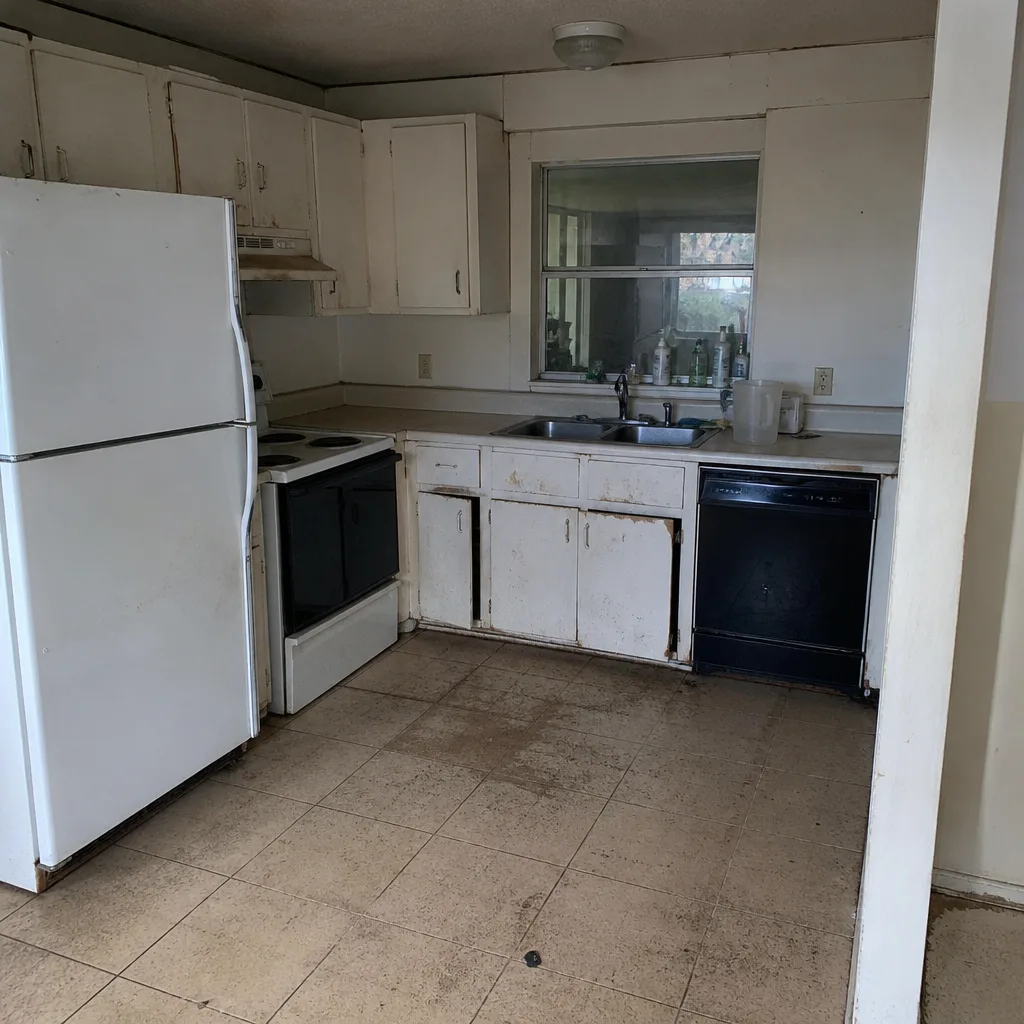 Before
 After
 Before
 After
When to Call a Professional
Call a professional the moment you find any of the following: a shower pan that gives underfoot or has darkened caulk, a toilet that rocks or has a stain under the base, cracking tile with hollow sound behind it, an exhaust fan with no confirmed exterior termination, or unpermitted plumbing or electrical that has to be corrected for a sale or an inspection. Those findings change the scope of a bathroom remodel, and they need to be priced before work starts. The same is true for anything that touches a window, a fire door, or the perimeter of the house; a Fence Installation in Homestead or Driveway & Pavers in Homestead project often exposes water intrusion that connects back to the bathroom side of the wall. Barrett & Sons Construction Homestead offers free estimates in Homestead. Call (866) 344-6796 and we’ll walk through what you’ve found.
Frequently Asked Questions
Replacing a failed shower pan after demolition runs $2,500 to $6,000 depending on whether the drain assembly needs replacing and whether the tile is reinstalled. A wax ring and flange fix is typically $200 to $600. Correcting unpermitted plumbing is the most variable and depends on how far the correction has to go. Call (866) 344-6796 for an exact quote. Estimates are free.
Only with a written change order signed before the work happens. Every scope change, allowance adjustment, and code correction arrives in writing before a nail moves. That’s the whole point of writing the price down. Call (866) 344-6796 for a written estimate before any work starts.
In Homestead, the most common cause is an evaporated P-trap in a rarely used bathroom, followed by a failed wax ring and unglued PVC connections from a previous remodel. Run water in every fixture first, then check the toilet base and trap connections. If it persists, call (866) 344-6796. Estimates are free.
Any work that touches plumbing, electrical, structural, or the waterproofing of a wet area requires a permit in Homestead. Tile-only cosmetic work usually does not. If you’re unsure, the permit office will tell you, and we’ll pull the permit and arrange the inspections on every eligible job. Call (866) 344-6796 to talk through your scope.
Because the fan was never the problem. The duct is. A duct run that stops in the attic, isn’t insulated in our heat, or exits through a stuck vent cap just relocates the moisture. Fix the duct routing, not the fan. Call (866) 344-6796 for an inspection.
Usually yes, and often that’s the right call. A failed wax ring, a single cracked tile line, or a fan duct correction can be handled as a repair. The $40 Off Any Repair Over $200 standing offer applies, and there’s no trip charge inside the county. Call (866) 344-6796 to schedule a free estimate.
The Bottom Line
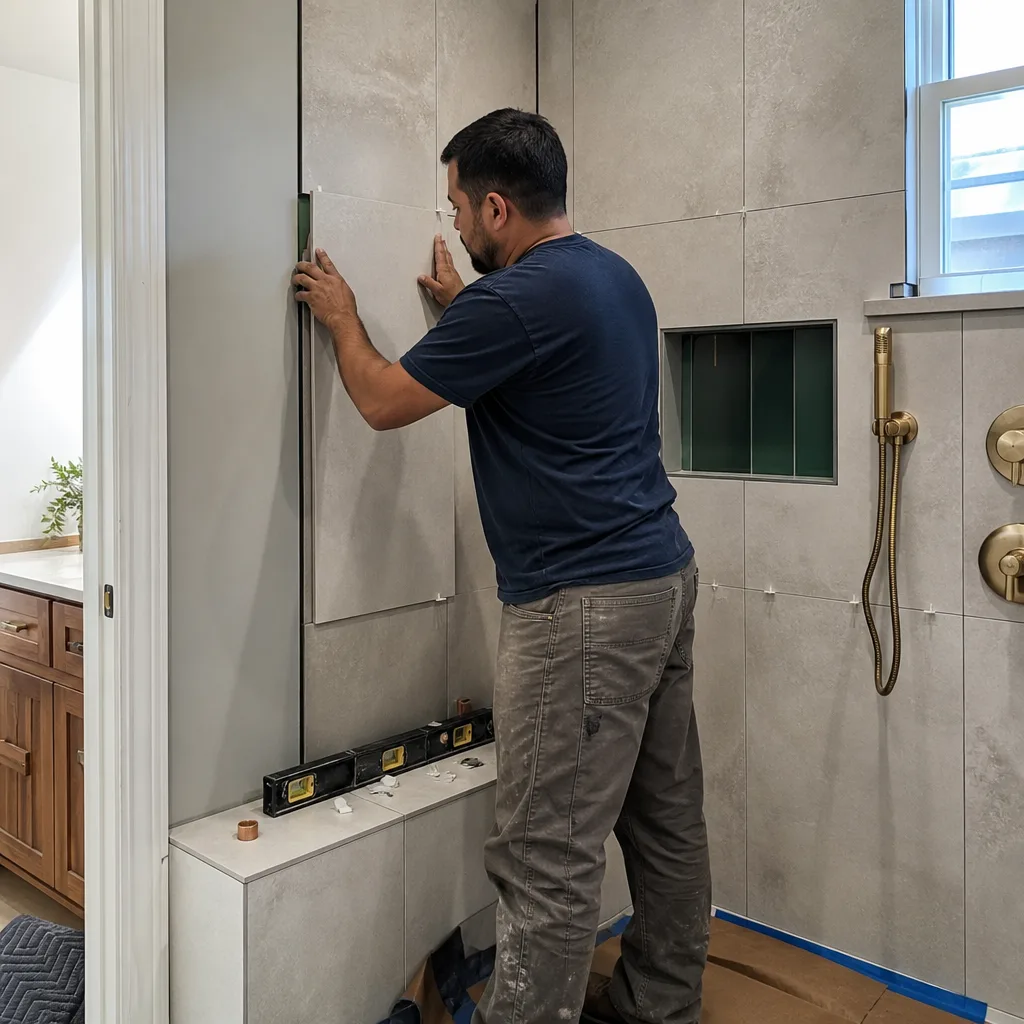
The expensive bathroom remodel problems are the ones you can’t see yet: failed waterproofing, an unpermitted drain, a duct that dumps moisture into the attic, a wax ring that’s been leaking under the tile for three years. The fix is a pre-demo inspection that reads the signs, a scope that writes down every finding before work starts, and a change order every time the scope moves. In Homestead, hard water, hot attics, and seasonal ground movement make those hidden problems show up faster than in most markets. Catch them before demo, and you spend your remodel budget on the bathroom you want instead of the one the previous contractor left behind.
Barrett & Sons Construction Homestead offers free estimates and written line-item quotes on every bathroom project. Scope in writing, allowances in writing, change orders in writing. Call (866) 344-6796 and we’ll walk through what you’re seeing.
Written by the team at Barrett & Sons Construction Homestead.