Last updated November 17, 2026








Free written scope consultation - allowances, timeline, and change-order rules on paper before a single trade is scheduled
Bathroom Remodeling Maintenance Schedule: What to Do and When
Most bathroom remodels start failing within 18 months, and it’s rarely the tile work. It’s the homeowner who never got a maintenance calendar when the crew packed up the tools. Here in South Florida, the clock runs faster: year-round humidity between 70 and 80 percent, hard water pushed through limestone aquifers, and a rainy season that hammers caulk joints from May through October. A grout line that survives a decade in Minneapolis can start cracking in a Homestead bathroom inside two summers. This guide gives you a month-by-month schedule built for this climate, from the 90-day walk-through to the annual rainy-season inspection, so the money you spent on your remodel keeps earning out.
Quick Answer
A bathroom remodel in South Florida needs a post-remodel walk-through at 90 days, caulk inspection and repair twice a year (before and after the May – October rainy season), exhaust fan cleaning every 3 months and a CFM check annually, faucet and showerhead descaling every 4 to 6 weeks in hard-water zones, and grout sealing every 12 to 18 months. Homes in Homestead and the Redland typically need the aggressive end of every one of those intervals because of humidity and mineral-heavy water. Skip the schedule and you’ll be paying for a second remodel, not a repair.
Styles & brands we work with
- Kitchen remodeling
- Bathroom remodeling
- Home additions & ADU
- Roofing
- Windows & doors
- Driveway & pavers
- Fence
Table of Contents
- Why South Florida Punishes a New Bathroom Faster
- The First 90 Days: Post-Remodel Walk-Through
- Caulk and Grout: The Rainy-Season vs. Dry-Season Schedule
- Exhaust Fan Checks: CFM, Cleaning, and Replacement
- Hard Water and Mineral Buildup: Descaling Calendar
- The Month-by-Month Calendar, January to December
- Seasonal Checklist: Wet Season vs. Dry Season
- Keeping Records So Warranties Actually Work
Why South Florida Punishes a New Bathroom Faster
A bathroom is the wettest room in the house, and in South Florida it never fully dries. Relative humidity in Homestead hovers high enough that moisture trapped behind a caulk bead has no reason to leave. Add the water itself: most of Miami-Dade pulls from the Biscayne Aquifer, which is heavy in calcium and magnesium. That’s what leaves the white crust on your new showerhead and the cloudy film on glass doors. Those minerals also attack valve bodies and cartridge seals, which is why a faucet that should last 15 years can start dripping in 7 here.
Compare that to a national average and the difference is stark. A typical inland climate gives caulk joints 3 to 5 years before they need replacing. In Homestead, we see failures at 18 to 24 months on exterior-facing walls, where the sun heats the wall assembly and drives moisture outward through the caulk line. The same sun that makes your bathroom a sauna in July is baking the sealant on the other side of the drywall.
Three forces are working on your remodel at once:
- Humidity keeps surfaces damp long enough for mold spores to colonize grout and silicone.
- Hard water deposits scale that etches glass, clogs aerators, and stiffens valve cartridges.
- Temperature swings between an air-conditioned interior and a sun-baked exterior wall expand and contract caulk until it pulls away.
None of this means your remodel was doomed. It means the maintenance interval that works in Ohio will fail you here, and the schedule below is calibrated for Homestead specifically. If you’re still planning the project, our Barrett & Sons Construction Homestead home page covers how we build for this climate from the studs out.
The First 90 Days: Post-Remodel Walk-Through
Ninety days after the last tile is set is when installation problems surface and while your workmanship warranty is still fresh. Do this walk-through yourself, with a notepad and your phone camera. Don’t wait for a problem to announce itself.
- Look at every caulk line. Shine a flashlight along the joint where the tub meets the floor and where the shower surround meets the wall. Any gap, bubble, or line of dark discoloration is a failure in progress.
- Touch the grout with a dry fingertip. It should feel hard and slightly sandy, not soft or chalky. Soft grout means it wasn’t sealed or the mix was off.
- Run every fixture for two full minutes. Hot and cold on each faucet, both shower settings if you have them. Watch under the sink with a flashlight for weeping at the supply lines and P-trap.
- Check the toilet at the base. Rock it gently side to side. Any movement means the wax ring or the flange is working loose.
- Test the exhaust fan with a tissue. Hold a tissue against the grille. If it doesn’t pull flat and hold, the fan isn’t moving air. More on that below.
- Photograph everything. Date-stamp your photos. If a leak shows up in month eight, you’ll want proof the joint was sound at day 90.
Write down anything that concerns you and call the installer while the warranty is open. The 90-Day Done Right Promise exists for exactly this: one call brings the crew back to fix what they built. Catching a slow leak at day 90 costs nothing. Catching it at month 14 costs you drywall, framing, and possibly the floor.
Caulk and Grout: The Rainy-Season vs. Dry-Season Schedule
In Homestead, caulk is a twice-a-year job, not a once-a-decade one. The timing matters as much as the frequency. Our rainy season runs May through October, and that’s when water finds every gap. The dry months from November through April are when joints shrink and pull away, leaving an opening for the next storm to exploit.
Here’s the schedule we recommend for local bathrooms:
- April: Inspect and re-caulk every wet joint before the rains arrive. This is your most important caulk window of the year.
- October: Inspect again as the wet season ends. Repair anything that degraded over the summer.
- Every 12 to 18 months: Pull and replace the silicone at the tub and shower base entirely, even if it looks fine. In this humidity, the bond breaks down from behind before you can see it.
- Every 12 to 18 months: Reseal grout on floors and walls with a penetrating sealer. New grout should be sealed once it’s fully cured, then on that cycle going forward.
Use 100 percent silicone in wet areas, not a latex caulk, and not the “siliconized” acrylic blend that sells for half the price. The blend mildews faster and peels sooner in this climate. For grout, an epoxy grout holds up better than cementitious grout in a shower, but it’s harder to install and not every remodel uses it. If yours did, you can stretch the sealing interval. If not, stay on the 12-month plan.
One local note: homes in older Homestead neighborhoods with pier-and-beam or raised foundations move slightly more than slab-on-grade builds, and that movement shows up first in caulk lines at the floor. Don’t assume a crack means bad work. Watch it. If it reopens within 30 days of repair, that’s worth a call.
Exhaust Fan Checks: CFM, Cleaning, and Replacement
Your exhaust fan is the single most important piece of mold prevention in the room, and it’s the one nobody maintains. A fan rated at 110 CFM when new can drop to 40 or 50 CFM after two years of dust and lint buildup. That’s not enough to clear the moisture from a hot shower, and in a Homestead summer, a bathroom that stays damp for two hours grows mold.
The rule of thumb is 1 CFM per square foot of bathroom, with a minimum of 50 CFM for any bathroom and 80 to 110 CFM for a typical full bath. A 10-by-10 bathroom needs about 100 CFM. Most builder-grade fans installed in the 1990s and 2000s are underpowered for the room, which is why so many older Homestead homes have ceiling stains above the shower.
Here’s the quarterly routine:
- Kill the power at the breaker. Never work on a fan with the switch live.
- Remove the grille. Most pop off with a squeeze of the clips or a twist.
- Vacuum the blades and housing with a brush attachment. Dust on the blades throws off balance and cuts airflow.
- Wash the grille in warm soapy water and let it dry completely before reinstalling.
- Test airflow with the tissue method. If the tissue droops, the fan is clogged, the duct is crushed, or the motor is failing.
Do a proper CFM check once a year. A cheap anemometer or a handheld air velocity meter gives you a real number at the grille, and you can compare it to the fan’s rated CFM on the label. If your fan is more than 10 years old, running loud, or rattling, replace it. A quiet 110 CFM fan with a humidity sensor costs less than a mold remediation job, and it runs itself. This is a straightforward swap for a licensed pro but a genuine electrical task, so call someone who knows what they’re doing with the wiring and the duct.
Hard Water and Mineral Buildup: Descaling Calendar
Biscayne Aquifer water is hard, and it leaves calcium carbonate everywhere it sits. On a new showerhead, that looks like a light white haze at first. Left alone for a year, it becomes a crust that clogs the nozzles. Left for three years, it pits the chrome and stiffens the valve cartridge until the handle won’t turn smoothly. By the time you notice the handle sticking, you’re replacing parts instead of wiping them down.
The descaling schedule for a Homestead bathroom:
- Every 4 to 6 weeks: Descale faucet aerators and showerheads. Unscrew the aerator, soak it in white vinegar for 30 minutes, rinse, and reinstall. For a fixed showerhead, fill a plastic bag with vinegar, tie it over the head, and let it sit an hour.
- Every 3 months: Wipe down glass shower doors and tile with a vinegar-and-water spray, or a citric-acid bathroom cleaner. Don’t use abrasive pads on glass; they scratch the surface and make future buildup worse.
- Every 6 to 12 months: Flush the water heater. Sediment settles in the tank and shortens its life, and in hard-water areas it builds faster.
- Annually: Check valve bodies for stiffness. If a handle is getting hard to turn, the cartridge is scaling up. Replace it before it seizes or starts leaking behind the wall.
Consider a whole-house water softener if your fixtures are scaling this fast. It’s an upfront cost, but it stretches the life of every faucet, shower valve, and appliance in the house. For a homeowner planning to stay put, it usually pays for itself inside five years. If you’re weighing other exterior upgrades at the same time, our Driveway & Pavers in Homestead page covers what hard water and sun do to exterior stone and concrete, which follows a similar logic.
The Month-by-Month Calendar, January to December
This is the schedule to print and stick inside the vanity door. Adjust the extreme ends for the specific age of your fixtures, but don’t skip the April and October caulk checks.
- January: Descale showerhead and faucet aerators. Check valve handle smoothness.
- February: Clean exhaust fan grille and blades. Test airflow.
- March: Inspect grout lines in the shower for cracks or soft spots. Photograph anything you find.
- April: Pre-rainy-season caulk inspection. Repair or replace any compromised joint before May. This is the highest-priority month on the calendar.
- May: Descale again. Check under-sink cabinet for moisture or mustiness.
- June: Annual exhaust fan CFM test. Replace the fan if output is below 50 CFM.
- July: Mid-rainy-season caulk spot check, especially on exterior walls.
- August: Descale fixtures. Wipe down shower glass and tile. Flush the water heater if it’s due.
- September: Inspect toilet base for movement. Check supply lines for weeping.
- October: Post-rainy-season caulk inspection and repair. Close out the wet season.
- November: Reseal grout if the 12-month mark has arrived. Descale fixtures.
- December: Clean the exhaust fan again. Review your maintenance log and plan next year’s larger tasks.
Two extra checkpoints worth adding: after any named storm passes through Homestead, walk the bathroom and look for new cracks or water intrusion at the exterior wall. And any time you notice a musty smell that doesn’t clear after a fan cycle, investigate immediately. Smell is the earliest sign of moisture behind a wall.
Seasonal Checklist: Wet Season vs. Dry Season
Treat the Florida year as two maintenance seasons and you’ll stay ahead of the damage.
Wet season, May through October. Your job is defense. Water is trying to get in, so every joint and seal is a battle line. Check caulk monthly in the shower and around exterior-facing frames. Run the exhaust fan every single shower, no exceptions, and consider a timer switch so it stays on 20 minutes after you leave. Watch for condensation on toilet tanks and cold water pipes; if it’s constant, the room isn’t ventilating.
Dry season, November through April. Your job is repair and reset. This is when you pull and replace silicone, reseal grout, service the water heater, and replace worn valve cartridges. Materials cure better in lower humidity, so sealant work done in the dry season holds longer. It’s also the season to handle any larger project you’ve been putting off, whether that’s a full refresh or something bigger like the work on our Home Additions & ADU in Homestead page. Winter is the sane time to build in South Florida, not July.
If you’re also maintaining fencing or an exterior gate around the property, the same wet-dry logic applies to wood and vinyl, and our Fence Installation in Homestead page covers the seasonal rhythm for those materials.
Keeping Records So Warranties Actually Work
A warranty is only as good as your paper trail. Keep a simple folder, physical or digital, with the following:
- Every written change order and the final signed scope. This proves what was and wasn’t included.
- Product manuals and model numbers for the fan, faucets, shower valve, and toilet.
- Dated photos from the 90-day walk-through and every repair since.
- Receipts for any contractor who touches the bathroom after the remodel.
When something fails and you call the original installer, having the paperwork in hand settles the question of whether it’s a workmanship issue or normal wear. On our jobs, the 90-Day Done Right Promise is written on the contract, so there’s no argument about coverage. Need a written estimate for maintenance work or a repair? Our standing offers include $40 Off Any Repair Over $200, a Free Second Opinion on Any Written Estimate, No Trip Charge Inside the County, and a permanent 10% Senior & Veteran discount. Ask about any of them when you call.
Common Mistakes to Avoid
- Waiting for visible mold before treating the fan as a problem. By the time mold shows, damp air has been trapped for months. Test the fan at the first musty smell, not the first stain.
- Using acrylic or “siliconized” caulk in the shower. It mildews and peels within a season in Homestead humidity. Spend the extra few dollars on 100 percent silicone.
- Descaling only when the water flow drops. By then the mineral has already etched the finish. Descale on the calendar, not on symptoms.
- Caulking in the middle of the rainy season. Fresh silicone applied to a damp joint won’t bond. Do the repair in a dry window, ideally April before the rains.
- Skipping the 90-day walk-through because nothing looks wrong. Slow leaks and soft grout are invisible until they’re expensive. The walk-through is your only chance to catch them under warranty.
- Assuming the builder-grade fan is adequate. Many Homestead homes were built with fans rated well below the room size. Check the rating before you trust it.
- Ignoring a sticking faucet handle. That stiffness is a scaled cartridge. Replace it for a little money now or a wall repair later.
See the difference
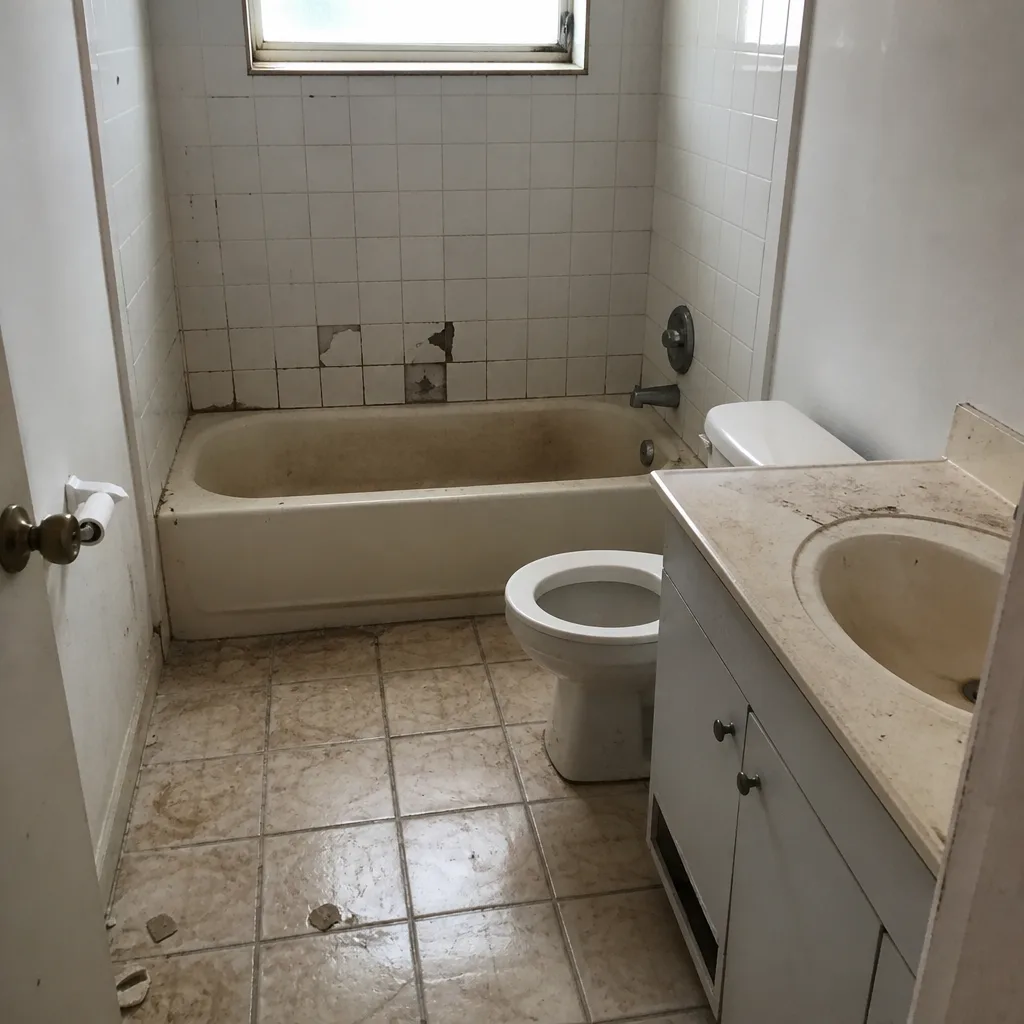 Before
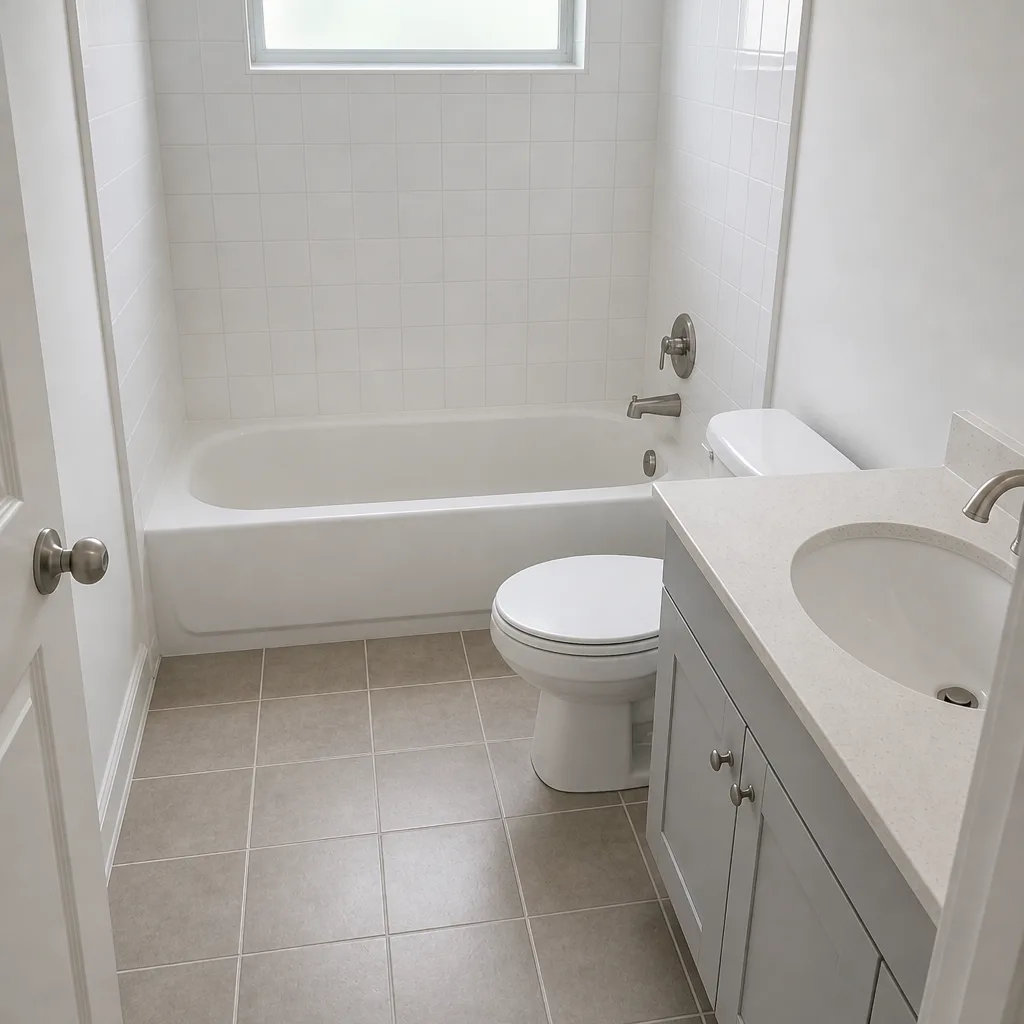 After
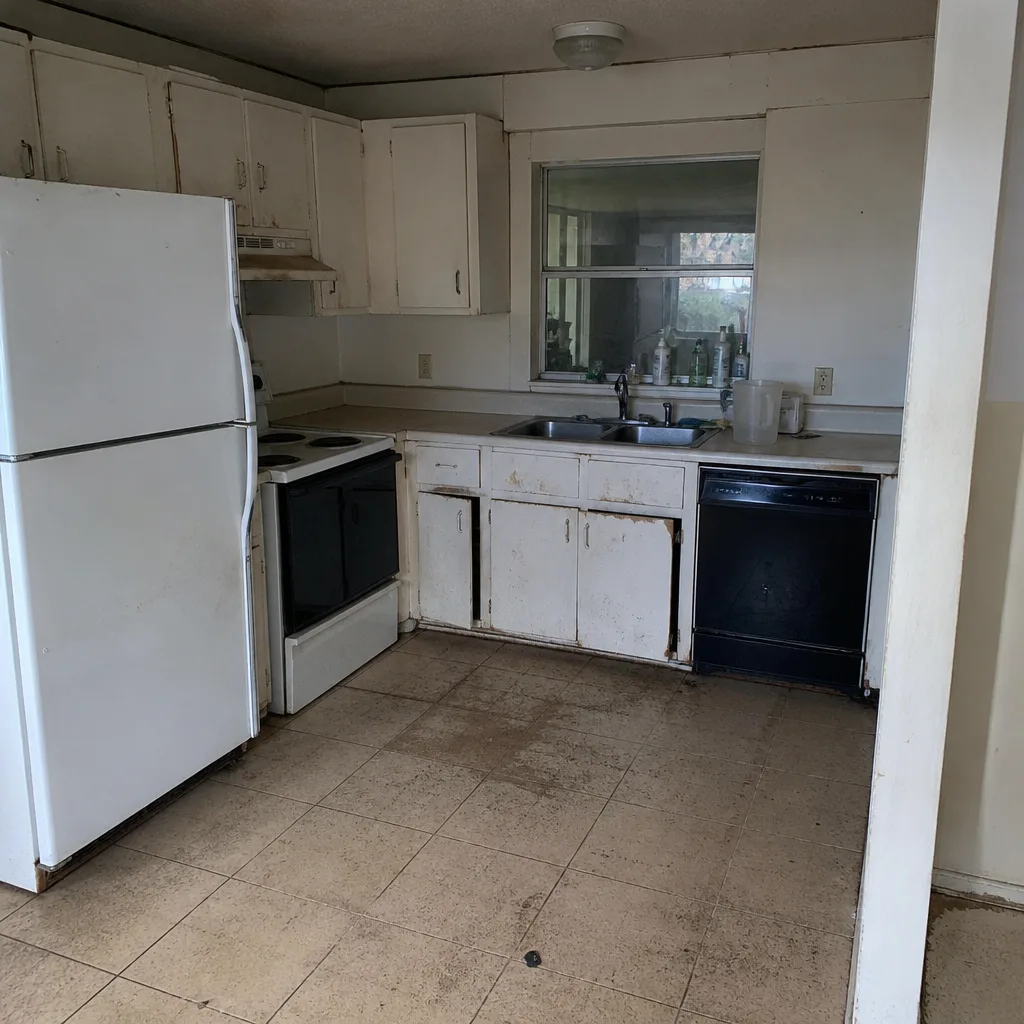 Before
 After
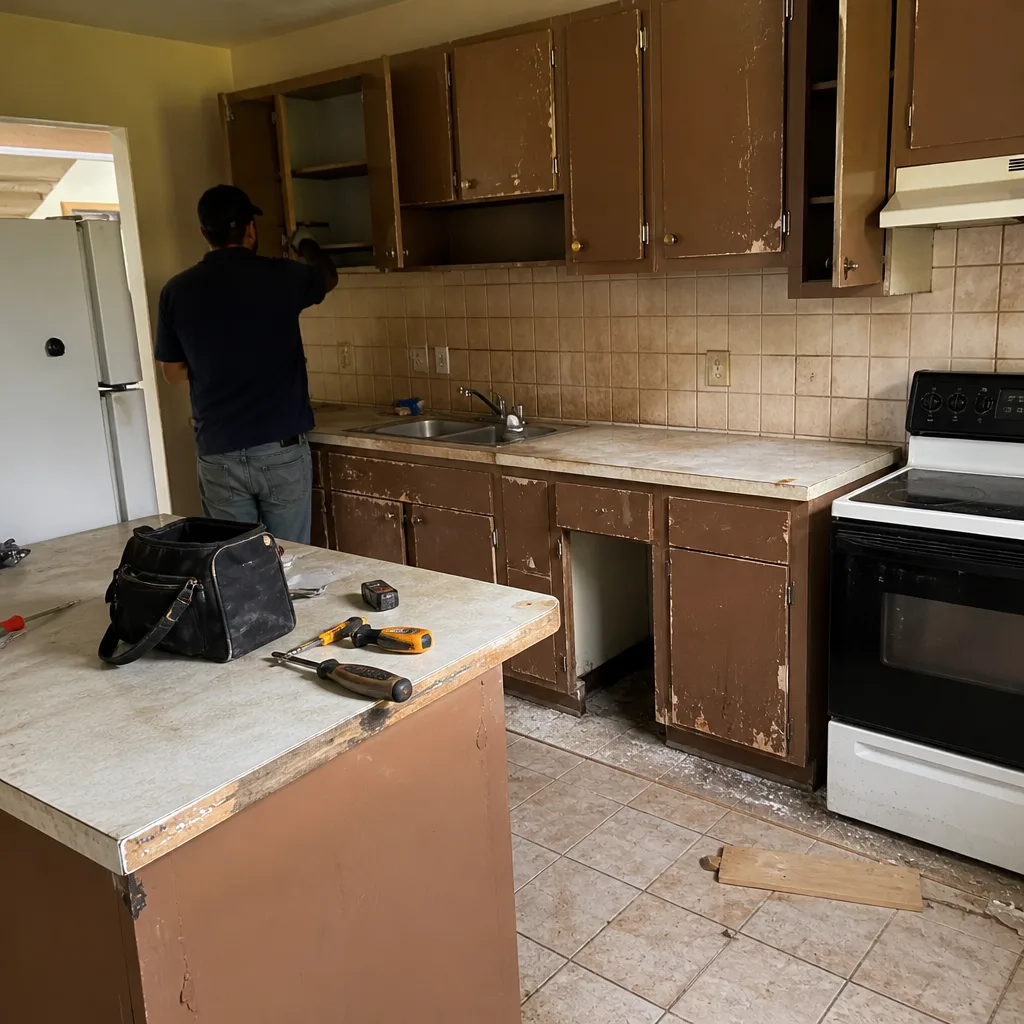 Before
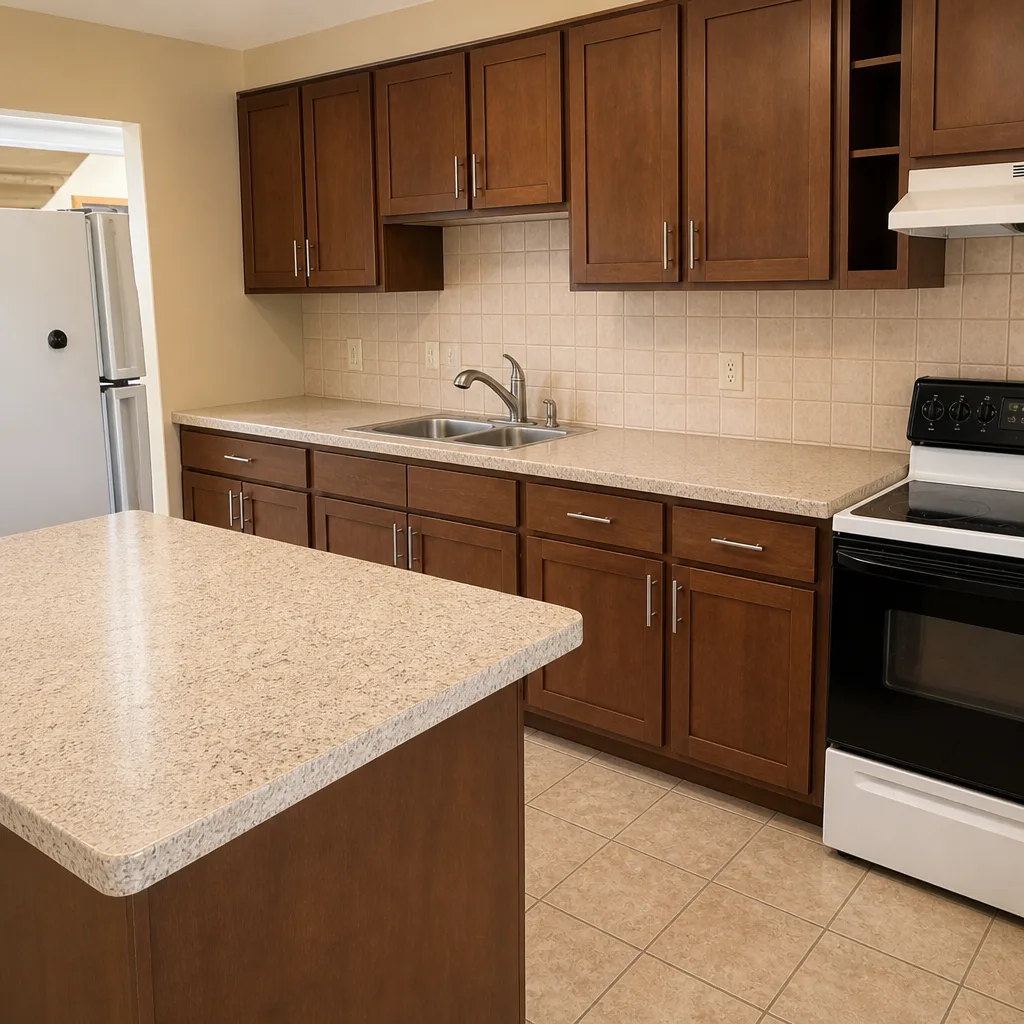 After
When to Call a Professional
Some of this schedule is yours to handle: wiping down fixtures, cleaning the fan grille, running a descaling soak. Other items are genuinely risky and should go to a trained professional. Anything involving the electrical wiring at the exhaust fan, the plumbing behind the wall at a valve or supply line, or a leak you can’t trace belongs with someone licensed and insured. A slow drip inside a wall in Homestead’s humidity becomes a mold problem within weeks, and by the time you smell it the damage is already done. Call us if you find soft grout that won’t take sealer, a fan that won’t pass the tissue test after cleaning, a handle that’s seizing, or any sign of moisture you can’t explain. Barrett & Sons Construction Homestead offers free estimates in Homestead. Call (866) 344-6796 and we’ll take a look.
Frequently Asked Questions
Every 12 to 18 months in this climate, plus a spot check before and after the May – October rainy season. Full replacement of the silicone at the tub and shower base every 12 to 18 months is the safe interval. Homes on exterior walls may need it closer to 12. Call (866) 344-6796 for a free estimate if you’d rather have it done right.
It’s calcium and magnesium from South Florida’s hard water, and it builds up on every fixture that sees water. Descale your showerhead and aerators every 4 to 6 weeks with white vinegar, and consider a whole-house softener if it’s happening fast. Call us for an estimate if the buildup has already damaged a valve.
Do the tissue test: hold a tissue against the grille and see if it pulls flat and stays. For a real number, measure airflow with an anemometer and compare it to the fan’s rated CFM label. A bathroom needs about 1 CFM per square foot, minimum 50 CFM. If your fan is more than 10 years old or running below 50 CFM, it’s time to replace it. Call (866) 344-6796 for a free estimate on a replacement.
At 90 days, and again at the 12-month mark. The 90-day check catches installation issues while the workmanship warranty is open. Photograph everything and keep the record. Call us if you find something and we’ll come look.
Yes. The humidity and hard water break down sealer faster here, so plan on every 12 to 18 months rather than every 2 to 3 years. Epoxy grout can stretch that interval. Call (866) 344-6796 for a free quote on resealing or re-grouting if yours is overdue.
Expect joint failures within 18 to 24 months, mold in the shower within a couple of summers, and fixture replacements well before their rated life. Each problem starts small and turns into a wall repair if ignored. Call (866) 344-6796 for a free estimate before the small stuff becomes a second remodel.
The Bottom Line
Your bathroom remodel needs a maintenance calendar, not just a contractor. The schedule is straightforward: a 90-day walk-through, caulk inspections in April and October tied to the rainy season, grout sealing every 12 to 18 months, an exhaust fan cleaning every 3 months and a CFM check every year, and fixture descaling every 4 to 6 weeks for Homestead’s hard water. Do these on the calendar and your bathroom will last. Skip them and South Florida’s humidity will quietly undo work that was done well. That’s the whole lesson.
Barrett & Sons Construction is owner-operated, every price change arrives as a written change order before work proceeds, and every completed job is backed by the written 90-Day Done Right Promise. When you’re ready for a free estimate or a free second opinion on a written quote, call (866) 344-6796. A live person answers, day or night.
Written by the team at Barrett & Sons Construction Homestead.