Last updated November 17, 2026




Free written scope consultation - allowances, timeline, and change-order rules on paper before a single trade is scheduled
Construction Warning Signs: A Homestead Homeowner’s Reference Guide
A hairline stucco crack is usually normal settlement. A stair-step crack running through block mortar joints is a structural conversation that some contractors will tell you is also normal, hoping you don’t know the difference. In Homestead, where CBS construction is everywhere, that distinction can mean thousands of dollars. This guide teaches you to read the physical signs of shoddy work that show up in the first 90 days after a project, before warranties expire and before the contractor stops returning calls. Knowing what to look for is cheaper than finding out later.
Quick Answer
Most construction defects in Homestead announce themselves within the first 90 days through predictable physical signs: stair-step cracks in block walls, stucco that sounds hollow when tapped, foundation slabs that pool water after a heavy rain, roof stains in specific patterns, and concrete that dusts or scales underfoot. If you spot any of these and your contractor waves them off as normal, get a second opinion in writing before the warranty window closes. Permits and inspections are your best early filter, and a contractor who pulls them and passes them is far less likely to leave these signs behind.
Styles & brands we work with
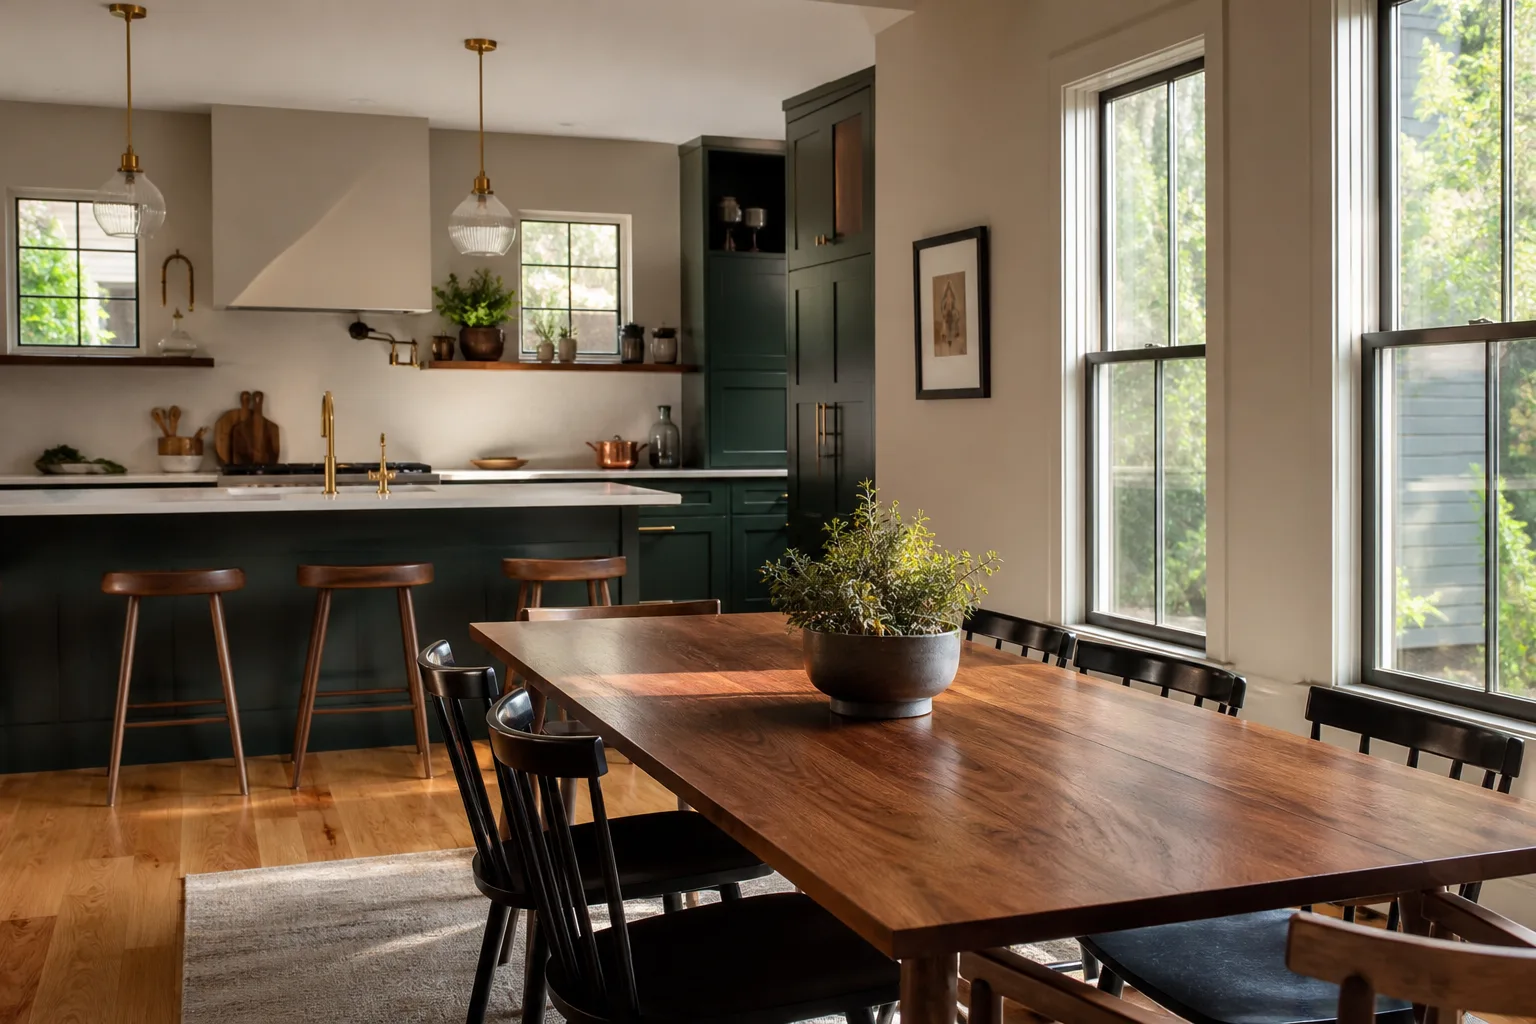
- Kitchen remodeling
- Bathroom remodeling
- Home additions & ADU
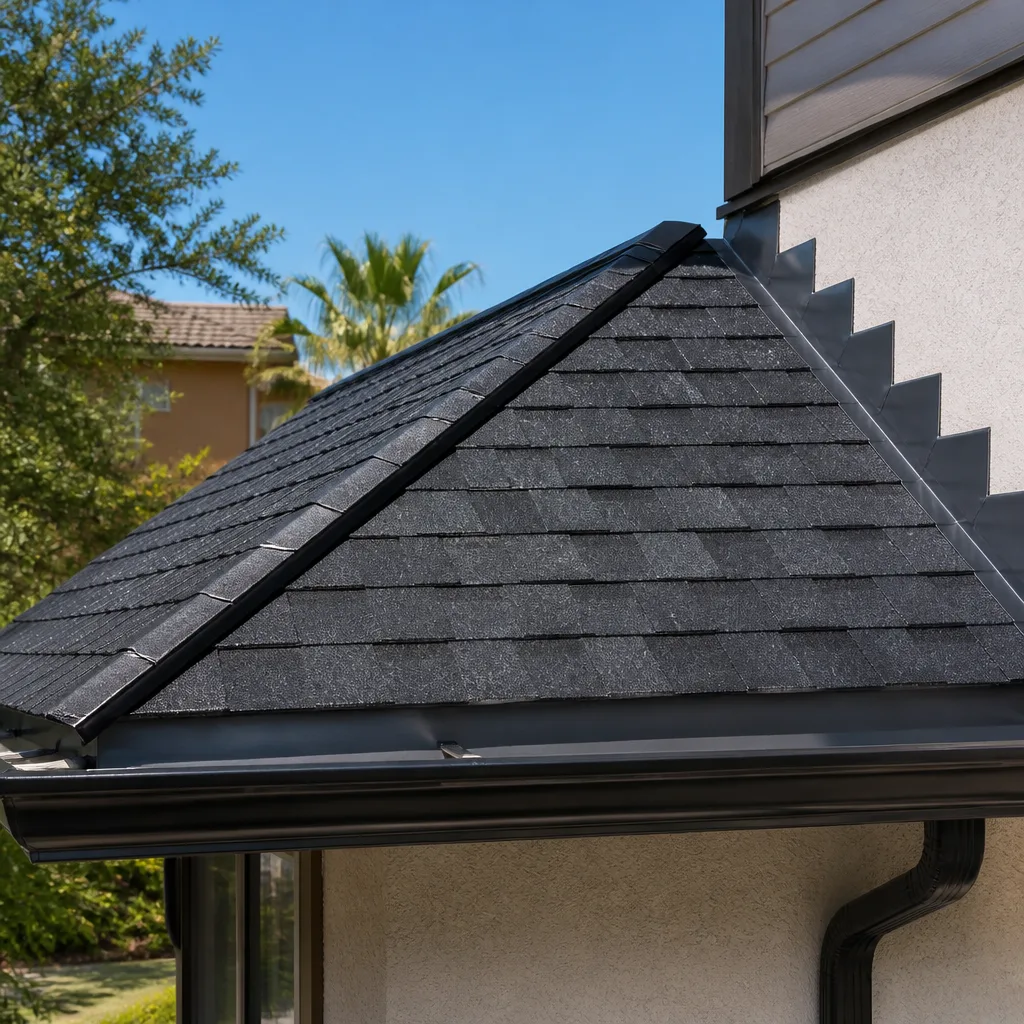
- Roofing
- Windows & doors
- Driveway & pavers
- Fence
Table of Contents
- Decoding Stucco Cracks: Cosmetic vs. Structural
- How to Spot a Permit That Was Opened but Never Finaled
- Drainage Grading Errors Around Homestead Foundations
- Interior Signs of a Roofing Shortcut
- What “Rushed Concrete” Looks Like Six Months Later
- The Fast-Talk Patterns That Precede Bad Work
- The 90-Day Walkthrough Checklist
Decoding Stucco Cracks: Cosmetic vs. Structural
Stucco tells you what’s happening underneath it, but you have to know its language. In Homestead, where CBS block construction dominates and the sun bakes south walls for most of the year, stucco cracks are common. The trick is separating the harmless ones from the ones that cost thousands.
Here’s how to tell them apart:
- Hairline cracks under 1/16 of an inch, running vertically or in a random web pattern: normal shrinkage as the stucco cures. Keep an eye on them, but they aren’t a warning.
- Cracks that follow the block mortar joints in a stair-step pattern: this is the big one. It usually points to movement in the substrate or foundation, not the stucco itself. Never cosmetic.
- Long horizontal cracks just above the slab or at window corners: often a sign the lath or substrate detached, or the framing is moving.
- Stucco that sounds hollow when you tap it with a knuckle: the finish has separated from the wall. In Homestead’s humidity, hollow pockets trap moisture and turn into soft spots and mold.
- Rust stains bleeding through the stucco: water is reaching the reinforcement mesh or the fasteners behind the finish.
Any stair-step crack wider than a credit card, running across more than two blocks, is a structural conversation. We’ve seen contractors dismiss these as “settling” in Homestead and then disappear before the first rainy season ends. If your contractor won’t put the diagnosis in writing, get a second opinion from someone who will.
One more local detail: cracks that appear only on the west or south wall and nowhere else often trace back to heat cycling, not foundation movement. Cracks that show up on all four sides, or that widen over a month, are the ones worth worrying about.
How to Spot a Permit That Was Opened but Never Finaled
Opening a permit and never finaling it is one of the most common ways a contractor leaves you holding the bag. It looks like a normal job from the driveway, but the file at the building department tells a different story.
Here’s how to check in Homestead and Miami-Dade County:
- Ask your contractor for the permit number the day work starts. A real one is issued by the county or city and shows up in their online portal.
- Look up the permit on the Miami-Dade County or City of Homestead building department website. You’ll see its status: “Open,” “Inspections Pending,” “Finaled,” or “Expired.”
- Read the inspection history. Every inspection should show a pass with a date. A permit with several failed inspections and no final is a red flag.
- Ask for the final inspection signature before you make the last payment. If the contractor says the final “isn’t necessary” or “takes too long,” that’s the sign.
- If the permit shows expired, the job may need to be re-permitted and re-inspected before you can sell the home or refinance.
An unfinaled permit can stall a home sale, complicate insurance, and put the cost of re-inspection back on you. The permit inspector works for you, not for the contractor. That’s why we like him. Every job we take in Homestead that’s eligible for a permit gets one pulled and the inspections signed before we collect the last check. If the last contractor on your home told you permits were optional, check the status before you do anything else.
Drainage Grading Errors Around Homestead Foundations
Homestead’s flat terrain and heavy summer thunderstorms make drainage the most underrated warning sign in construction. A foundation that’s even an inch off-grade will tell you so after the first real rain. The problem is most homeowners never look, or they look too late.
Here’s what to check after a heavy storm:
- Water pooling within four feet of the slab for more than an hour: the grade is flat or back-pitched toward the house.
- Mulch or soil washed up against the stucco, or a visible dirt line on the wall: the ground is eroding toward the foundation instead of away from it.
- Gutters that dump at the corner instead of extending to a splash block: a contractor shortcut that funnels water straight into the footing.
- Soft, spongy soil between the driveway and the wall: the subgrade wasn’t compacted, or the downspout is dumping there.
- Efflorescence (white powdery stains) at the base of the block wall: moisture is wicking up from below, a sign of persistent drainage problems.
Proper grading slopes a minimum of six inches of fall over the first ten feet away from the home. On flat Homestead lots, that usually means adding fill and re-shaping the yard, not just pointing the downspout. A driveway or paver job that raises the ground level against the slab without regrading the surrounding soil will make the drainage worse, not better. If you’ve got pavers or a driveway going in, the crew has to think about where the water goes next, not just where the surface sits.
Concrete driveways, pavers, and hardscaping designed without drainage in mind are the number one cause of soggy yards we see in Homestead. For a walkthrough on how the right installation handles slope, see Driveway & Pavers in Homestead.
Interior Signs of a Roofing Shortcut
A roof that leaks in the first year almost always has a signature. Learn the patterns and you can catch the shortcut long before the ceiling shows a brown ring.
Watch for these interior clues:
- Brown staircase stains on the ceiling near a valley, chimney, or wall intersection: the flashing was nailed wrong or the underlayment was skippered.
- Brown stains on the attic decking or rafters, especially along the lower edge of the roof: ice and water shield was skipped, or the fasteners missed the framing.
- Nail pops through the ceiling drywall: roofers walking too heavily, or decking that wasn’t re-nailed to code during tear-off.
- Daylight visible from inside the attic where the roof meets the wall: the flashing and underlayment around that junction are missing or mislapped.
- Sagging or uneven deck lines visible from the street: the decking wasn’t replaced when it should have been, or the fasteners are too short.
In Homestead, the UV index does more damage to a shingle roof than most homeowners expect. A roof that was installed with the wrong underlayment, or with fasteners that miss the deck by half an inch, will fail in three to five years instead of twenty. If your roof is under a manufacturer warranty, ask for the paperwork. A GAF or CertainTeed system backed by the manufacturer is verifiable; a roof installed with mystery shingles from an unmarked truck is not.
If the roof is more than ten years old and you’re seeing any of these signs, have it inspected before the next storm. The Barrett & Sons Construction Homestead home page lists roofing services alongside everything else we handle.
What “Rushed Concrete” Looks Like Six Months Later
Concrete looks perfect the day it’s poured. The problems show up six to twelve months later, long after the crew has packed up. Here’s what a rushed pour actually looks like once it’s had time to settle.
- Surface dusting: a fine chalky layer that wipes off with a broom or your shoe. Usually a sign of too much water in the mix or finishing too early.
- Scaling: the top layer flakes off in patches, often after the first winter cold snap. Points to a water-to-cement ratio that was too high.
- Blotchy color: uneven gray patches on the same pour mean the concrete cured at different rates, usually because the contractor didn’t control the water added on site.
- Hairline spider cracks across the surface: common, but in wide-net patterns they can indicate the slab was finished before bleed water left.
- Ponding water in the middle of the driveway after rain: the slope was set by eye, not by a laser level.
The culprit is almost always water. Crews add water to make the concrete easier to spread, then finish it too fast, and the mix gets weak. A proper pour uses a measured mix design, deliberate finishing, and a cure period before foot traffic. If a driveway or slab shows any of these within the first six months, document it with photos and dates, and call the contractor in writing. In Homestead’s summer sun, curing too quickly is another failure mode, and a crew that hoses the slab down after the pour is buying you twenty more years of service.
If you’re looking at a hardscape project, ask the contractor what water-to-cement ratio they specify and how they handle the Florida heat. Good crews talk about it without blinking.
The Fast-Talk Patterns That Precede Bad Work
Physical signs usually show up after the job. Fast-talk shows up before it. If you learn to hear these patterns, you can avoid most of the projects that end in this guide.
- “Permits aren’t needed for this.” Sometimes true. Usually not, and never for structural work, roof replacements, or additions. Check with the county.
- “We don’t do written estimates, but I can give you a ballpark.” A ballpark has no numbers you can hold anyone to.
- “The price is the price, we don’t do change orders.” Translation: extra work shows up on the final invoice with no warning.
- “We’ll handle the inspection paperwork, don’t worry about it.” You should have copies of every inspection signature. If they don’t want you to see the file, there’s a reason.
- “We can start tomorrow if you sign today.” Real crews are booked. Urgency is a sales tactic, not a service promise.
- “Cash only works.” No paper trail, no warranty, no recourse.
Compare that with what a real contractor says: a written scope, itemized price, a schedule with lead times, a permit number before start, and every change on paper. If you change your mind mid-job, a change order shows up before a single nail moves. That’s how the allowance that isn’t on paper becomes a surprise waiting for a date, and how it doesn’t, when the contractor writes it down.
The 90-Day Walkthrough Checklist
Put this checklist on the fridge and walk the job once a week for the first three months. Anything you mark goes in a dated file with a photo, because that file is what protects you if the contractor stops answering.
- Week 1-2: Confirm the permit number is pulled and posted. Photograph the permit. Note inspection dates on the calendar.
- Week 2-4: Check all exterior stucco for cracks, especially at window corners and above the slab. Tap the walls near downspouts for hollow spots.
- Week 4-6: Walk the yard after a heavy rain. Look for pooling within four feet of the foundation and any dirt washed against the wall.
- Week 6-8: Inspect the attic for daylight, staining, and nail pops. Pull a couple of shingles at the eave and photograph the underlayment if possible.
- Week 8-12: Walk every new concrete surface. Sweep it and look for dusting, check the finish color consistency, and check for ponding after the next storm.
- Before your final payment: Confirm every inspection on the permit has passed and shows a signed final. Get the warranty in writing and confirm the contact for warranty calls.
If anything on the list points to a problem and your contractor has gone quiet, stop paying until you get a written response. The written 90-Day Done Right Promise is the model every contractor should be working from. If a company’s warranty is buried in fine print, or doesn’t exist, that’s the shortest warning sign in the book.
Common Mistakes to Avoid
- Paying the final draw before the final inspection passes. The last check is your leverage; once it clears, the contractor has no reason to come back for a final. Hold it until you see the signed inspection.
- Treating a stair-step crack as cosmetic because your contractor says so. In Homestead’s CBS construction, a stair-step crack through the mortar is a structural question. Get it in writing from someone who will show their reasoning.
- Letting a new flower bed or paver walk raise the soil line against the stucco. This is the most common drainage mistake in Homestead yard projects, and it funnels water straight into the slab and the wall base.
- Hiring a roofer without asking what underlayment they use. Shingle brand means little if the underlayment is a cheap felt and the fasteners are too short. Ask about both, in writing.
- Approving a “verbal change” during the job. The work you didn’t expect becomes the invoice you didn’t plan for. A real contractor writes a change order, and you sign it before the work happens.
- Ignoring small signs until the 90-day window closes. The first 90 days is when a contractor’s warranty is easiest to claim. Waiting until month eight puts you in a different conversation.
- Skipping the verification step on a contractor who “came recommended.” Recommendations are a start, not a substitute. Look up the license number and the permit status on every job.
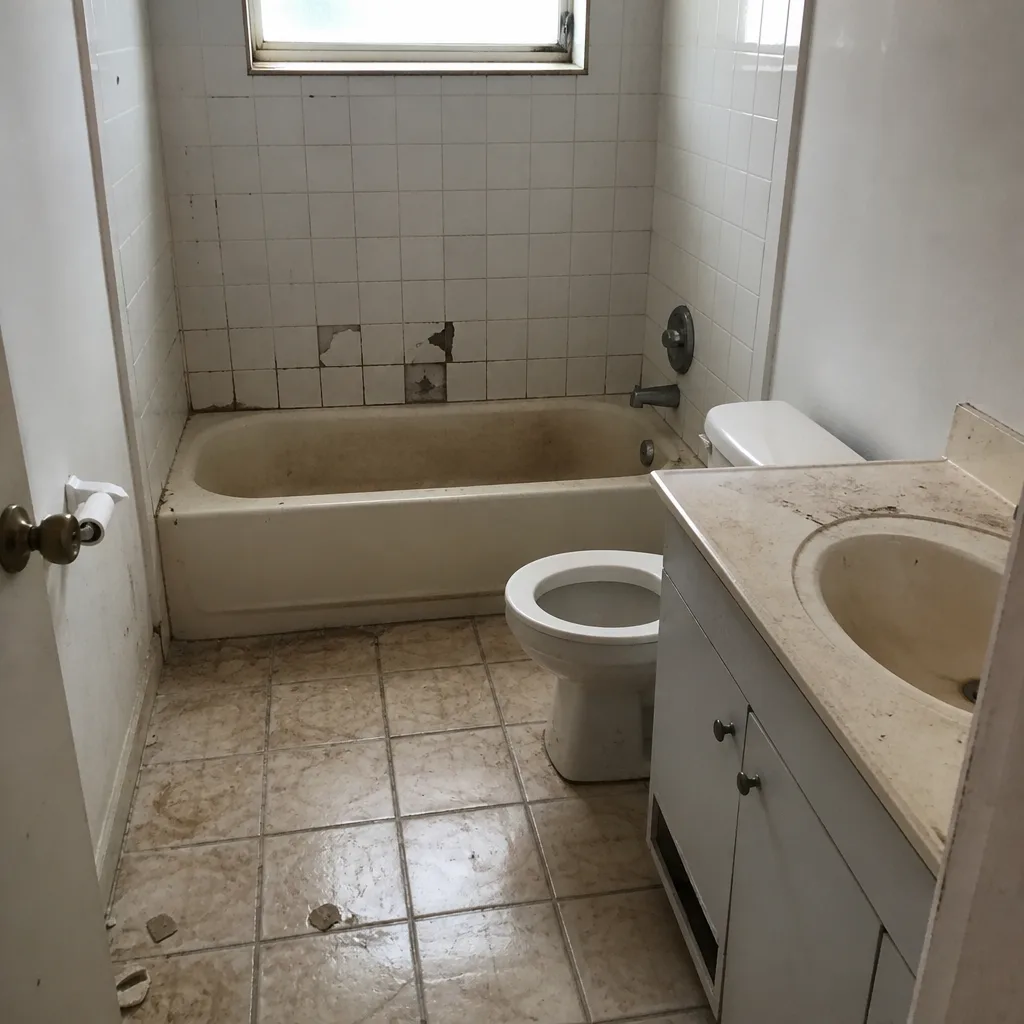
See the difference
 Before
 After
 Before
 After
 Before
 After
When to Call a Professional
Some signs you can watch, and some you shouldn’t touch. If you have a stair-step crack wider than credit-card thickness, a wall that sounds hollow when tapped, water pooling against your foundation after every storm, or a permit that shows expired at the building department, it’s time to call. Those four signs, on their own, are worth a professional walkthrough before you do anything else. Roof leaks, drainage problems around a slab, and any question about whether a wall is structural are the same: watch from a distance, but don’t diagnose them yourself. And if you’re considering an addition or a remodel that needs to be brought to code, or you’ve been told an ADU “doesn’t need a permit” in Homestead, that’s a second-opinion conversation too. Barrett & Sons Construction Homestead offers free estimates in Homestead – call (866) 344-6796. Every eligible job gets permits pulled, inspections signed, and any change in scope written down before the work happens.
Frequently Asked Questions

A standalone defect inspection typically runs $300 to $650 in Homestead depending on the trades involved and how many areas need to be checked. A second opinion on a written estimate is usually free, and we offer that as a standing option. Call (866) 344-6796 for a free second opinion on any written estimate.
No, but they’re the ones worth investigating. Stair-step cracks that follow the mortar joints and run across two or more blocks usually indicate movement in the foundation or substrate, not the stucco finish. Hairline shrinkage cracks are normal and usually cosmetic. The difference matters, and a trained eye can tell them apart in one walkthrough. Call (866) 344-6796 for a free estimate if you want a professional read before your warranty expires.
Look up the permit number on the Miami-Dade County or City of Homestead building department website and check the status. If it says “Open,” “Inspections Pending,” or “Expired” after the job is complete, it was never finaled. Ask your contractor for the final inspection signature before you make the last payment. Call (866) 344-6796 for a free estimate if you want a second set of eyes on the paperwork.
Dusting and scaling usually mean the concrete had too much water in the mix or was finished before it stopped bleeding. That’s a water-to-cement ratio problem, not weathering. In Homestead’s heat, the issue shows up faster than most homeowners expect, often within six to twelve months. Call (866) 344-6796 for a free estimate on a replacement or repair.
A repair is usually a day to a week. A roof replacement runs one to three days. A driveway or paver project takes three to ten days. A kitchen or bathroom remodel runs four to eight weeks, and an addition takes three to six months depending on permits and inspections. Every schedule we quote includes the permit and inspection timeline, not just the construction days. Call (866) 344-6796 to schedule your free estimate.
Not without a written change order you sign first. Every scope, allowance, and price change we issue arrives in writing before the work happens, so there’s no surprise invoice at the end. A contractor who won’t put changes on paper is telling you something about how the final bill will look. Call (866) 344-6796 for a free estimate with a written scope.
The Bottom Line
Bad work in Homestead hides behind fresh paint and fast talk, but the physical signs show up in the first 90 days: stair-step cracks in block walls, stucco that sounds hollow, water pooling at the foundation, brown ceiling stains in a telltale pattern, and concrete that dusts before its first birthday. Learn the patterns, keep a dated photo file, and verify the permit status before you make the final payment. The contractors worth keeping are the ones who pull permits, put every change in writing, and answer their phone when a warranty call comes in twenty minutes down the road. That’s the whole game.
Whether you need a fence, a driveway, an addition, or a second opinion on work you’re not sure about, we’re happy to come out and take a look. Our crews handle fences built for Homestead weather, hardscape that drains properly, and additions where the inspection gets signed before we collect the last check. See our Fence Installation in Homestead services for a sense of how we work. Planning an addition or an ADU? Our Home Additions & ADU in Homestead page walks through the permit and inspection process. For a free estimate on any of it, call us at (866) 344-6796 or stop by. A live person answers, every time.
Written by the team at Barrett & Sons Construction Homestead.