Last updated November 17, 2026


Free written scope consultation - allowances, timeline, and change-order rules on paper before a single trade is scheduled
DIY vs Professional Driveway & Pavers: What’s Safe to Do Yourself
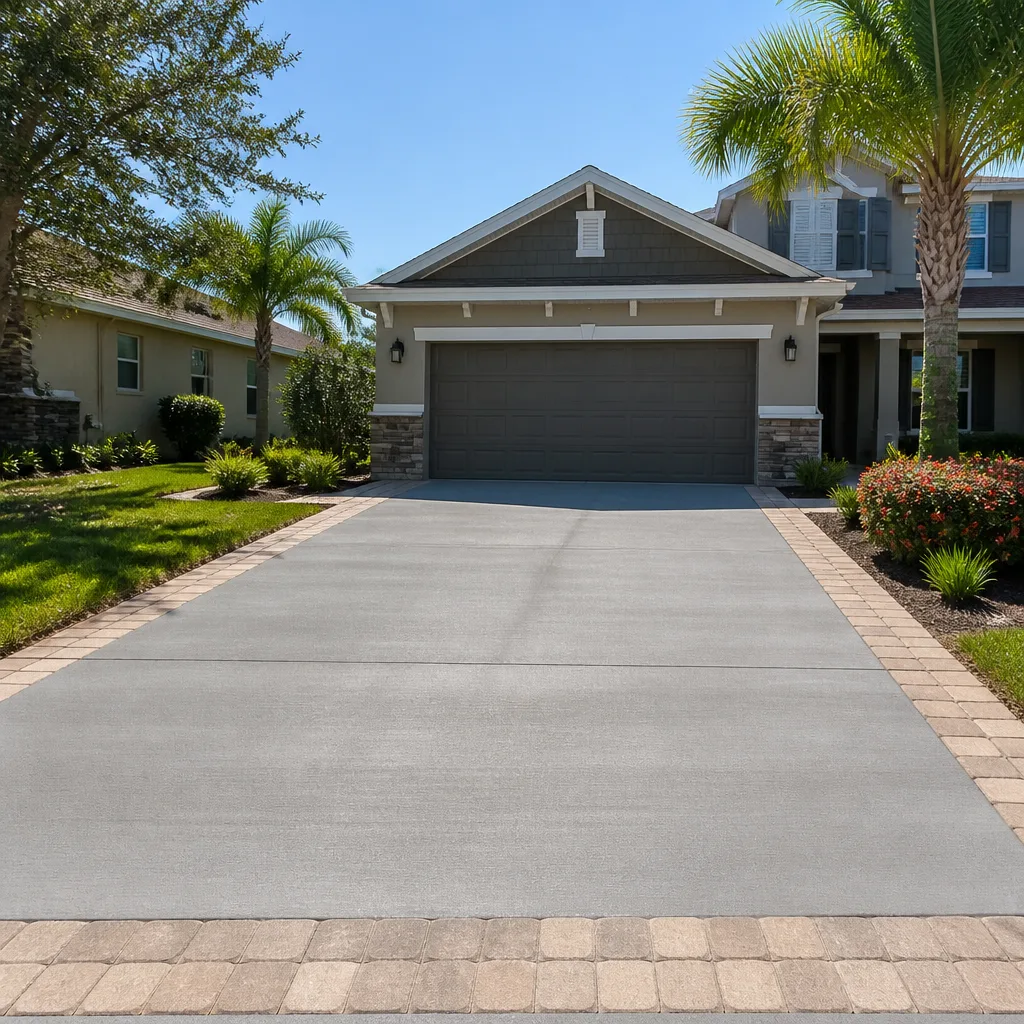
Laying pavers on top of an improperly prepared base is like painting over rot – it looks fine for about one rainy season. Then the joints open, the corners settle, and the whole surface starts to rock underfoot. Here in Homestead, where a single summer afternoon can drop two inches of rain on ground that’s already sitting a foot above the water table, that first rainy season arrives fast. This guide doesn’t try to talk you out of honest work. It draws the line: the specific tasks a handy homeowner can genuinely do well, the ones where a mistake compounds silently underground, and what your real numbers look like either way.
Quick Answer
Yes, there’s real DIY work in a paver driveway – sealing, re-sanding joints, cutting and setting border stone, small repair lifts – and those jobs are worth doing yourself. No, the deep structural work around base prep, compaction and drainage in Homestead’s flat, high-water-table soil is not a safe or cost-effective DIY job, because the failure shows up eighteen months later and costs twice as much to correct. Task your time where it counts, hire out the parts that stay buried, and you get a driveway that lasts without writing a blank check.
Styles & brands we work with
- Kitchen remodeling
- Bathroom remodeling
- Home additions & ADU
- Roofing
- Windows & doors
- Driveway & pavers
- Fence
Table of Contents
- What parts of a paver driveway can a homeowner safely do?
- Why base preparation and drainage are the real story
- Why South Florida soil makes it harder than a YouTube video
- What Miami-Dade County actually requires for driveway work
- How to honestly calculate DIY total cost vs. a contractor quote
- What to watch on a professional crew’s prep work
- Common mistakes to avoid
- When to call a professional
What parts of a paver driveway can a homeowner safely do?
Plenty, and we mean that. A reasonably capable homeowner with a weekend and some patience can handle the finishing work that most contractors break out as a separate line item anyway. Here’s the shortlist we’d actually encourage you to take on.
- Cutting border stone. A rented wet saw, a chalk line and a slow afternoon get you clean edge cuts. This is precision work with judgment visible in the result, and a careful DIYer can match or beat a tired crew’s edge detail on most residential jobs.
- Sealing the pavers. Eighteen months after install, or every two years in our sun, sealant is what keeps color and stops efflorescence. Rolling sealant is straightforward provided you wait for a dry forecast – which in Homestead means checking the radar more than trusting the calendar.
- Re-sanding joints. When joint sand washes low, a bag of polymeric sand and a push broom put it back in forty minutes per hundred square feet. This is the single most valuable maintenance task you’ll own as a homeowner.
- Pulling weeds and treating efflorescence. A wire brush, a proper cleaner and a dry day. No professional needed.
- Small lift repairs. One or two pavers that rock because a corner settled can be pulled, the setting bed touched up, and the unit reset. Good weekend work.
- Layout and marker staking. Before the crew shows up, walk the yard with the family and stake out the final footprint. You know your sightlines, the swing of the driveway, and where your kid actually cuts the corner on the bicycle. Do that thinking yourself.
The line is easy to remember: if the work is visible and a re-do costs you a weekend, do it yourself. If the work is buried and a re-do costs you a driveway, don’t. Everything below the sand layer is the second category.
Why base preparation and drainage are the real story
Six to eight inches of compacted base is what carries every load a driveway sees for the next thirty years. It’s also invisible the moment the sand and pavers go down. That invisibility is exactly why base prep is where the honest work and the easy work split apart.
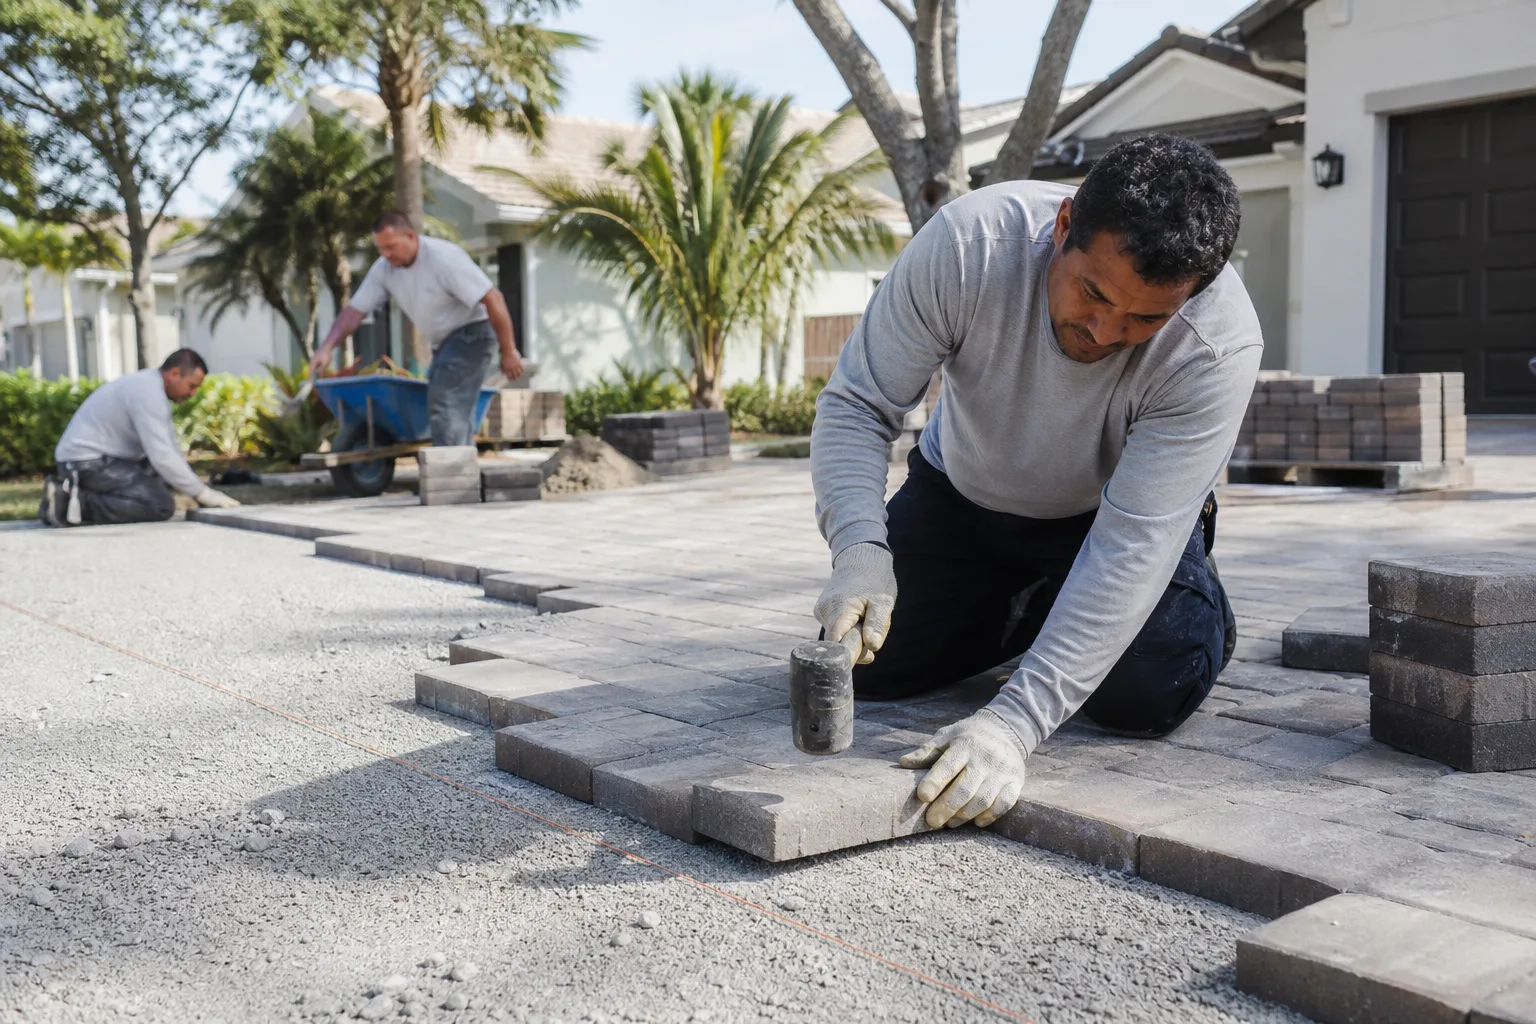
A correct base is built in lifts, not in one dump. Each lift of crushed stone gets graded, watered and run with a plate compactor until it’s dense enough to pass a proof-roll test. Then a second lift, graded again, compacted again. The whole assembly is then pitched – typically two percent – so water leaves the surface and doesn’t pool against your slab, foundation or garage threshold. If your house sits at the bottom of a shallow bowl in a Homestead neighborhood like Silver palms or the older streets of Leisure City, that pitch is the difference between a driveway and a swimming pool that also holds cars.
Here’s what makes it hard to DIY: the equipment to do this right isn’t rented locally. A plate compactor you can grab from the big-box rental counter once, but the ride-on roller and the laser screed you need to actually check grade across a two-car driveway are specialty rentals that most Homestead-area counter crews either don’t stock or won’t attach a trailer for on a Saturday morning. You can fake compaction with a hand tamper – hundreds of square feet of faking is where knees, backs and marriages go.
Ask any paver failure story out here and swap the addresses. Nine out of ten start at the base.
Why South Florida soil makes it harder than a YouTube video
Most paver tutorials you’ll find online are filmed in dry, well-draining soil with low humidity. Homestead is the opposite on every count, and that changes the plan.
- High water table. Many lots here sit within a few feet of groundwater. Dig a generous base and you can find water in the hole before lunch, which turns “compacted base” into “soup.” That’s an excavation judgment call, not a video-rewind moment.
- Rocky limestone below. Just under the topsoil, much of Homestead sits on oolitic limestone. Hand tools bounce. Machine excavation is what actually clears the trench.
- Hurricane-season rain. A bare base sitting open between excavation and paver install can absorb standing water in one storm and stay soft for days. Scheduling cover before the rain arrives is a professional calendar problem.
- Drainage swales and yard pitch. Water leaving your driveway has to go somewhere that isn’t your neighbor’s foundation or your own. This is where site reading matters more than muscle.
- Salt and sun. UV exposure and tropical humidity drive up joint-sand loss and efflorescence, which is exactly why sealing on a two-year cadence is worth your time even though base work isn’t.
In our experience, the homeowners who take on their own base are the ones who call us six months later about rocking pavers and standing water. The point isn’t that you aren’t capable. It’s that the ground here is unforgiving in a way that a dry-climate tutorial doesn’t prepare you for.
What Miami-Dade County actually requires for driveway work
This is where a lot of well-intentioned DIY plans quietly stall. Miami-Dade County treats driveway construction and any change to your impervious surface as a permit matter. Resurfacing in place is usually exempt; new driveway construction, widening, extending the apron, changing the material from grass to hardscape, or altering drainage may require a building permit and in some cases a right-of-way permit from the county.
What that means for a DIY application:
- You’ll need a site plan showing existing and proposed paving, dimensions, and where water will flow.
- You may need a drainage and grading detail that satisfies the county’s stormwater rules – the level of detail depends on which unincorporated area or municipality you sit in.
- You’ll schedule an inspection at the base stage before pavers go down, plus a final inspection. The inspector wants to see compaction and grade, which means the work pauses at the worst possible moment if you haven’t built the base to spec.
- Right-of-way permits may apply if the apron touches the county’s sidewalk or swale. That’s a separate department with its own review clock.
We’ve pulled a lot of these. A homeowner can absolutely file the paperwork – the county is responsive and the portal is workable – but the detail required at base inspection is not forgiving of shortcuts. If the inspection fails, you’re paying to excavate what you just built. When you hire a licensed contractor to do the work, they carry the permit, sign their name to the inspection, and the inspector’s job is to protect you. That’s a good deal.
How to honestly calculate DIY total cost vs. a contractor quote
The most common mistake in the “DIY vs hire” math is comparing a contractor’s bid to a material quote from a paver supplier. Those two numbers aren’t within a factor of two of each other, and the gap is where the honesty lives. Here’s the full accounting, using a 400 square foot paver driveway as the frame.
| Cost category | DIY range | Professional range |
|---|---|---|
| Pavers (Belgard or Techo-Bloc, delivered) | $1,800 – $3,200 | Included |
| Base material (crushed stone, sand, delivered) | $500 – $900 | Included |
| Compaction and excavation equipment rental | $400 – $1,200 (if available) | Included |
| Wet saw, hand tools, edge restraint, geotextile | $200 – $400 | Included |
| Permit application and inspection fees | $150 – $400 | $150 – $400 (same) |
| Waste factor (10 – 15% overage) | $200 – $450 | Bid-in |
| Your time (weeks of weekends) | Not on an invoice, still real | N/A |
| Risk of re-do (base failure) | Every dollar above, twice | Covered by the crew |
Most 400-square-foot driveway projects in the Homestead market land between $6,500 and $11,000 installed. A careful DIYer who does everything themselves spends $3,400 to $6,500 on materials plus equipment – and saves somewhere between $1,500 and $4,500 before their time. If the base fails within two years, that savings evaporates and goes negative, because a re-do turns into a full excavation job that you pay a professional to fix.
The right way to make this calculation is not “which is cheaper” but “which parts am I paying myself to do well.” For most homeowners, the answer is $400 to $900 of finishing work you do after the pro’s crew leaves, plus a permit fee that stays the same no matter who installs. That’s a real, defensible savings without betting your driveway on a weekend’s compaction.
What to watch on a professional crew’s prep work
The most valuable thing you can do as a homeowner is watch the work between excavation and paver install, because after the pavers go down you can’t see anything. Here’s the short checklist we’d hand a neighbor. If a crew skips any of these, ask why before the surface layer goes down.
- Is the excavation depth 8 to 10 inches below finished grade? That’s base plus sand plus paver thickness. Shallow digs show up as cracked pavers on car traffic and dipped corners within a year.
- Is the base being built in lifts, or dumped in one pile? You want to see compaction between each layer. One compaction on a full-depth base doesn’t compact the bottom.
- Is there a laser or transit grade check? No eye-balling. Ask how they’re verifying slope, and where the water is going when it leaves the driveway.
- Is the drainage swale or edge pitched away from the slab? Watch where they’re directing runoff. It shouldn’t point at the house, the neighbor’s yard, or the fence line.
- Is the edge restraint being set and pinned? The border row is what keeps the field from creeping. A loose edge will let a driveway walk apart.
- Is a geotextile separation fabric being laid before the base? Here in South Florida, that fabric is what keeps the subgrade from pumping up into the stone during a wet season.
- Are they pulling the permit and scheduling the base inspection? If a contractor tells you permits are optional, that’s your answer about the rest of the job.
You can check all seven of those without a tool bag. The crew doing the work should be happy to walk you through them. If they’re not, you’ve learned something important before the money changes hands.
If you’re replacing a rotted fence alongside the new driveway, or you’re sketching an addition that will share the driveway approach, the same logic applies on those projects – the buried portion is where the serious work happens. For a broader look at how we handle hardscape work in this climate, see Driveway & Pavers in Homestead, and for the general construction picture, Barrett & Sons Construction Homestead home.
Common Mistakes to Avoid
- Skimping on excavation depth to save on stone. The temptation is real because stone isn’t cheap. Shallow base is the number one reason Homestead driveways develop dips and cracks within two seasons.
- Compacting a wet base. After a South Florida downpour, a plate compactor on a saturated base does more damage than good – it pushes water and fines deeper and leaves you with a base that feels firm and isn’t.
- Forgetting the geotextile fabric. The layer between subgrade and stone is what stops the soil below from migrating up into the base. Skip it and your base thins from the bottom.
- Letting water drain toward the house or fence line. Surface water has to go somewhere. A two percent pitch is not a thing you add later.
- Skipping the permit and hoping. Miami-Dade inspectors ride neighborhoods; a driveway that suddenly appears with a new footprint gets noticed. The permit cost is lower than the correction cost.
- Buying pavers before the base plan exists. Pavers ordered without an accurate square-footage plan come up short, and matching a dye lot on a re-order is often impossible.
- Sealing too early. Freshly laid pavers need time for efflorescence to work its way out before they’re sealed. Sealing a new install within the first couple of sunny weeks traps the haze under the film.
When to Call a Professional
Call a professional when the job involves any of the following: excavation, base construction, drainage grading, permit-driven driveway footprint change, or a driveway that’s currently failing on one side. Those are the scenarios where a re-do costs more than the original project. Also call when you’re planning an addition, an ADU or a fence replacement that shares the driveway approach – sequencing those projects together is a permit problem worth money to solve once. If you’re weighing Fence Installation in Homestead alongside the driveway, coordinate the drainage plan first or the fence posts will sit in the water you moved. For additions, see Home Additions & ADU in Homestead.
Barrett & Sons Construction Homestead offers free estimates in Homestead – call (866) 344-6796. Every price change arrives in writing as a change order before work proceeds, and every eligible job gets its permits pulled and inspections signed.
See the difference
 Before
 After
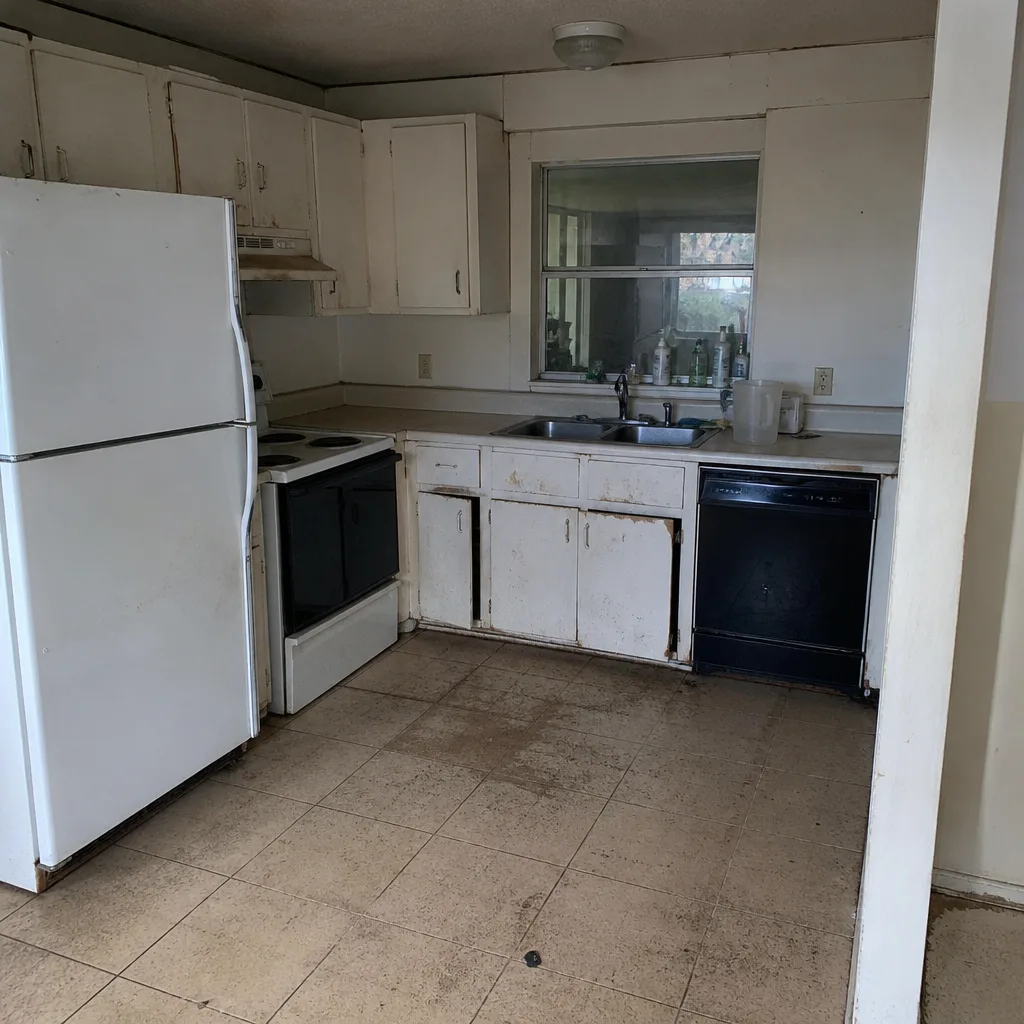 Before
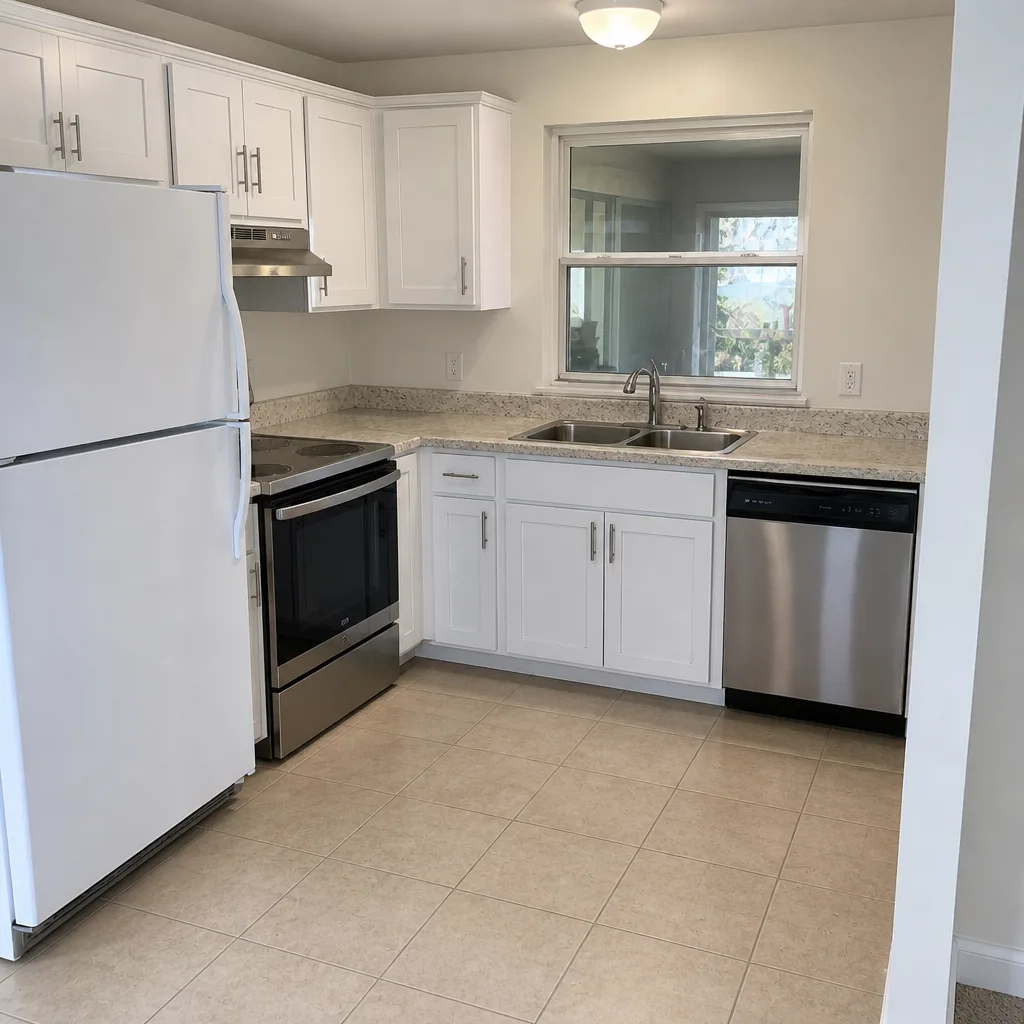 After
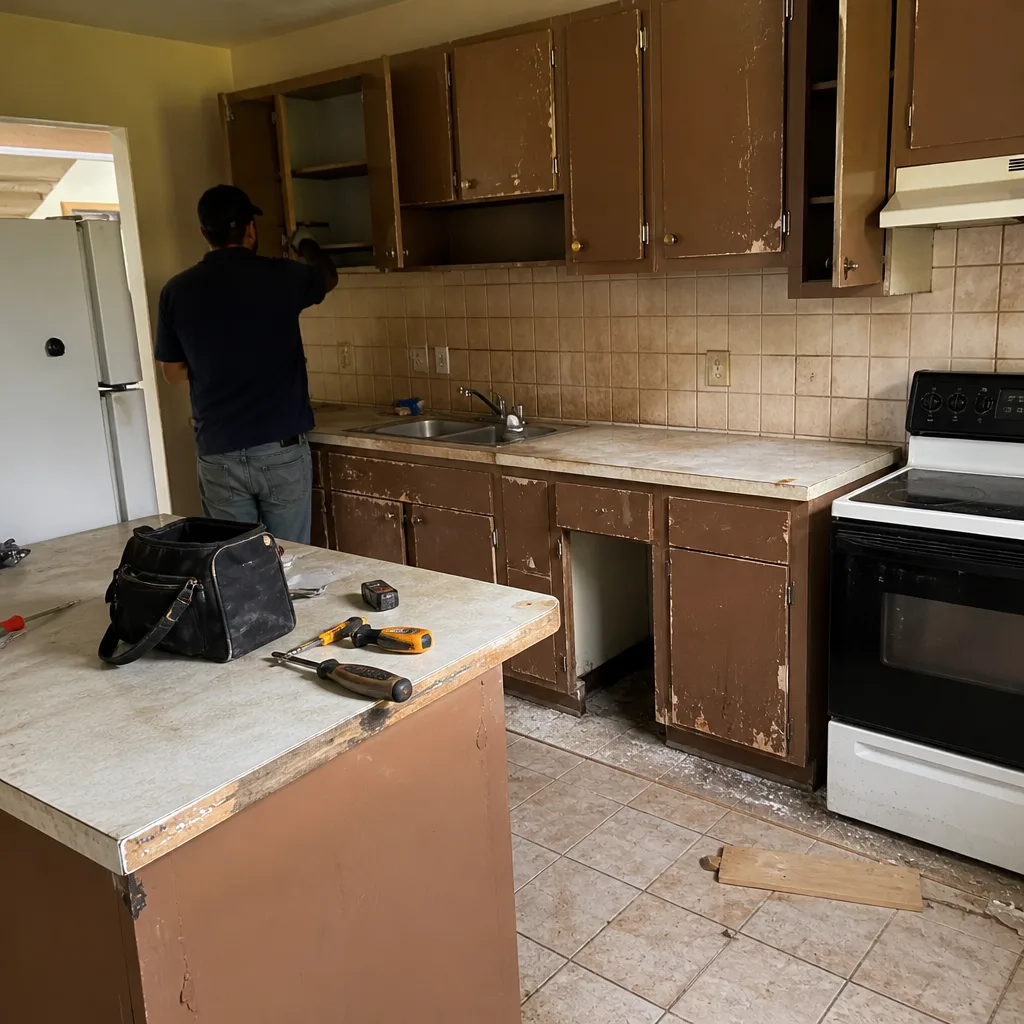 Before
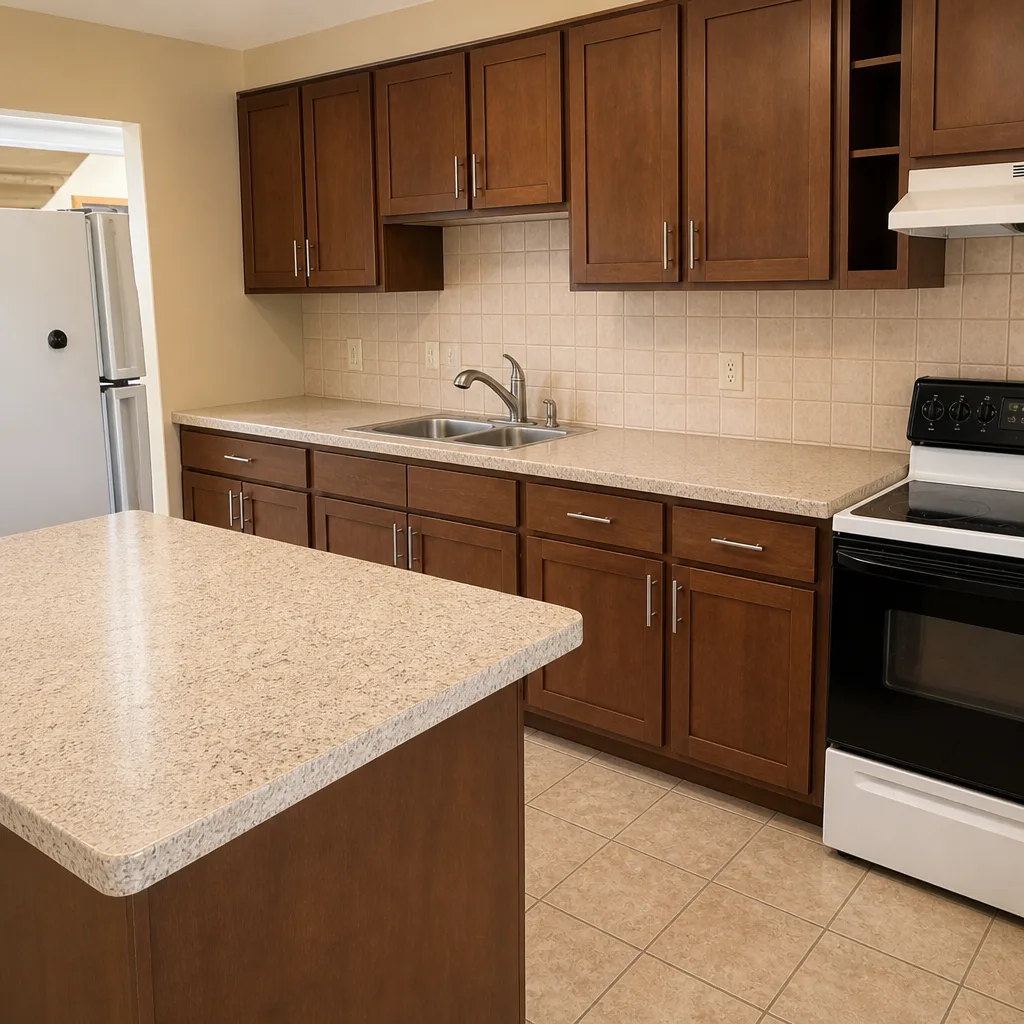 After
Frequently Asked Questions
You can install the finishing work yourself with good results, but the base, drainage and permit stages of a paver driveway in Homestead are where DIY typically fails and should be handled by a licensed contractor. The visible work – border cutting, joint re-sanding, sealing, small repair lifts – is genuinely within reach of a careful homeowner. The buried work is not forgiving.
Most paver driveways in Homestead land between $6,500 and $11,000 installed for a standard two-car footprint, running $16 to $27 per square foot depending on paver selection, site access and drainage work. Belgard and Techo-Bloc products sit in the middle to upper part of that range. Call (866) 344-6796 for an exact quote – estimates are free.
Yes, in most cases – new driveway construction, widening, extending the apron, changing material, or altering drainage in unincorporated Miami-Dade generally requires a building permit and can require a right-of-way permit too. Resurfacing in place is often exempt. Pulling the permit and passing the base inspection is a normal part of the job, not a shortcut.
Not without your written signature. Every price change on our jobs arrives as a written change order before the work happens, and allowances are written into the scope before the first day. You won’t get a surprise invoice at the end because the paver dye lot or the base depth turned out different than planned.
A standard two-car driveway takes three to five working days from excavation to final compaction, weather permitting. Homestead’s summer rain can push that by a day or two if the base needs to dry before cover. Add a week or two on the front end for permit review with Miami-Dade.
No – you’ll want to wait at least one full sunny season, ideally six months, before the first seal. Fresh pavers are still releasing lime and efflorescence, and sealing too early traps it under the film. After that, re-seal every two years in South Florida’s sun. Call (866) 344-6796 if you’re unsure whether a driveway is ready to seal.
The Bottom Line
The honest line for DIY paver work in Homestead runs between what stays buried and what you can see. Cutting border stone, sealing every two years, re-sanding joints, pulling weeds, resetting one or two settled pavers – those are real savings, worth your weekends, and often done better by a careful homeowner than an indifferent crew. Excavation, base compaction, drainage grading, and the permit-and-inspection sequence belong to a licensed professional, and no amount of weekend labor changes that math. Do the work you can do well, hire out the work that fails invisibly, and watch the crew’s prep before the surface goes down. If you’d rather hand the whole thing to someone accountable, we’ll walk the site with you and put the scope in writing.
Call (866) 344-6796 to schedule your free estimate. We’ll take a look at your site, walk you through what the base needs to look like in Homestead’s soil, and put every line item – pavers, base, drainage, permit – into a written quote. Ask about the $40 Off Any Repair Over $200 offer, our Free Second Opinion on Any Written Estimate, no trip charge inside the county, and the permanent 10% Senior & Veteran discount. Every completed job is backed by our 90-Day Done Right Promise: if something isn’t right, one call brings us back to make it right.
Written by the team at Barrett & Sons Construction Homestead.