Last updated November 17, 2026



Free written scope consultation - allowances, timeline, and change-order rules on paper before a single trade is scheduled
Home Additions & ADU Maintenance Schedule: What to Do and When
Here’s what surprises most homeowners we talk to in Homestead: the newest part of your house is often the most vulnerable part of your house. Not because it was built badly. Because the roof-to-wall connection on a fresh addition, the caulking around new impact windows, and the flashing at every seam all need a full South Florida summer to settle and show you where they’ll need attention. That first year tells the truth. Additions and ADUs carry their own maintenance rhythm, separate from the checklist you use on the rest of your home, and this guide walks you through it month by month so nothing sneaks up on you.
Quick Answer
An addition or ADU needs a dedicated maintenance schedule built around its connection points: a 90-day post-completion walkthrough before your warranty period closes, annual checks on the roof seam, impact window seals, exterior paint on the west and south faces, and every new pipe or conduit penetration, plus rainy-season drainage grading checks after each wet season. In Homestead’s climate, the first three years matter most because sealants and flashing are still settling into place.
Styles & brands we work with
- Kitchen remodeling
- Bathroom remodeling
- Home additions & ADU
- Roofing
- Windows & doors
- Driveway & pavers
- Fence
Table of Contents
- Why an Addition or ADU Needs Its Own Maintenance Schedule
- The 90-Day Post-Completion Walkthrough
- Annual South Florida Checks: Roof, Windows, and Paint
- ADU-Specific Maintenance: Panel, Mini-Split, and Water Heater
- Pest Entry Point Inspection at New Penetrations
- Drainage Grading After Each Rainy Season
- Your Year-at-a-Glance Maintenance Calendar
- Common Mistakes to Avoid
- When to Call a Professional
- Frequently Asked Questions
Why an Addition or ADU Needs Its Own Maintenance Schedule
Your original house has had years, sometimes decades, to reveal its weak spots. An addition or ADU hasn’t. Every new structure goes through a settling period where materials expand, contract, and find their final position. In Homestead, that settling happens fast because of the heat and humidity. Sealants that looked perfect in January can pull away from a joint by August. Caulking around a new window frame can crack the first time a summer storm pushes wind-driven rain against it.
The connection points are where this matters most. Where the new roof meets the old wall, where the addition’s foundation meets the original slab, where new stucco meets old stucco. These are the seams, and seams are always the first thing to need attention. A dedicated schedule keeps you ahead of them instead of chasing water stains after the fact.
There’s a second reason, and it’s specific to Homestead and the surrounding rural counties. Our rainy season runs roughly May through October, and it doesn’t ease in gently. We get weeks of afternoon downpours that test every joint on a new build at once. If your maintenance calendar is built around a national average instead of our actual weather pattern, you’ll be doing the right chores at the wrong time of year.
If you’re still in the planning stage on an addition, our Home Additions & ADU in Homestead page covers design, permitting, and what to expect during construction. This guide picks up where that one ends: the day the crew pulls off the site and the structure becomes yours to maintain.
The 90-Day Post-Completion Walkthrough
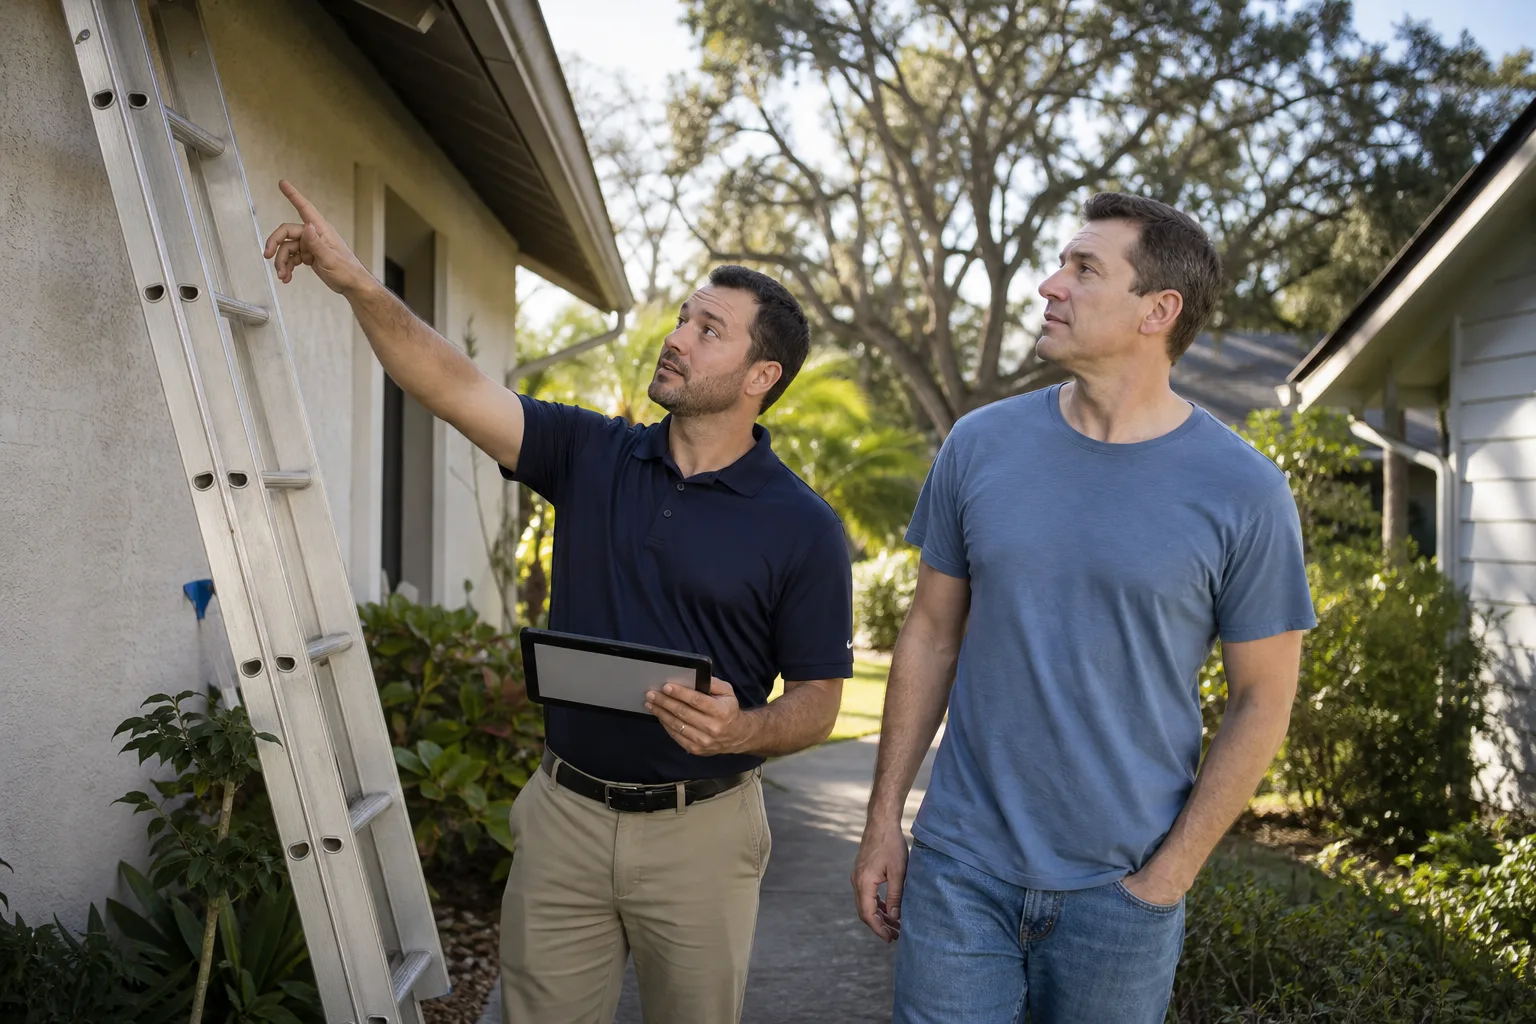
Roughly ninety days after your addition or ADU is finished, walk the whole structure with a clipboard and a critical eye. This is the single most important maintenance event in the life of your new space, because it happens while warranty periods are still open. Find problems now and they get fixed on someone else’s dime. Find them a year from now and they’re yours.
Ninety days is the right window in Homestead because it gives the structure one full shift of seasons, including the start of heavy rain, without letting a small issue turn into a big one. Here’s what to check, in order:
- The roof-to-wall connection. Look for lifted flashing, cracked sealant, or any gap where the new roof plane meets the original wall. This is the number one failure point on any addition.
- Interior ceiling and upper wall corners. Any brown ring, soft spot, or bubbling paint on the inside tells you water is getting in from outside. Chase the exterior seam above it.
- Window and door frames. Run a finger along the interior caulk line on every impact window. Gaps or crumbling caulk mean the exterior seal is compromised.
- The old-to-new stucco seam. Hairline cracks are normal. Cracks wider than a credit card, or any that run diagonally from a corner, need a closer look.
- Floor transitions. Where new flooring meets the original slab or subfloor, check for lifting, soft spots, or squeaks that weren’t there at handover.
- Every exterior penetration. Pipes, conduits, dryer vents, and hose bibs. Each one should have intact sealant and no daylight showing through.
- Doors and windows in operation. Open and close everything. Sticking means the frame has shifted since installation, which is worth documenting early.
- Grading around the new foundation. Soil should slope away from the structure. If it’s settled into a low spot, water is pooling where it shouldn’t.
Photograph everything, even the things that look fine. A dated photo record of a clean seam is proof that a later problem started after the walkthrough, which matters if you ever need to make a claim. Write down anything that concerns you and send it in writing to whoever built the addition.
Annual South Florida Checks: Roof, Windows, and Paint
Once a year, ideally in late spring before the rainy season, do a full exterior pass on the addition. In Homestead, three things deserve the most attention, and they’re the same three things the sun and wind attack hardest.
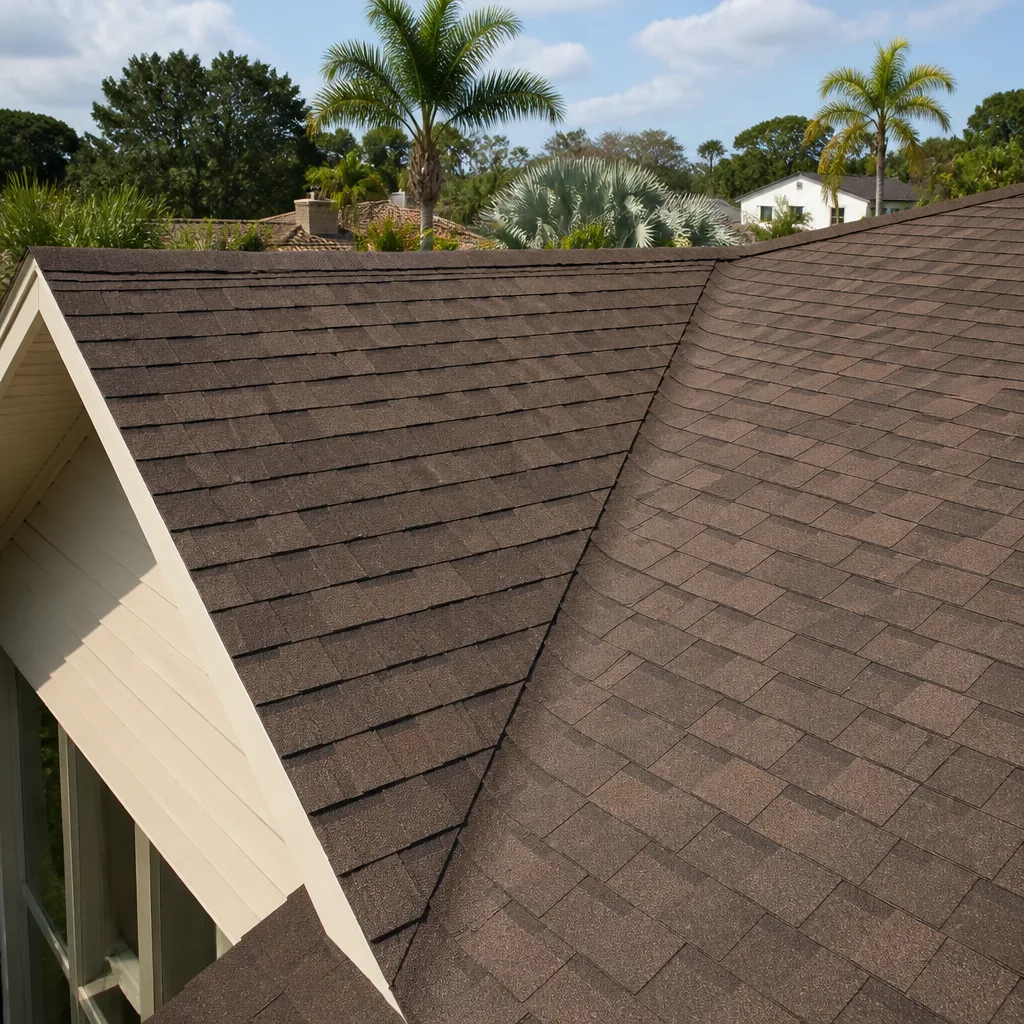
The roof membrane at the addition seam. Flat or low-slope roof sections are common on additions and ADUs, and their membrane seams take more punishment than a pitched roof. Check for blistering, ponding water, and any seam that’s pulling apart. If there’s a visible patch where shingles or membrane look different from the rest, that’s where the roofer joined new material to old, and that’s your priority check.
Impact window seal integrity. Every impact window has a weather seal and a perimeter caulk joint. The glass itself will outlast the building. The seals around it will not. Look for cracked caulking, gaps at corners, and any window where you can feel air movement on a windy day. A failed seal doesn’t just leak, it also lets humidity into the wall cavity, and in our climate that’s a mold problem waiting.
Exterior paint and stucco on the west and south faces. South and west walls catch the most direct sun and the most wind-driven rain in Homestead. That’s where paint will chalk and fade first, and where stucco will show hairline cracks. Walk those two faces with a hose and watch what happens. Water that darkens the stucco and doesn’t dry quickly is getting in where the paint film has broken down.
- Re-caulk window and door perimeters every 3 to 5 years in our climate, or sooner if you see cracking.
- Check roof seam sealant every spring and after any named storm.
- Plan to repaint south and west elevation walls more often than north and east, sometimes twice as often.
- Look at drip edges and fascia behind the gutters, where rot starts quietly.
ADU-Specific Maintenance: Panel, Mini-Split, and Water Heater
A detached ADU is essentially a small second house, and it carries its own building systems. That’s the part most homeowners forget. When something goes wrong in the ADU, there’s no second bathroom to fall back on and no shared utility to lean on. Keep a separate maintenance log for it.
Electrical panel inspection. If your ADU has its own panel, have a licensed electrician look at it annually. They’ll check torque on the breakers, look for heat discoloration, and confirm the labeling still matches what’s actually on each circuit. It’s a thirty-minute visit that catches the kind of hidden problem that shows up as a burning smell at the worst possible moment. Electrical work is not a homeowner job, and we strongly advise against opening that panel cover yourself.
Mini-split service intervals. Mini-split systems are the go-to for ADUs because they’re efficient and don’t need ductwork. They also clog. In South Florida’s humid air, the condensate drain line and the coil both build up biological growth faster than in dry climates. Clean or replace the filters monthly during heavy use, and have a technician do a full coil and drain service twice a year. A clogged condensate line can back water into the unit and into the wall behind it.
Water heater sediment flushing. If the ADU has its own water heater, flush the tank once a year. Homestead’s water carries minerals that settle as sediment on the tank bottom, and that layer forces the burner to work harder while shortening the tank’s life. This is doable yourself if you’re comfortable with it, but if you’d rather not touch it, any plumber will handle it as a small service call.
Pest Entry Point Inspection at New Penetrations
Subterranean termites are a real and constant pressure in Homestead, and every hole cut through a wall, slab, or foundation for the addition is a potential doorway. The problem isn’t that the builder did something wrong. It’s that any penetration point is only as good as its seal, and those seals age.
Once a year, walk the perimeter and interior of the addition and inspect every point where something passes through the structure:
- Plumbing penetrations through the slab and walls
- Electrical conduit entries
- Pipe sleeves and chases
- HVAC line-set penetrations
- Dryer vents and any exterior exhaust
- The base of exterior doors, where framing meets the slab
Look for mud tubes, which are thin pencil-width tunnels termites build to travel above ground. Look for cracked or pulled-away sealant at each penetration. Look for small piles of frass or sawdust near baseboards. If the addition sits on a stem wall or pier foundation, check the visible foundation for any sign of termite shelter tubes.
Also keep a clear eighteen to twenty-four inches between the soil and any siding or stucco that comes down close to grade. Mulch piled up against the addition’s foundation is one of the most common ways termites find a way in. Better to have bare, sloped soil there than a decorative bed that’s quietly feeding a problem.
Drainage Grading After Each Rainy Season
Homestead is flat. Not gently rolling, not slightly sloped, but genuinely flat in most of the area. That means water doesn’t rush away from a house on its own, and a new addition can quietly redirect sheet flow in ways nobody planned.
After each rainy season, walk outside and look at the ground around both the addition and the original house. You’re looking for three things:
- Low spots against the foundation. Soil settles over time, and a spot that sloped away at handover can become a shallow bowl within a couple of years. Fill and re-grade with soil that drains.
- Water tracks in the yard. Look for channels carved in the dirt or mulch after heavy rain. These show where water is actually running, which tells you more than any plan drawing ever will.
- Water pooling near the original house’s foundation. An addition changes how water moves across the lot. If runoff from the addition’s roof or driveway now channels toward the older structure, that’s a problem you want to fix with a swale, gutter extension, or French drain before it reaches the slab.
Gutters and downspouts deserve the same attention. An addition with new gutters should have downspouts that carry water several feet away from the foundation, not dump it into a planting bed. Clear leaves and debris after each storm season, and check that the downspouts haven’t come loose during a storm.
If you’re rethinking the grading, hardscape, or drainage around a new addition, our Driveway & Pavers in Homestead page covers how paver installation and proper base grading handle runoff in our part of the state. It’s often paired with the drainage work around an addition.
Your Year-at-a-Glance Maintenance Calendar
Here’s the schedule in plain form. Print it, tape it inside a cabinet, and check it off each year.
January through March (dry season):
- Inspect roof seam and all flashing (before rainy season)
- Walk every exterior penetration and re-caulk as needed
- Flush the ADU water heater
- Annual electrical panel inspection on the ADU
- Termite pressure walk: mud tubes, cracked seals at penetrations
- Check drainage grading and downspout extensions
April through June (start of rainy season):
- Second inspection of the roof seam after the first heavy rain
- Impact window seal check on south and west elevations
- Service mini-split: coil clean, drain line clear, filter change
- Walk around after the first big storm to spot leaks and ponding
July through October (peak storm season):
- Monthly mini-split filter cleaning
- Check gutters after any named storm
- Look at interior ceilings after heavy rain for any new stains
- Inspect caulking on west and south walls for sun cracking
November through December (after rainy season):
- Drainage grading full check
- Second mini-split service
- Repaint or touch-up any peeling exterior paint on the addition
- Re-check pest entry points one more time before the dry season
Common Mistakes to Avoid
- Skipping the 90-day walkthrough. Many homeowners figure “it’s brand new, it’s fine.” That window is your best chance to catch settling issues while they’re still the builder’s responsibility, and it closes fast.
- Treating the addition like the original house. Your original structure has already done its settling. The addition is still settling. They need different care in years one through three.
- Caulking over a wet seam. We see this after storm season in Homestead: someone smears caulk over a joint that’s still damp, and it fails within a month. Dry the surface, wait for a dry spell, then caulk.
- Ignoring the west and south walls. It’s easy to focus on the north side of the house where you park or walk. The west and south faces take the UV and the wind-driven rain, and that’s where paint and stucco fail first.
- Never flushing the ADU water heater. Out of sight, out of mind. A tank full of sediment runs harder and dies years earlier than it should.
- Letting mulch pile up against the addition. That decorative bed against the new slab is a termite highway in our climate. Keep the foundation clear and the soil sloping away.
- Assuming flat means drainage is fine. Homestead’s flat terrain is exactly the reason it isn’t. Small grade changes have big effects when water has nowhere to go.
When to Call a Professional
Plenty of this schedule is genuinely do-it-yourself. Checking caulk lines, cleaning filters, walking the yard after a storm, and changing out a downspout, those are things you can manage. But several items aren’t safe or sensible to handle alone, and we’d rather tell you plainly than have you risk it.
Call a licensed electrician for anything involving the ADU’s panel or wiring. Do not open the panel cover yourself. Call a roofing professional when the roof seam at the addition is lifted, torn, or ponding water. Rooftop work involves heights and heat that make it a real hazard for a homeowner, and roof membrane repairs done wrong the first time only cost more to fix. For termite activity, call a licensed pest control operator, because diagnosis and treatment are not a DIY project. And call your builder about any seam, leak, or grade issue that emerged within the first year, because that’s the period most written warranties cover.
For structural and seam concerns on a Homestead addition, Barrett & Sons Construction Homestead offers free estimates. Call (866) 344-6796. We’ll look at what’s happening, tell you honestly whether it’s a maintenance item or something more, and put any proposed scope in a written change order before we touch a thing.
Frequently Asked Questions
A full exterior inspection once a year, plus a dedicated 90-day walkthrough right after construction is finished, plus ad-hoc checks after any named storm. Interior systems like the electrical panel and mini-split want annual and twice-yearly service respectively. The ninety-day check is the most important one because it lands inside the builder’s warranty window.
Because the seam is where the new roof plane meets the old structure, and that junction takes more movement and more sealant stress than the rest of either roof. In Homestead’s heat, sealants at that connection cure, shrink, and pull away faster than anywhere else on the roof. It’s a normal maintenance point, not a sign of poor work, but it does need checking every year.
Look for cracked or crumbling caulk along the frame, air leaks on a windy day, or water stains on the interior drywall below the window. Run a hose against the window for ten minutes and watch the interior. Any moisture inside the frame or on the wall means the perimeter seal has failed and needs re-caulking before the next storm.
Yes, once a year. Most ADUs have their own tank, and Homestead’s water leaves mineral sediment that collects on the bottom. Yearly flushing keeps the heating element efficient and extends the tank’s life by several years compared to a tank that’s never flushed.
Mud tubes on the foundation, cracked or pulled-away sealant at pipe and conduit penetrations, small piles of frass near baseboards, and hollow-sounding wood when tapped. In Homestead’s climate, subterranean termites are especially active, so any of these signs warrants a call to a licensed pest control operator right away.
Absolutely. All it takes is a new roof plane or a reshaped yard to redirect runoff, and on Homestead’s flat ground that means water can quietly start channeling toward the original slab instead of away from it. Check the grade after each rainy season and watch for water tracks, low spots, or pooling near the older foundation.
The Bottom Line

An addition or ADU rewards you for a small amount of regular attention, and it punishes neglect faster than the rest of your home. The single most important step is the 90-day post-completion walkthrough while your warranty is open. After that, an annual exterior pass before rainy season and a post-storm check will cover the roof seam, window seals, paint on the exposed faces, and every new penetration point. Keep a separate maintenance log for the ADU so the electric panel, mini-split, and water heater don’t slip through. Do that faithfully in Homestead’s climate and your new space will stand up well for decades.
If you’re planning an addition, or if a seam, leak, or grade issue has you worried about one you already have, Barrett & Sons Construction Homestead is glad to take a look. We’re local, we pull the permits, and we put scope and price in writing before anything changes. Call (866) 344-6796 for a free estimate. You can also visit our Barrett & Sons Construction Homestead home page to see the full range of work we do, and if your maintenance walk turns up a fence or hardscape item on the same property, our Fence Installation in Homestead page is a good place to start.
Written by the team at Barrett & Sons Construction Homestead.
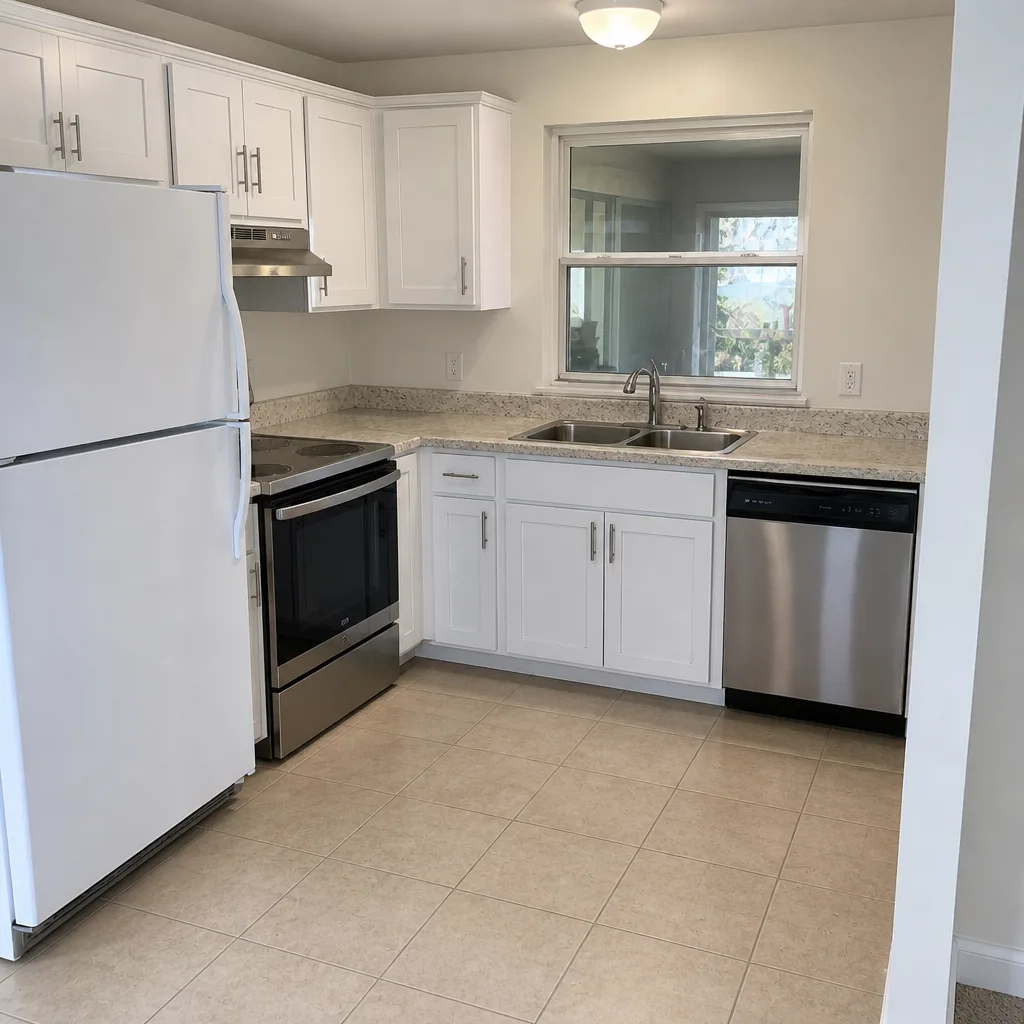
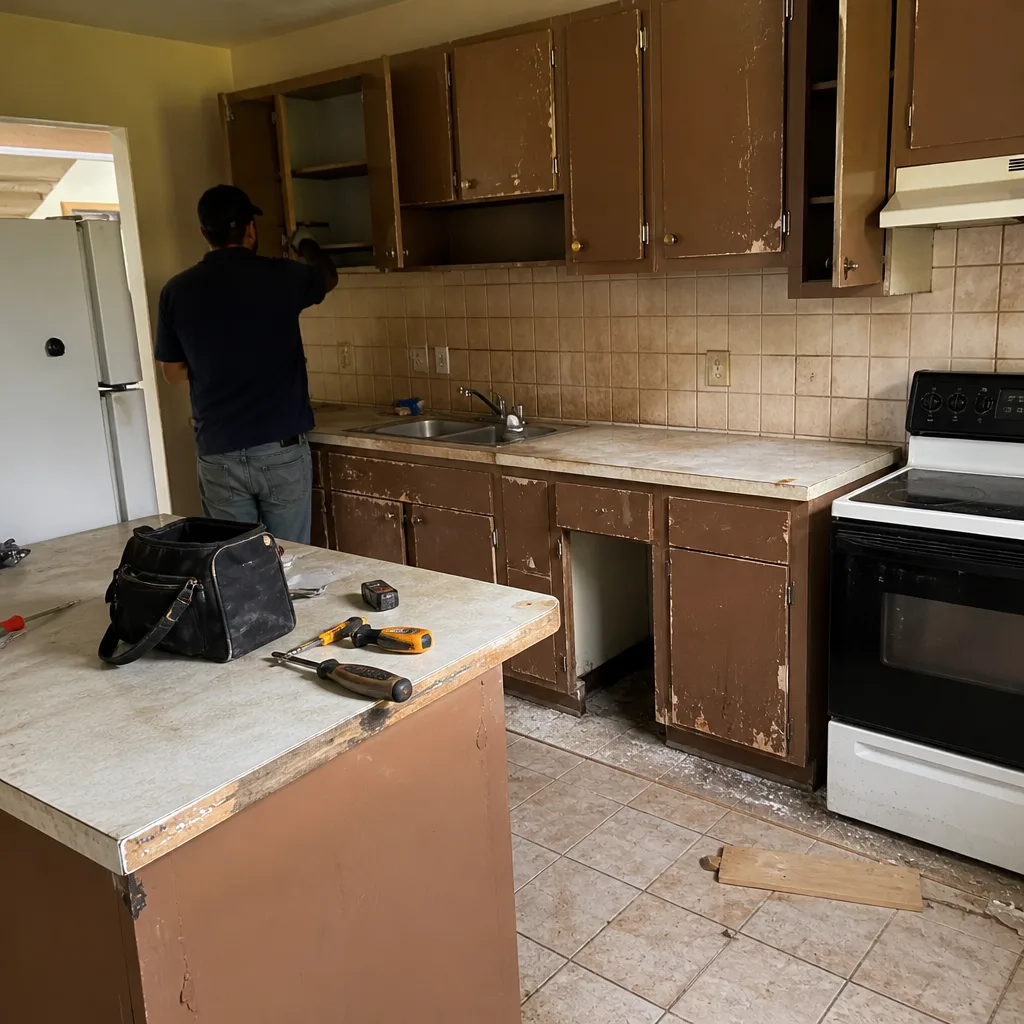
See the difference
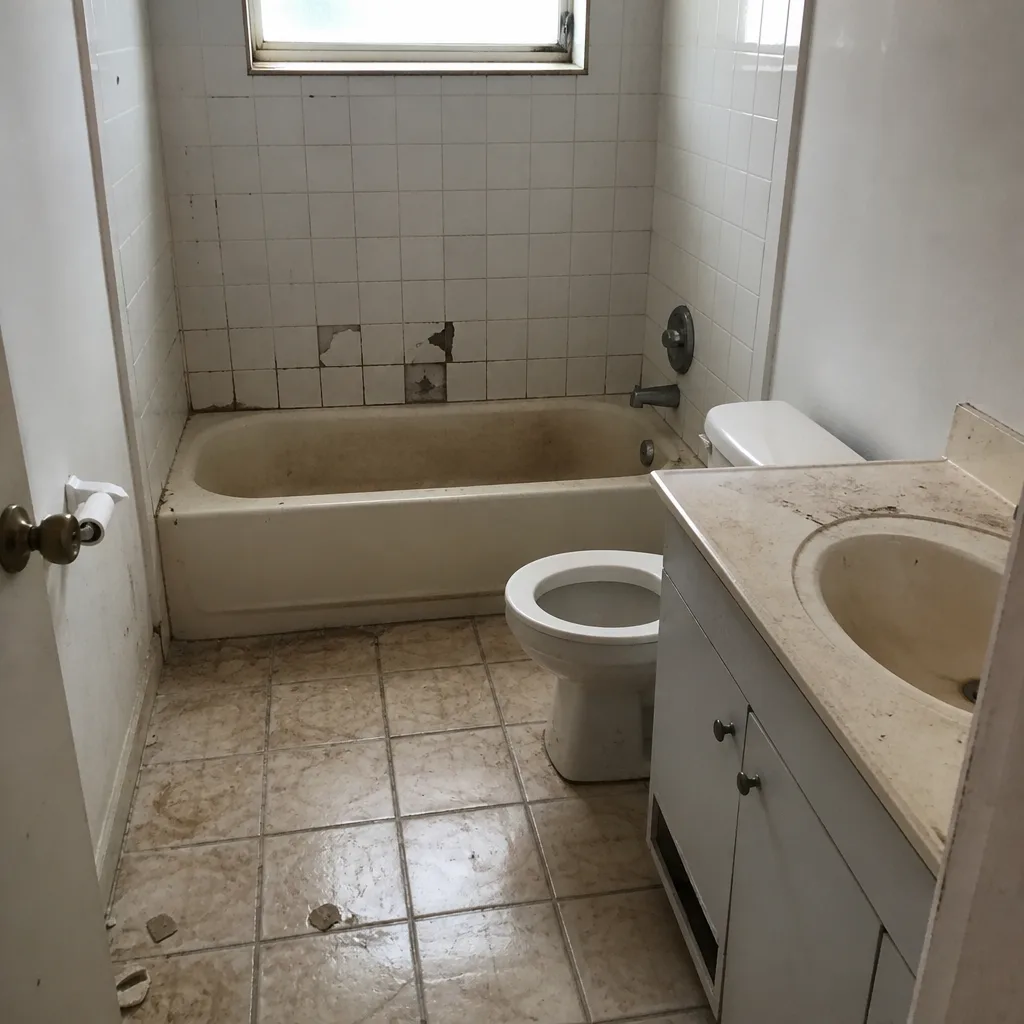 Before
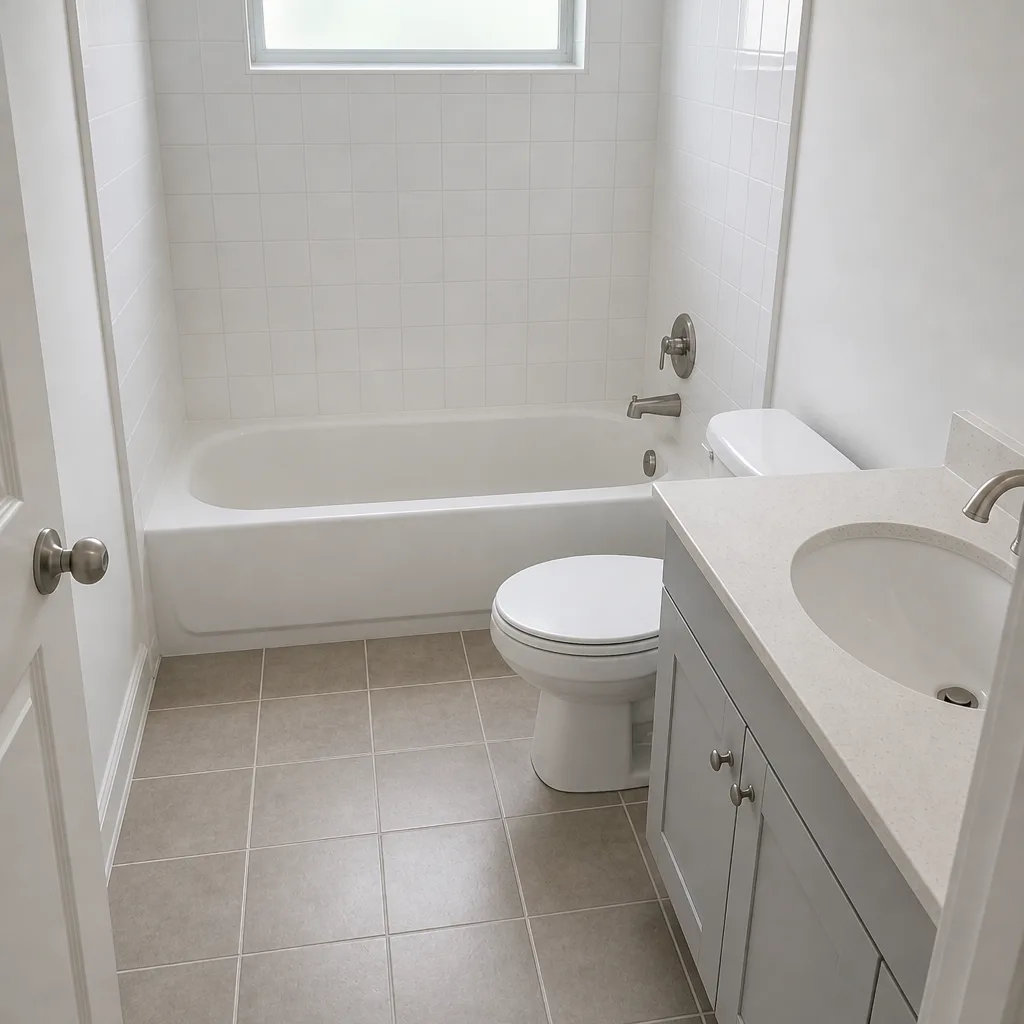 After
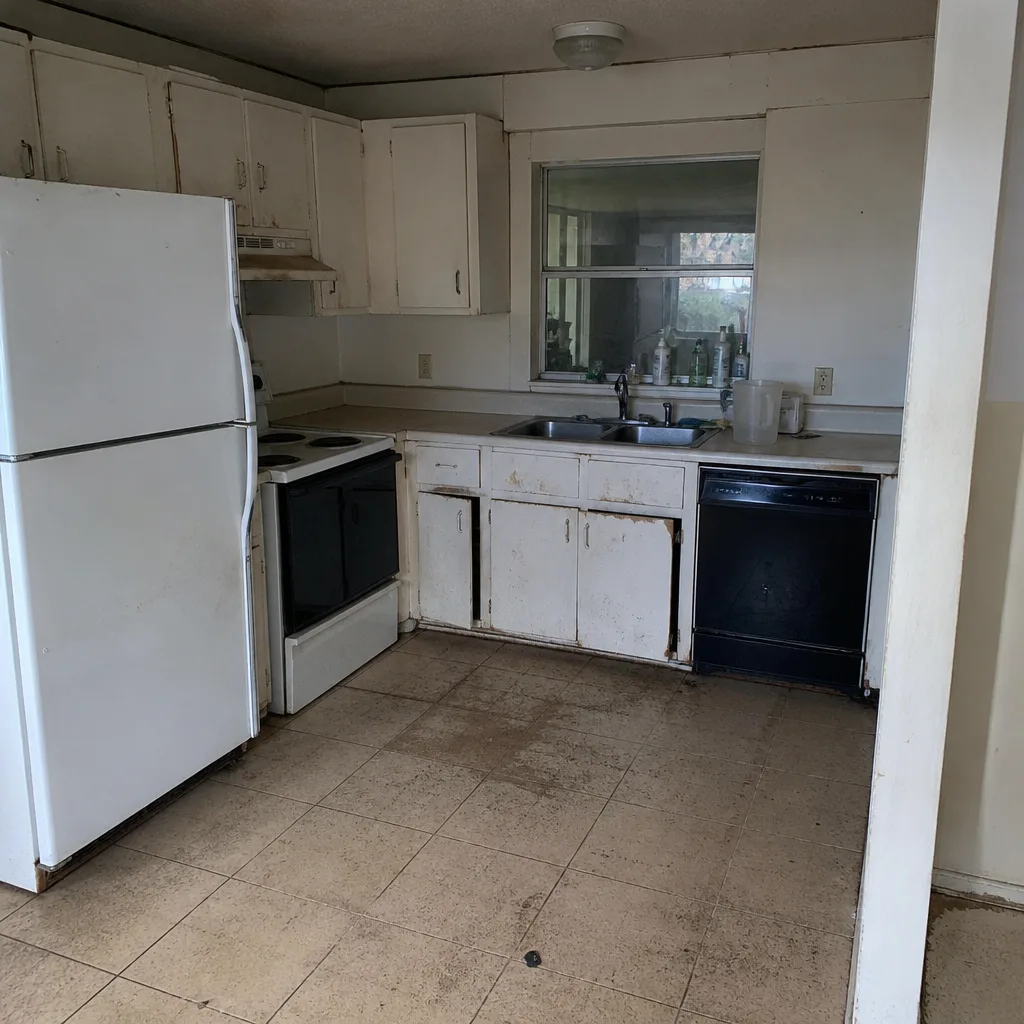 Before
 After
 Before
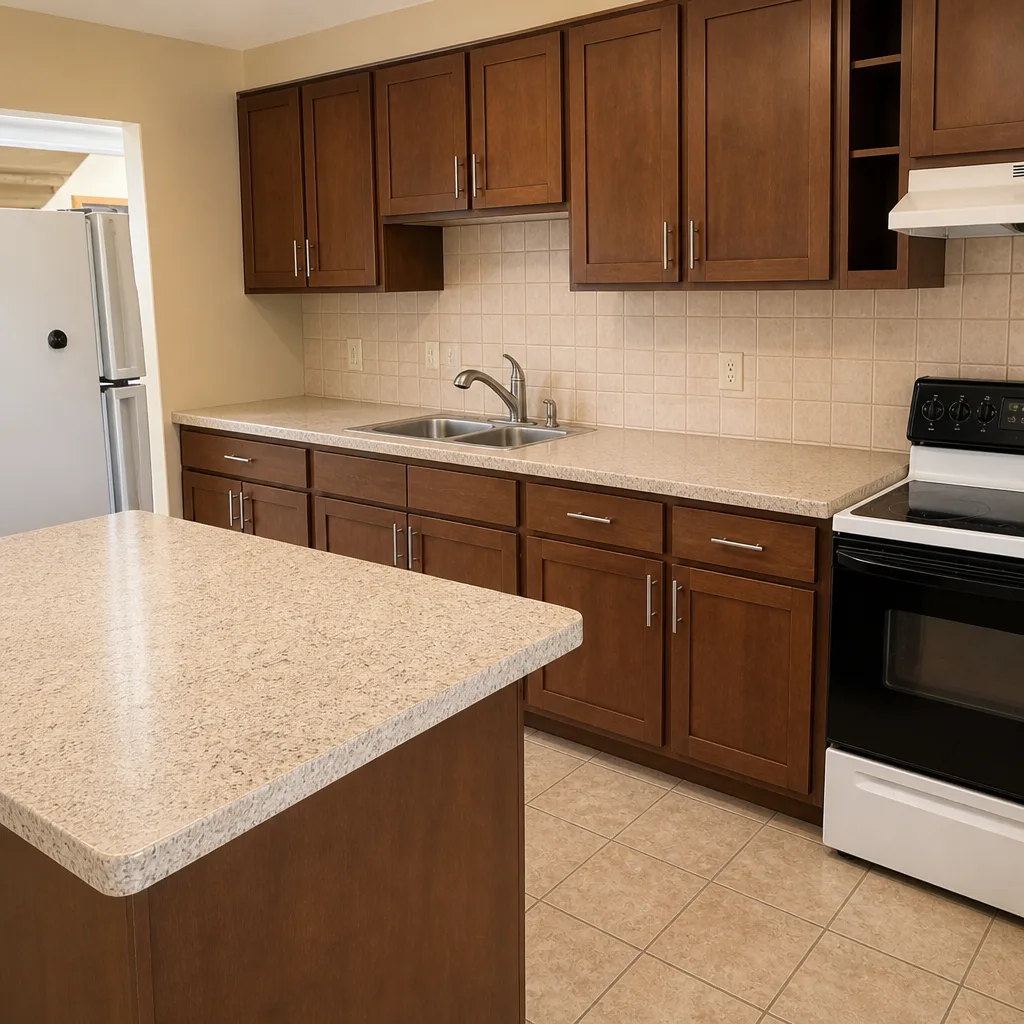 After