Last updated November 17, 2026

Free written scope consultation - allowances, timeline, and change-order rules on paper before a single trade is scheduled
Construction Emergency Preparedness Guide for Homestead Homes
Hurricane Andrew made landfall six miles south of Homestead’s city center in 1992 with 165 mph sustained winds. When the cleanup crews finally got into the neighborhoods, one pattern held: homes built or retrofitted to then-current code with properly installed roof-to-wall connections survived largely intact. The homes that failed were often built correctly on paper. What separated them was the quality of the connections you can’t see once the drywall goes up. This guide walks through the construction decisions and pre-storm preparations that determine whether a Homestead home rides out the next major storm or turns into a repair project you’ll be fighting with your insurance company for a year.
Quick Answer
Hurricane preparedness for a Homestead home comes down to four structural items: roof-to-wall connections (straps and clips, not toe-nails), a garage door rated for high-wind pressure, impact-rated windows or tested shutters, and a documented wind mitigation inspection that earns you insurance credits. If your home was built before 1994, the first step is a professional inspection of your attic to see what’s actually holding your roof on. Everything else in this guide builds on that answer.
Styles & brands we work with
- Kitchen remodeling
- Bathroom remodeling
- Home additions & ADU
- Roofing
- Windows & doors
- Driveway & pavers
- Fence
Table of Contents
- What Pre-1994 Homestead Homes Are Missing
- Checking Your Roof-to-Wall Connections Before Storm Season
- Wind Mitigation Inspections and Your Insurance Premium
- Why Garage Doors Are the Weak Point
- Impact Windows, Doors, and Shutters
- Post-Storm Construction Triage: The Right Order
- A Pre-Season Checklist for Homestead Homeowners
- Common Mistakes to Avoid
What Pre-1994 Homestead Homes Are Missing
Miami-Dade’s building code was rewritten after Andrew, and the changes weren’t cosmetic. Homes permitted before 1994 in Homestead were generally framed with toe-nail connections at the roof-to-wall joint, which means the roof sheathing and trusses are held to the top plate by nails driven at an angle. That works fine in a thunderstorm. It does not work when uplift pressure from a hurricane tries to peel the roof off the walls.
Post-1994 homes in Homestead require metal hurricane straps or clips that wrap the connection with a positive mechanical tie. The code also tightened requirements on sheathing attachment, window and door ratings, and garage door wind pressure ratings. If your home was permitted before 1994 and hasn’t been retrofitted, you’re working with the older standard.
How to Tell What You Have
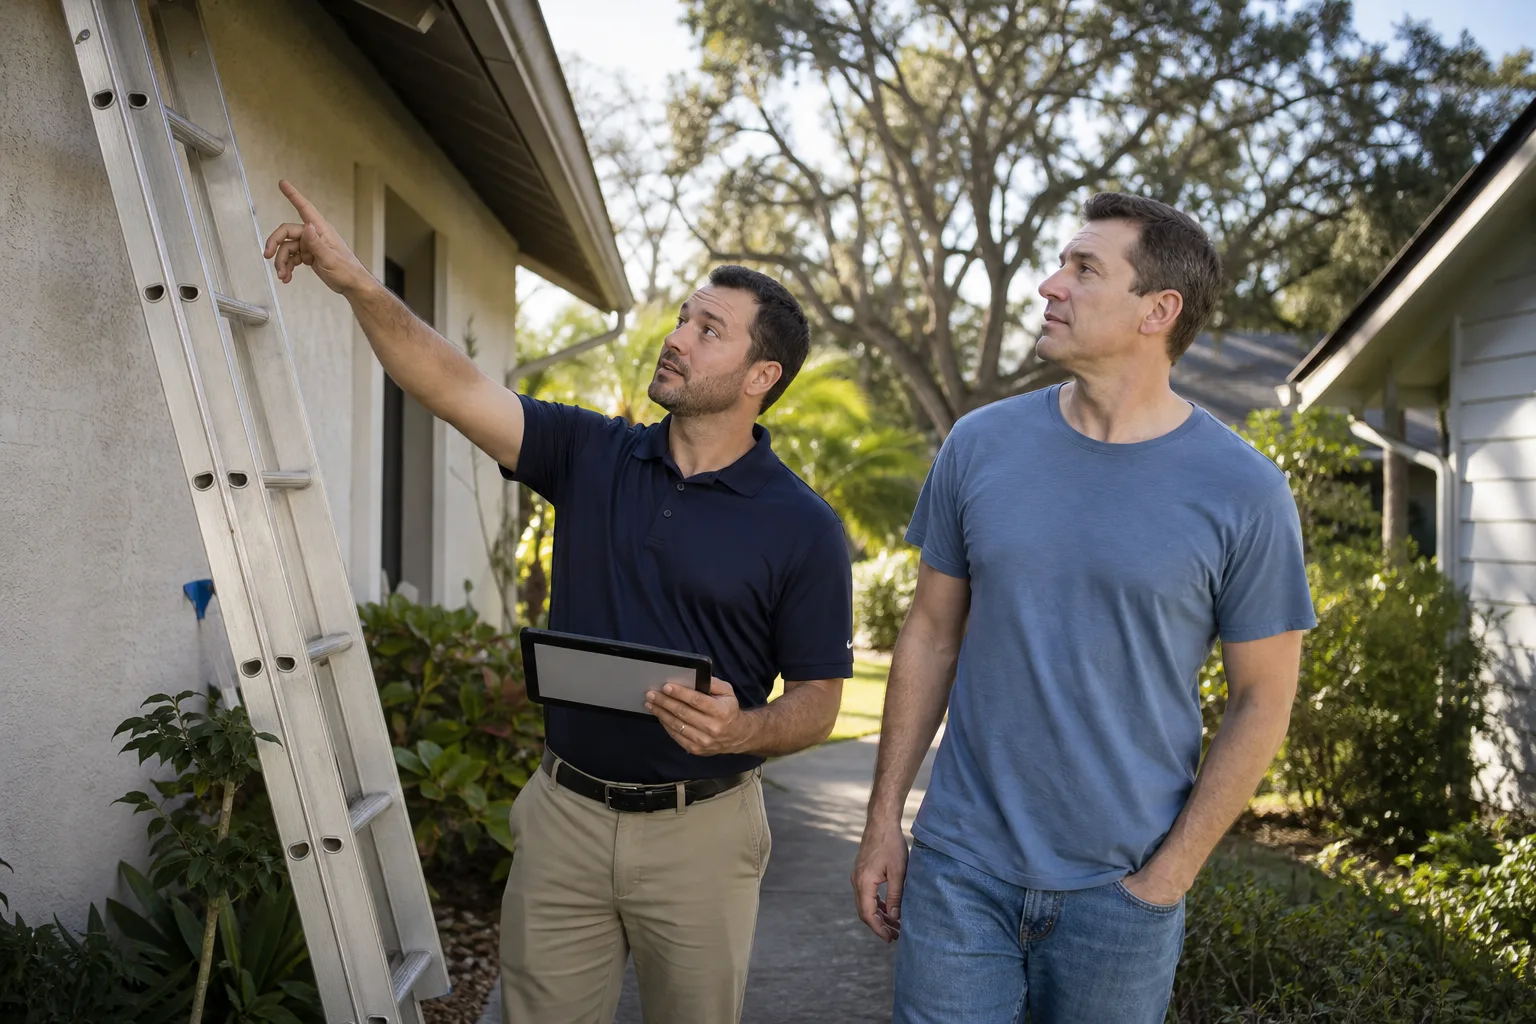
You can’t see your connections from the driveway. You have to get into the attic with a flashlight and look at the joint where the roof truss meets the wall top plate. This is inspection territory, not DIY territory. A roofer or licensed contractor can walk the attic and photograph the connections for you. Here’s what they’ll be looking for:
- Strap or clip: a metal bracket nailed over the truss-to-wall joint, at least 1.5 inches wide with a specific number of nails per side.
- Toe-nail: three or more nails driven at an angle through the truss into the top plate. This is the older, weaker connection.
- Structural screws: some newer retrofits use structural screws instead of nails. Still effective if installed to the manufacturer spec.
Homes on the western edge of Homestead near the agricultural properties often carry a mix: original toe-nailed framing with a partial retrofit from a prior owner. That’s worth documenting, because insurance carriers treat a mixed connection the same as a weak one. The good news is retrofitting straps is a manageable job when the roof is being replaced or is already accessible. We’ve handled that start to finish on Barrett & Sons Construction Homestead home projects and it’s not the five-figure project most people assume.
Checking Your Roof-to-Wall Connections Before Storm Season
The window to check your attic is February through May. Once June hits and the daily sea-breeze thunderstorms start, attic temperatures climb into the 130s and roofers are booked out three weeks with emergency leak repairs. Get the inspection done while it’s still cool enough to breathe up there.
The Inspection Walk-Through
- Locate your attic access. Most Homestead homes have a pull-down stair in a hallway or garage. Carry a bright flashlight and a camera phone.
- Photograph every truss-to-wall joint along the perimeter exterior walls, which is where wind uplift is strongest. You want one clear photo of each connection type.
- Check the sheathing attachment. Look at the underside of the roof deck where the plywood meets the trusses. The nails should be 8d ring-shank (1/8 inch shank diameter) driven to code spacing, not smooth common nails.
- Note any prior storm damage or repairs. A truss that’s been sistered or patched is worth documenting.
- Have a licensed contractor review the photos and confirm the connection type and any retrofit needed.
This is the part of the guide where we make the safety point clearly: a homeowner should not climb into a hot attic and attempt to install hurricane straps themselves. The connections are at height, the work is structural, and the failure mode is catastrophic. Get it inspected. Pay a professional to install the retrofit. The permit and inspection give you documentation your insurance carrier will accept and your future buyer will want to see. If your roof is at or near replacement age, this is the moment to talk to a roofing crew. We handle roofing in Homestead and across the surrounding area, and connection upgrades are a routine line item when we’re already on the roof.
Wind Mitigation Inspections and Your Insurance Premium
A wind mitigation inspection costs $75 to $150 in Homestead and routinely saves homeowners anywhere from a few hundred to well over a thousand dollars a year on their Florida homeowner’s policy. The inspector documents the features your home already has, and the carrier applies credits for each one.
What the Inspection Covers
- Roof covering: material, age, and whether it’s rated for high wind.
- Roof deck attachment: nail type and spacing on the sheathing.
- Roof-to-wall connections: toe-nail, clip, single-wrap, or double-wrap strap.
- Secondary water resistance: a peel-and-stick membrane under the roof covering, common on newer Homestead roofs.
- Opening protection: impact-rated windows, doors, or approved storm shutters, and the product approval number on each.
Inspectors can only credit what they can verify. If your roof was replaced in 2018 with a GAF or CertainTeed system and secondary water resistance was installed, you get credit for it. If the product approval number on your impact windows isn’t legible, you may not get the credit even though the windows qualify. Keep your permits, your product spec sheets, and your installation invoices together in a folder.
One more point that catches people: credits only apply when you request them. A lot of carriers in Miami-Dade don’t apply the wind mitigation credit automatically. You submit the inspection report, you ask for the credit in writing. If your premium hasn’t moved in a year, call your agent and ask whether your mitigation credits are active.
Why Garage Doors Are the Weak Point
Garage door failure is the leading cause of structural collapse in residential hurricanes. The mechanism is simple. The door bows inward under wind pressure, the wind gets into the garage, and the pressure differential lifts the roof from underneath. A garage door that fails at 110 mph can take the rest of the house with it.
What Miami-Dade Requires
Replacement garage doors in Miami-Dade County must appear on the county’s product approval list and carry a wind pressure rating that meets or exceeds the design pressure for your location. Homestead sits in the high-velocity hurricane zone, so the design pressures are among the strictest in the state. Not every door sold at a box store meets that standard. The label on the door panel or the door’s paperwork will list the approval number and design pressure. Verify it before purchase.
Options for Pre-1994 Homes
- Full replacement with a Miami-Dade-approved impact-rated door. Best result, highest cost.
- Reinforcement struts added to an existing door, which improves pressure resistance without a full replacement. Works best on a door that’s already rated to a lower pressure and needs a bump.
- Hurricane brace kit on a door that’s a few years from replacement. Temporary measure, not a permanent solution.
If your garage door is a single-width panel door installed before 2000, plan on replacement before the next big storm. That’s not a scare tactic. We’ve walked Homestead homes after lesser storms and seen what a 20-year-old door looks like when the wind gets under it. Replacement is a decision you make calmly in April, not in the parking lot of a hardware store on the eve of a storm. If the surrounding driveway and approach apron need work too, our Driveway & Pavers in Homestead page covers that, and doing the door and the approach in one project often makes sense.
Impact Windows, Doors, and Shutters
Opening protection is one of the highest-value credits on the wind mitigation inspection, and it’s the difference between a house with a window blown in and a house that stays dry. In Homestead, impact-rated windows from manufacturers like CWS, ES Windows, and ECO Window Systems are all common on recent installs, and each one carries a product approval number your carrier will want to see.
Three Ways to Cover Your Openings
- Impact-rated windows and doors installed permanently. Highest cost, zero storm prep, best insurance credit. The window itself is the protection.
- Approved storm shutters (accordion, roll-down, or panel). Lower initial cost, higher labor at storm time, and the shutters need to be deployed in advance of the storm. Also earns the opening protection credit if approved and documented.
- Mixed approach. Impact windows on the most vulnerable exposures and shutters on the rest. Common on a phased retrofit.
The mistake we see most often is plywood. Plywood panels aren’t an approved opening protection product, they don’t earn the insurance credit, and they offer pressure protection only if they’re properly anchored, which most aren’t. The other mistake is buying impact windows from a vendor who can’t produce the approval number. Every legitimate impact product has a Miami-Dade or Florida approval number, and every install needs a permit and an inspection to be insured properly.
Post-Storm Construction Triage: The Right Order
After a storm, the order you address damage determines whether your insurance claim gets paid cleanly or gets tangled in a dispute. The instinct is to call whoever can get there first and start tarping. Slow down for thirty minutes. The order matters.
The Correct Order
- Document the damage before you touch anything. Photos and video of every affected area, wide shots and close-ups, plus the date stamp. This is your insurance evidence.
- Make temporary repairs only (tarp, board, water extraction). These are allowed under most policies, but you need to keep the receipts and you need to tell your carrier before you authorize anything beyond them.
- File the claim. Do not authorize permanent repairs before the adjuster has seen the damage, unless your policy requires emergency stabilization.
- Get a written, line-item estimate from two contractors before you authorize permanent work. Insurance claims are settled on line item, and a lump-sum bid can shortchange you.
- Confirm permits. Permanent repairs need permits in Homestead. A contractor who tarped your roof without a permit is fine; a contractor who replaced your roof without a permit is a problem your future buyer will inherit.
- Schedule the permanent repair. Roof first, then structural, then drywall, then finishes, then paint. Work outside the envelope waits until the envelope is watertight.
Temporary repairs that turn into permanent repairs without permits are a serious headache. If your roofer tarped the roof and then replaced the deck and shingles without a permit, you may find yourself unable to insure the home or sell it without a retroactive permit application and inspection. The same applies to a temporary fence. Our Fence Installation in Homestead page covers the permit side of that for permanent fence work, but the rule applies to any post-storm permanent repair.
A Pre-Season Checklist for Homestead Homeowners
Run this checklist every March. It takes an afternoon and it removes the guesswork from the first storm watch of the season.
- Attic inspection scheduled or completed. Know your roof-to-wall connection type.
- Garage door verified as Miami-Dade approved at the rated design pressure for your location.
- Window and door protection confirmed and product approval numbers recorded in a folder.
- Wind mitigation inspection current (they’re typically good for five years).
- Roof age and material documented with the original contractor’s invoice if you have it.
- Drainage checked: gutters, downspouts, and the grade around the foundation. Standing water during a storm means saturated soil and a pressure on your slab or stem wall that no home is designed for.
- Tree work done outside of storm season. A live oak limb over a Homestead roof is a projectile in 100 mph wind.
- Emergency contact list updated with your insurance agent, your roofer, your electrician, and one general contractor you trust.
If you’re planning an addition, a workshop, or an outbuilding, build it to current Miami-Dade code and have it wind-mitigation documented from day one. Our Home Additions & ADU in Homestead page goes into detail on that process. A properly permitted addition with documented connections is a much easier conversation with your carrier than a structure built to no standard at all.
Common Mistakes to Avoid
- Waiting until the storm watch to check the attic. Roofers are booked for weeks once a system enters the cone, and you don’t want to be negotiating an emergency retrofit with a stranger who showed up the day before landfall. Do the inspection in the off-season.
- Assuming the code changed everything. Post-1994 code applies to homes permitted after that date. A pre-1994 Homestead home that hasn’t been retrofitted still has toe-nailed connections regardless of when you bought it.
- Skipping the wind mitigation inspection because it “sounds like a scam.” It’s a state-defined inspection, the report is standardized, and it’s the single easiest dollar you’ll ever save on a Florida homeowner’s policy.
- Buying a garage door from an out-of-area retailer without checking the approval number. Plenty of doors sold in Florida don’t meet Miami-Dade’s high-velocity hurricane zone standard. Verify the approval number before purchase.
- Treating plywood as opening protection. Plywood is not an approved product, it doesn’t earn the credit, and it’s often installed incorrectly in a panic. Use impact windows, approved shutters, or both.
- Authorizing post-storm permanent repairs before the adjuster sees the damage. Temporary repairs are fine and often necessary. Permanent repairs without the adjuster’s sign-off can be denied.
- Letting a contractor perform permanent storm repairs without a permit. A no-permit roof replacement in Homestead can cost you more at resale than it saved you on the invoice.
See the difference
 Before
 After
 Before
 After
 Before
 After
When to Call a Professional
Call a licensed contractor if any of the following is true: your home was permitted before 1994 and you’ve never had an attic inspection, your garage door is more than twenty years old or you can’t find its approval number, your roof is due for replacement within five years, or a storm has opened your envelope and you’re weighing temporary against permanent repairs. Those are the four scenarios where a small amount of professional time in the dry season saves a large amount of money in the wet one. Barrett & Sons Construction Homestead offers free estimates in Homestead. Every eligible job gets permits pulled and inspections signed, every price change arrives as a written change order before work proceeds, and every completed job is covered by the 90-Day Done Right Promise. Call (866) 344-6796 to schedule yours.
Frequently Asked Questions
Pull your permit history from Miami-Dade County’s online records and look at the certificate of occupancy date. If the CO is dated before mid-1994, your home was built to the older code. If the CO is after, it was built to the post-Andrew standard. Your insurance agent can also tell you what the carrier’s records show, since they track this for rating purposes. If you can’t find the records, an attic inspection will tell you the answer within fifteen minutes.
The inspection typically runs $75 to $150, and the savings on a Florida homeowner’s policy often land in the several-hundred to thousand-plus dollar a year range depending on your home’s features and your carrier. The credits are itemized on the report, so you’ll see exactly what you earned and what’s missing. Call (866) 344-6796 for a free estimate if you’re considering opening protection or connection upgrades that would raise your credit – the estimate itself costs nothing.
They matter, and the evidence is the 1992 post-storm damage surveys that led to the code reform. A home with properly installed straps and clips resists uplift at the roof-to-wall joint in a way that a toe-nailed connection cannot. The difference in a major storm is measurable, not theoretical. Whether your home needs a retrofit is the question an attic inspection answers.
Only if the door carries a Miami-Dade County product approval number and the design pressure rating meets the requirement for your location. Homestead is in the high-velocity hurricane zone, so the standard is strict. A “high wind” label on the door isn’t the same as a Miami-Dade approval. Check the approval number on the door or its spec sheet before you buy, and make sure the installer pulls the permit.
It depends on the policy and the adjuster’s assessment. Most Florida policies will pay for the covered storm damage, but many apply depreciation to an older roof, which reduces the payout. The best protection against that outcome is a pre-storm roof in good condition with documented age and product spec, and a contractor who provides a written line-item estimate rather than a lump-sum bid. That’s the format the claim process is built around.
Document first, temporary repairs second, file the claim, get two written line-item estimates, then schedule permanent repairs from the outside in: roof, then structural, then envelope, then drywall, then finishes. Permits on every permanent repair, and no permanent work authorized before the adjuster has seen the damage. Call (866) 344-6796 for a free second opinion on any written estimate you’ve received after a storm.
The Bottom Line
Hurricane readiness for a Homestead home is a construction question before it’s a supplies question. Roof-to-wall connections, garage door rating, opening protection, and a current wind mitigation inspection are the four items that shape the outcome, and all four are addressed in the dry season, not the day before a storm. If your home was permitted before 1994, start with the attic inspection. If your roof is coming due, plan the retrofit into the replacement. Document everything, keep your paperwork together, and use a contractor who pulls the permits and puts every price change in writing. The math is simple: a few hours in March against a year of fighting an insurance claim in October.
If you’re ready to schedule a free estimate or get a second opinion on a written estimate you’ve already received, call Barrett & Sons Construction Homestead at (866) 344-6796. We answer the phone with a live person, every time. Published standing offers apply: $40 Off Any Repair Over $200, a Free Second Opinion on Any Written Estimate, No Trip Charge Inside the County, and a permanent 10% Senior & Veteran discount.
Written by the team at Barrett & Sons Construction Homestead.